Oat Flour Pumpkin Cake
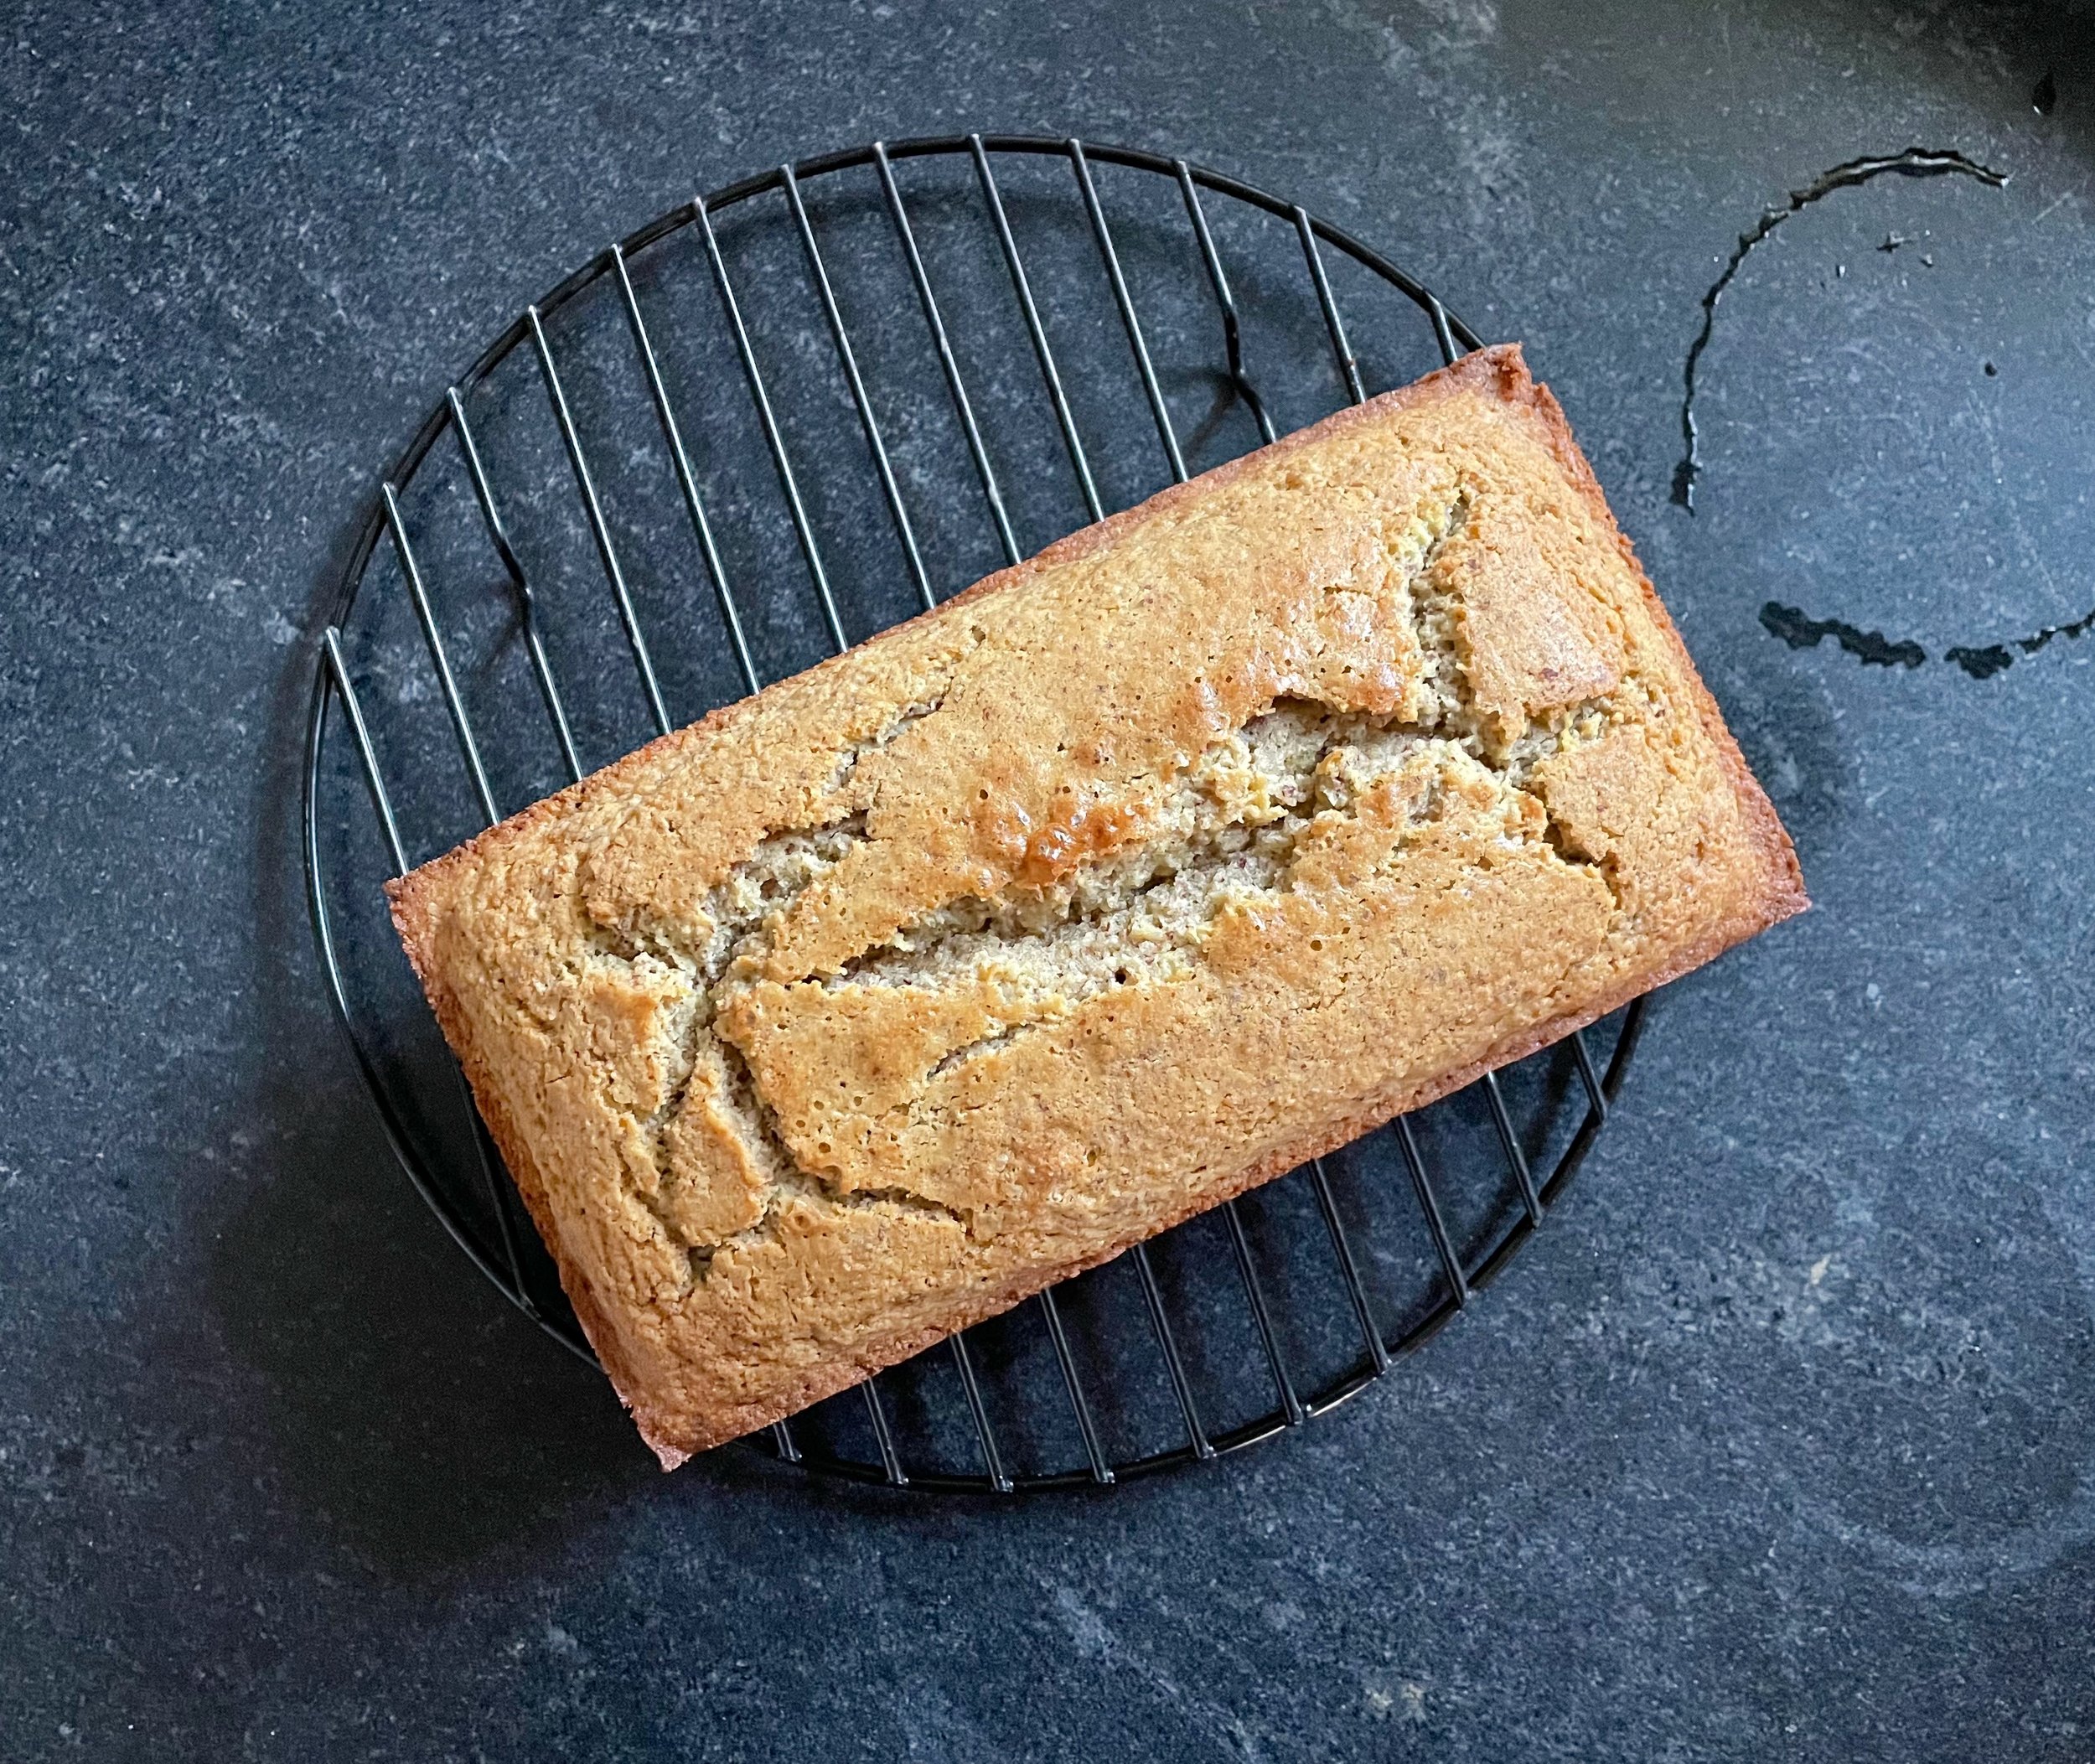
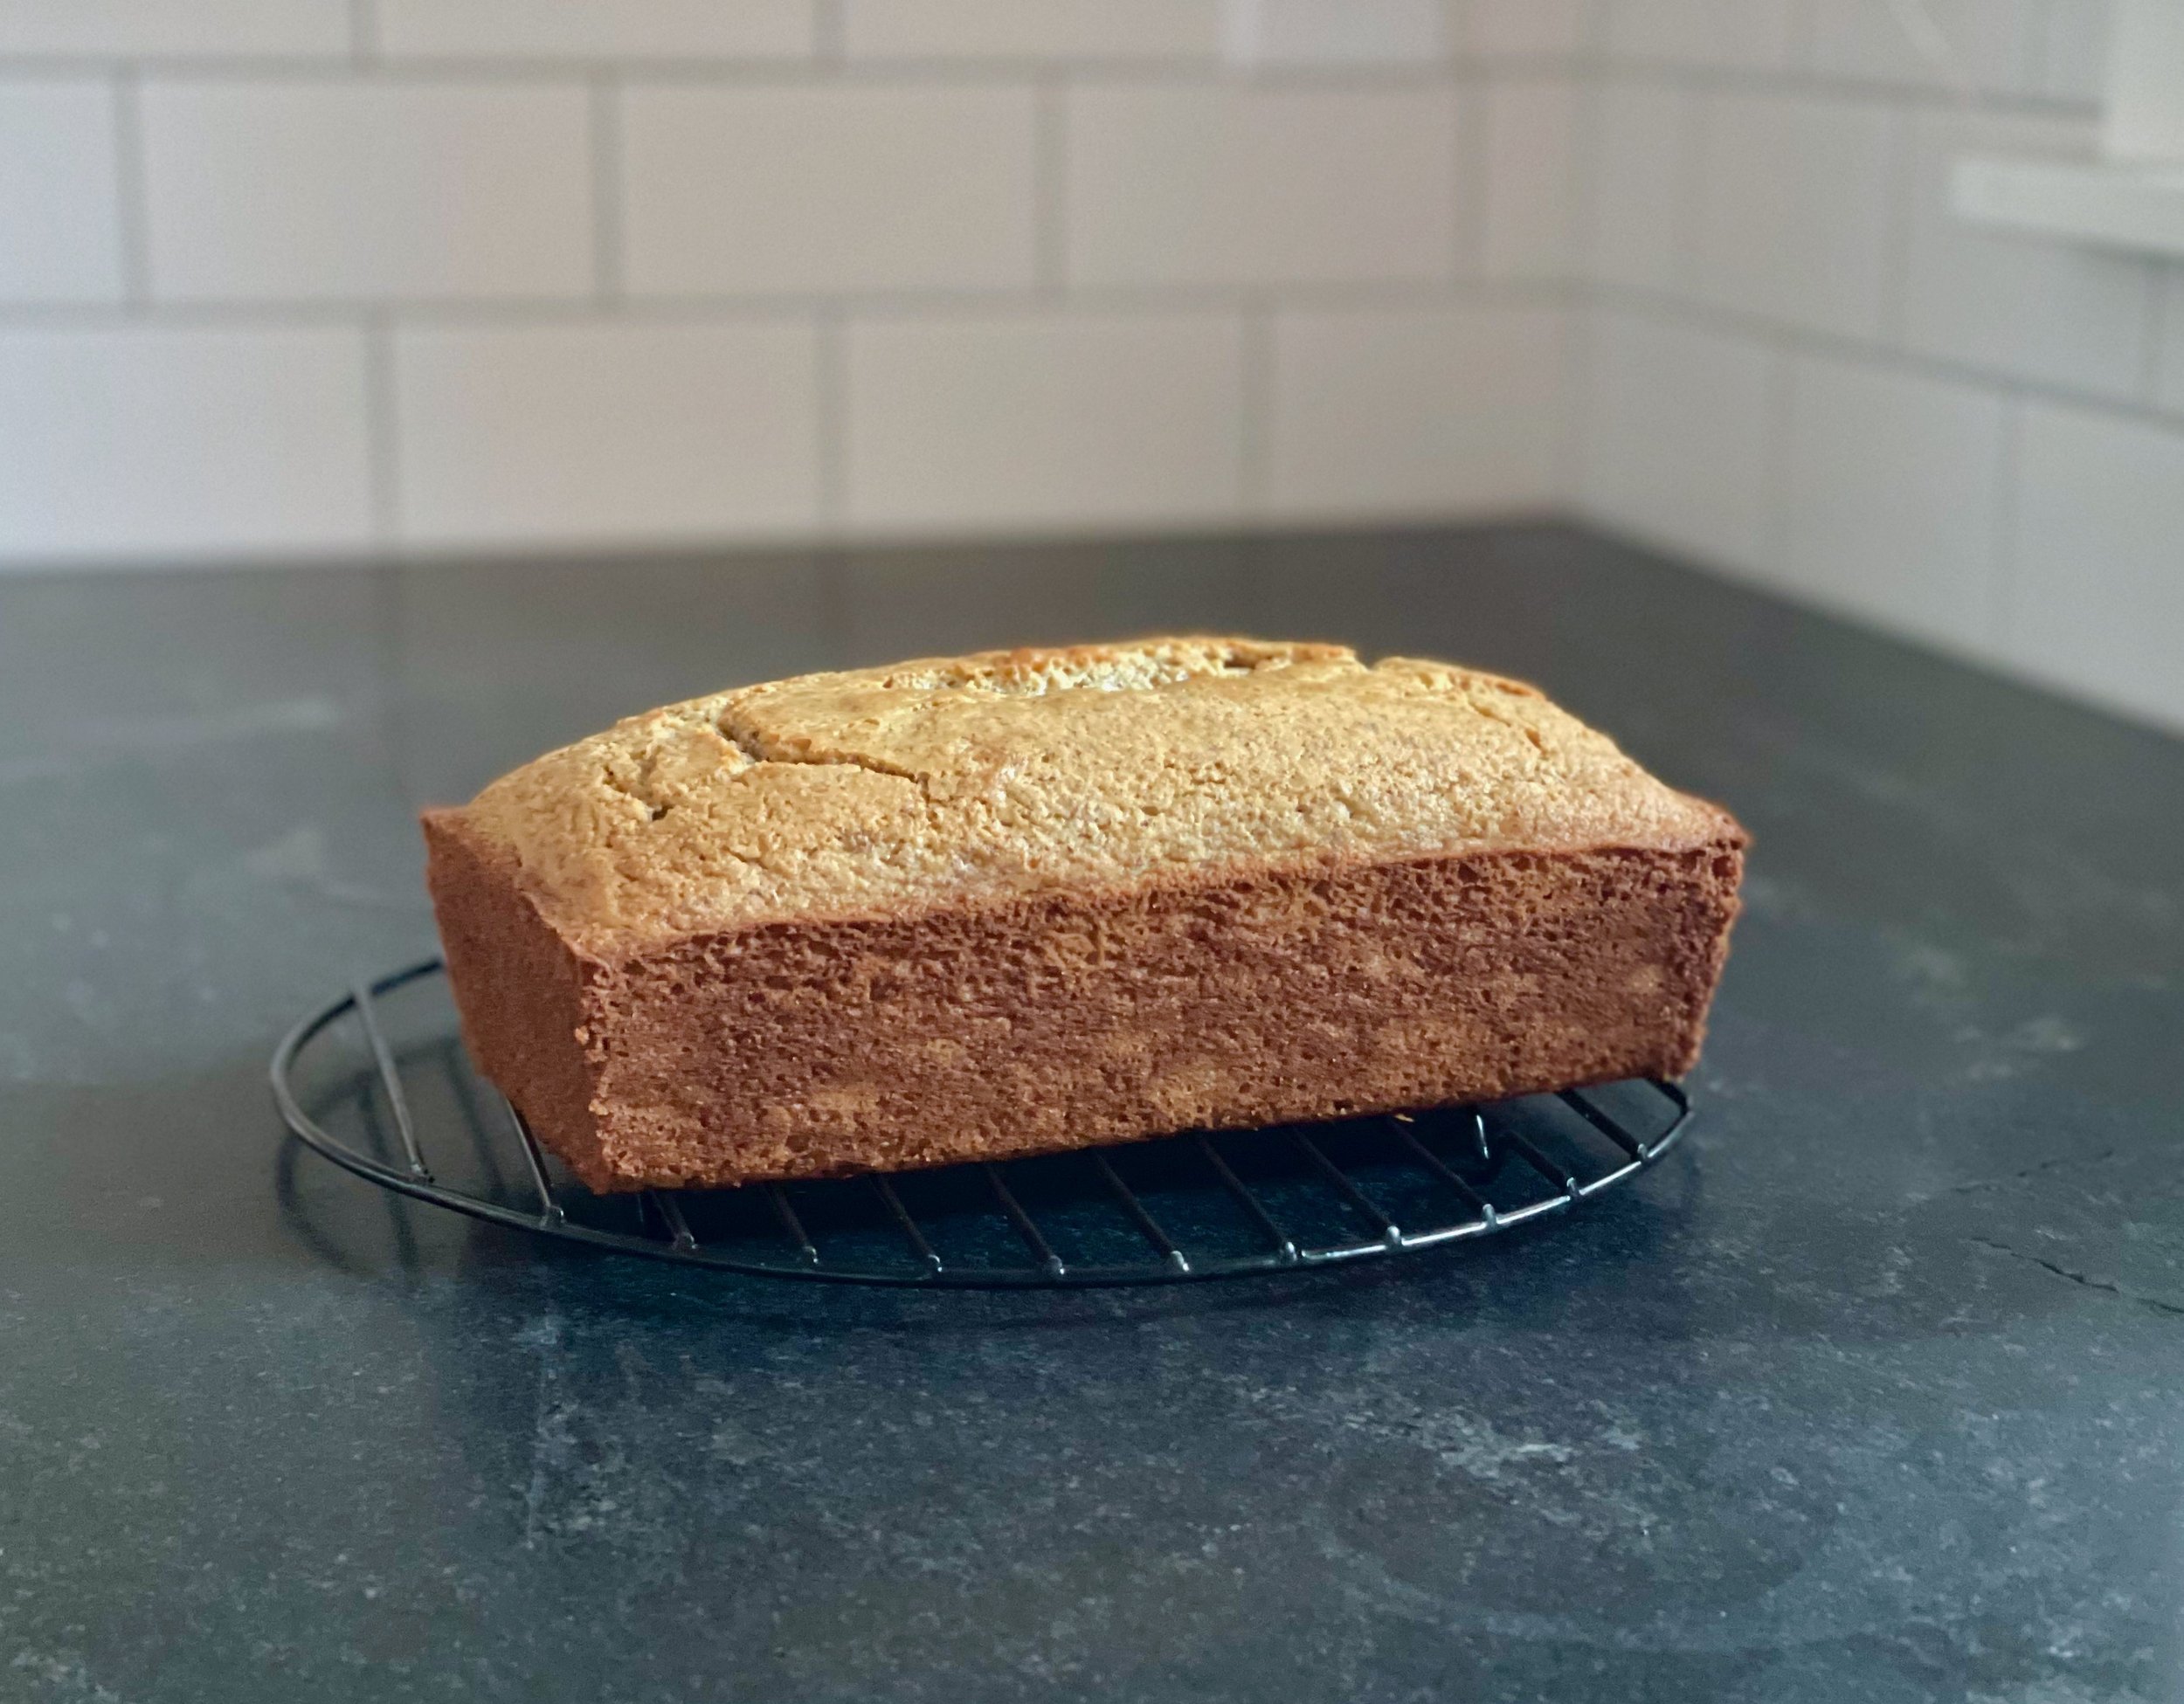
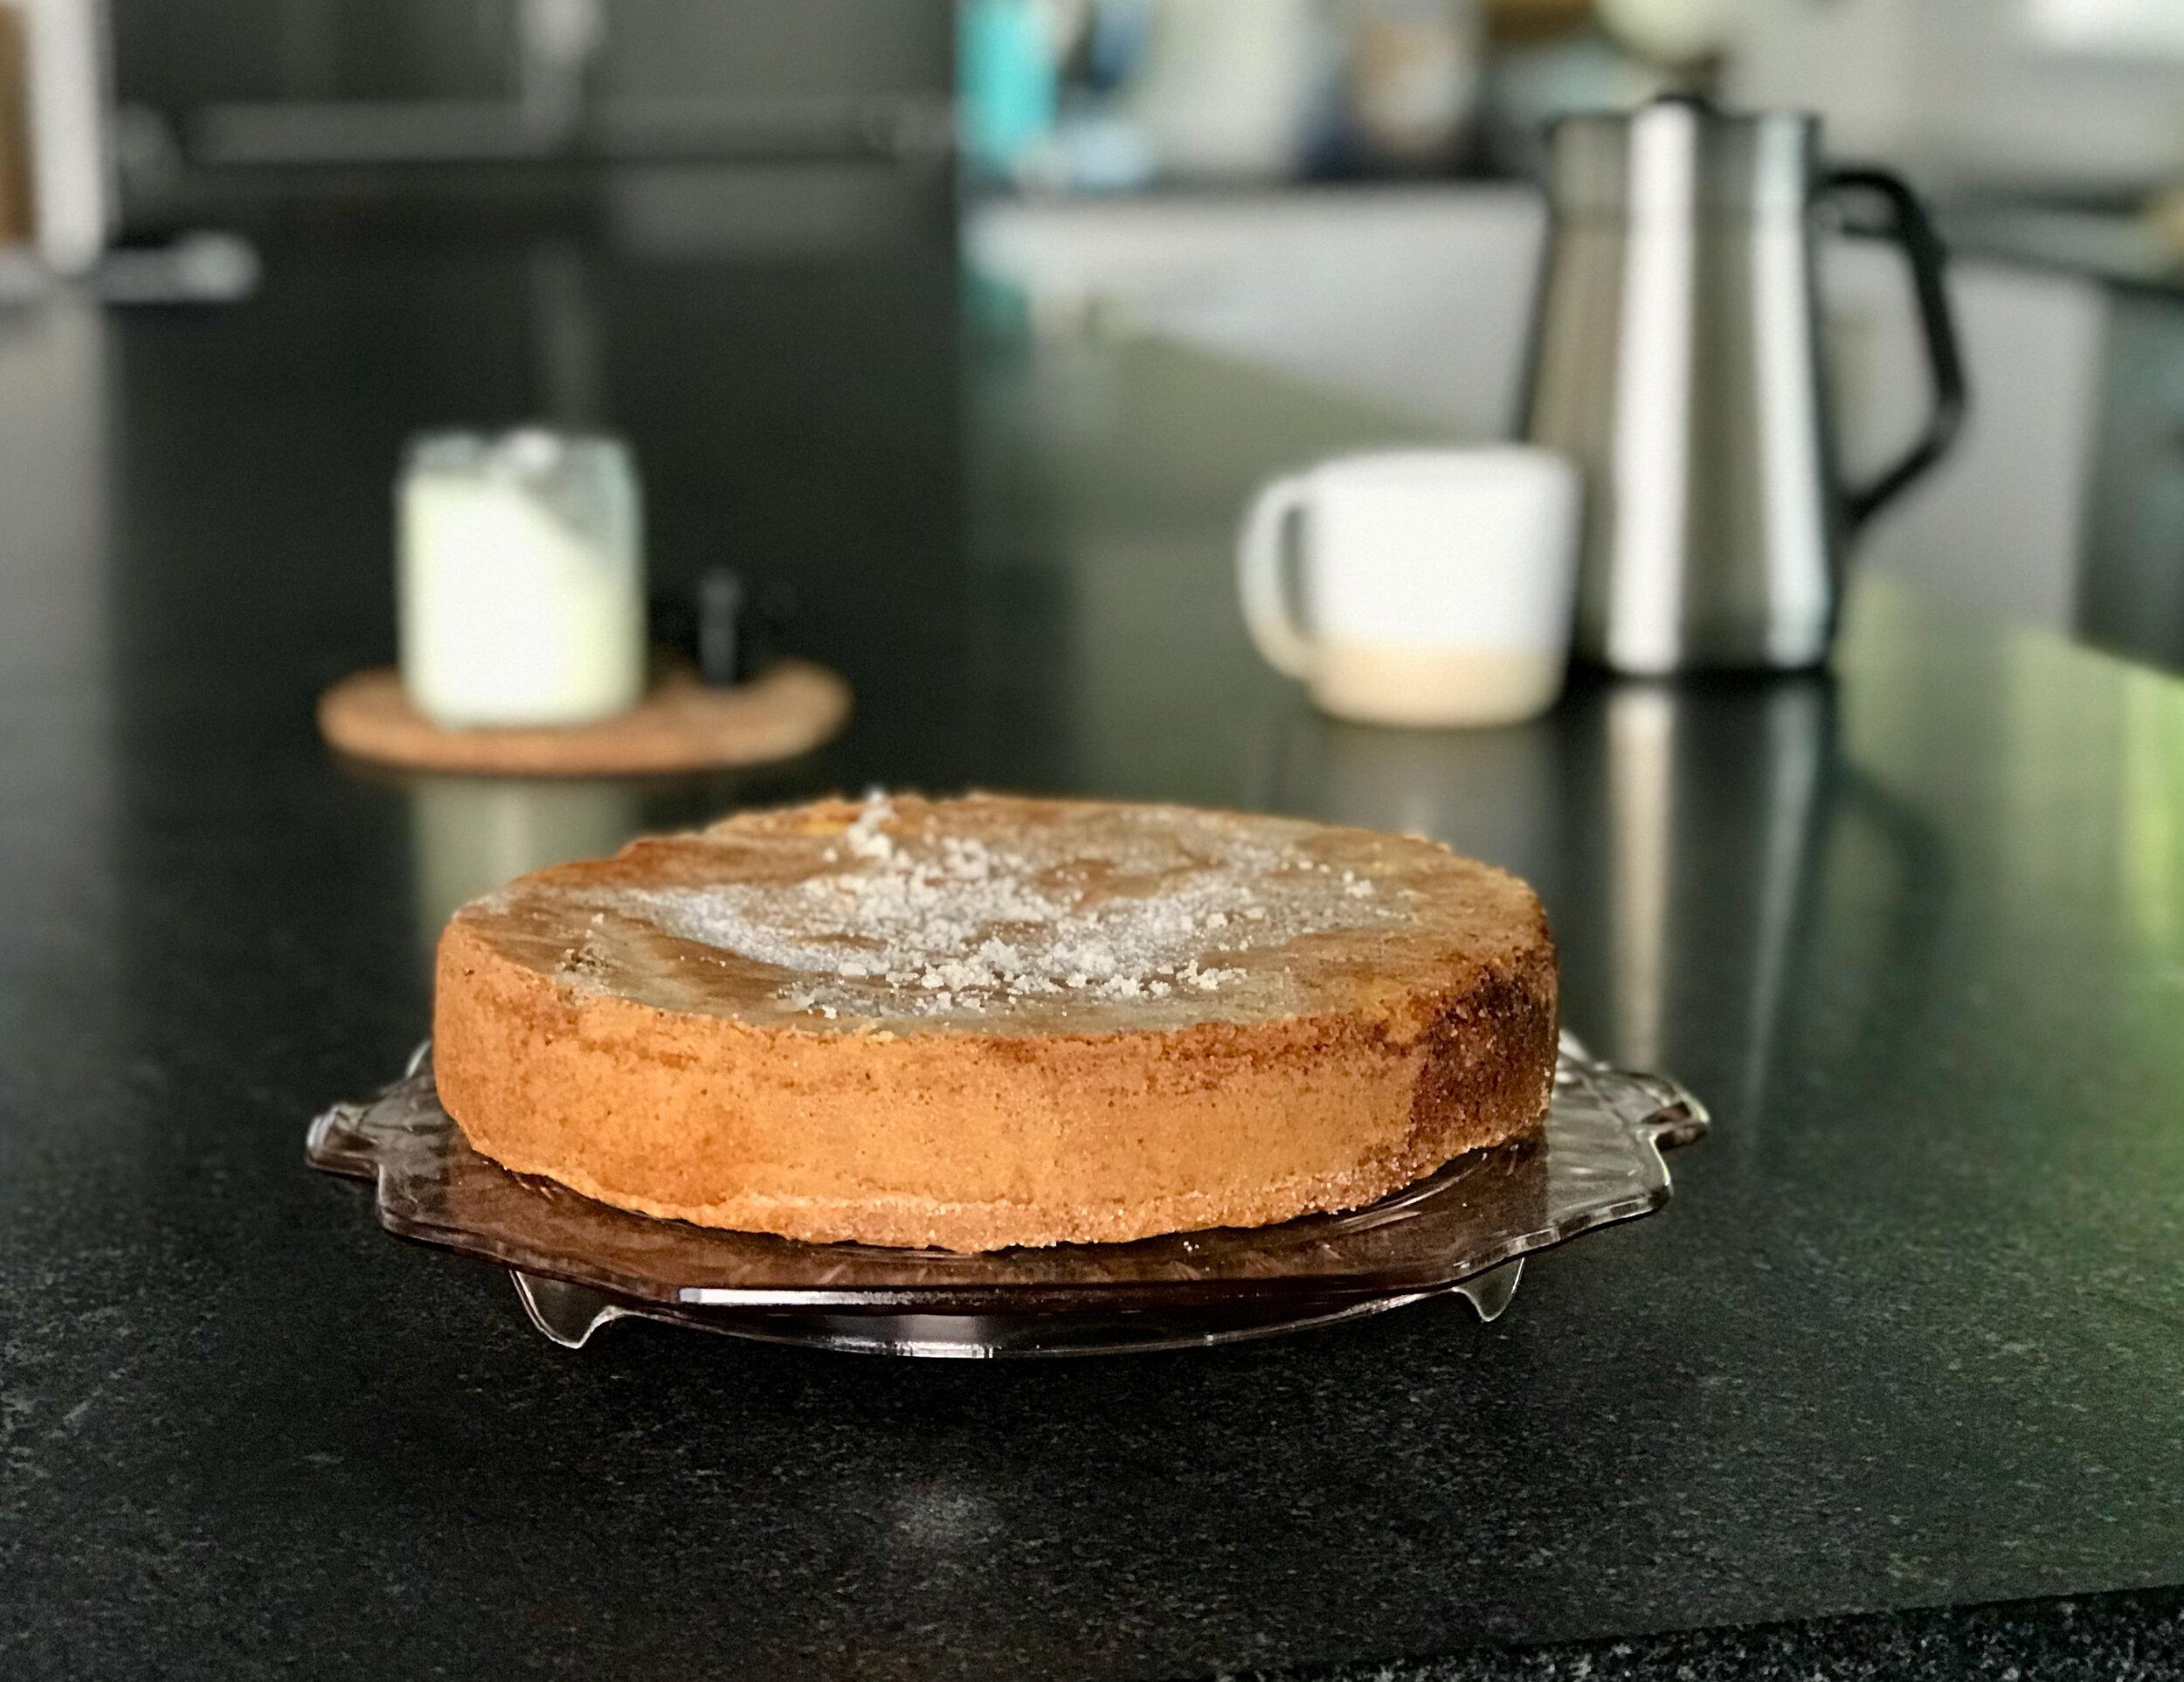
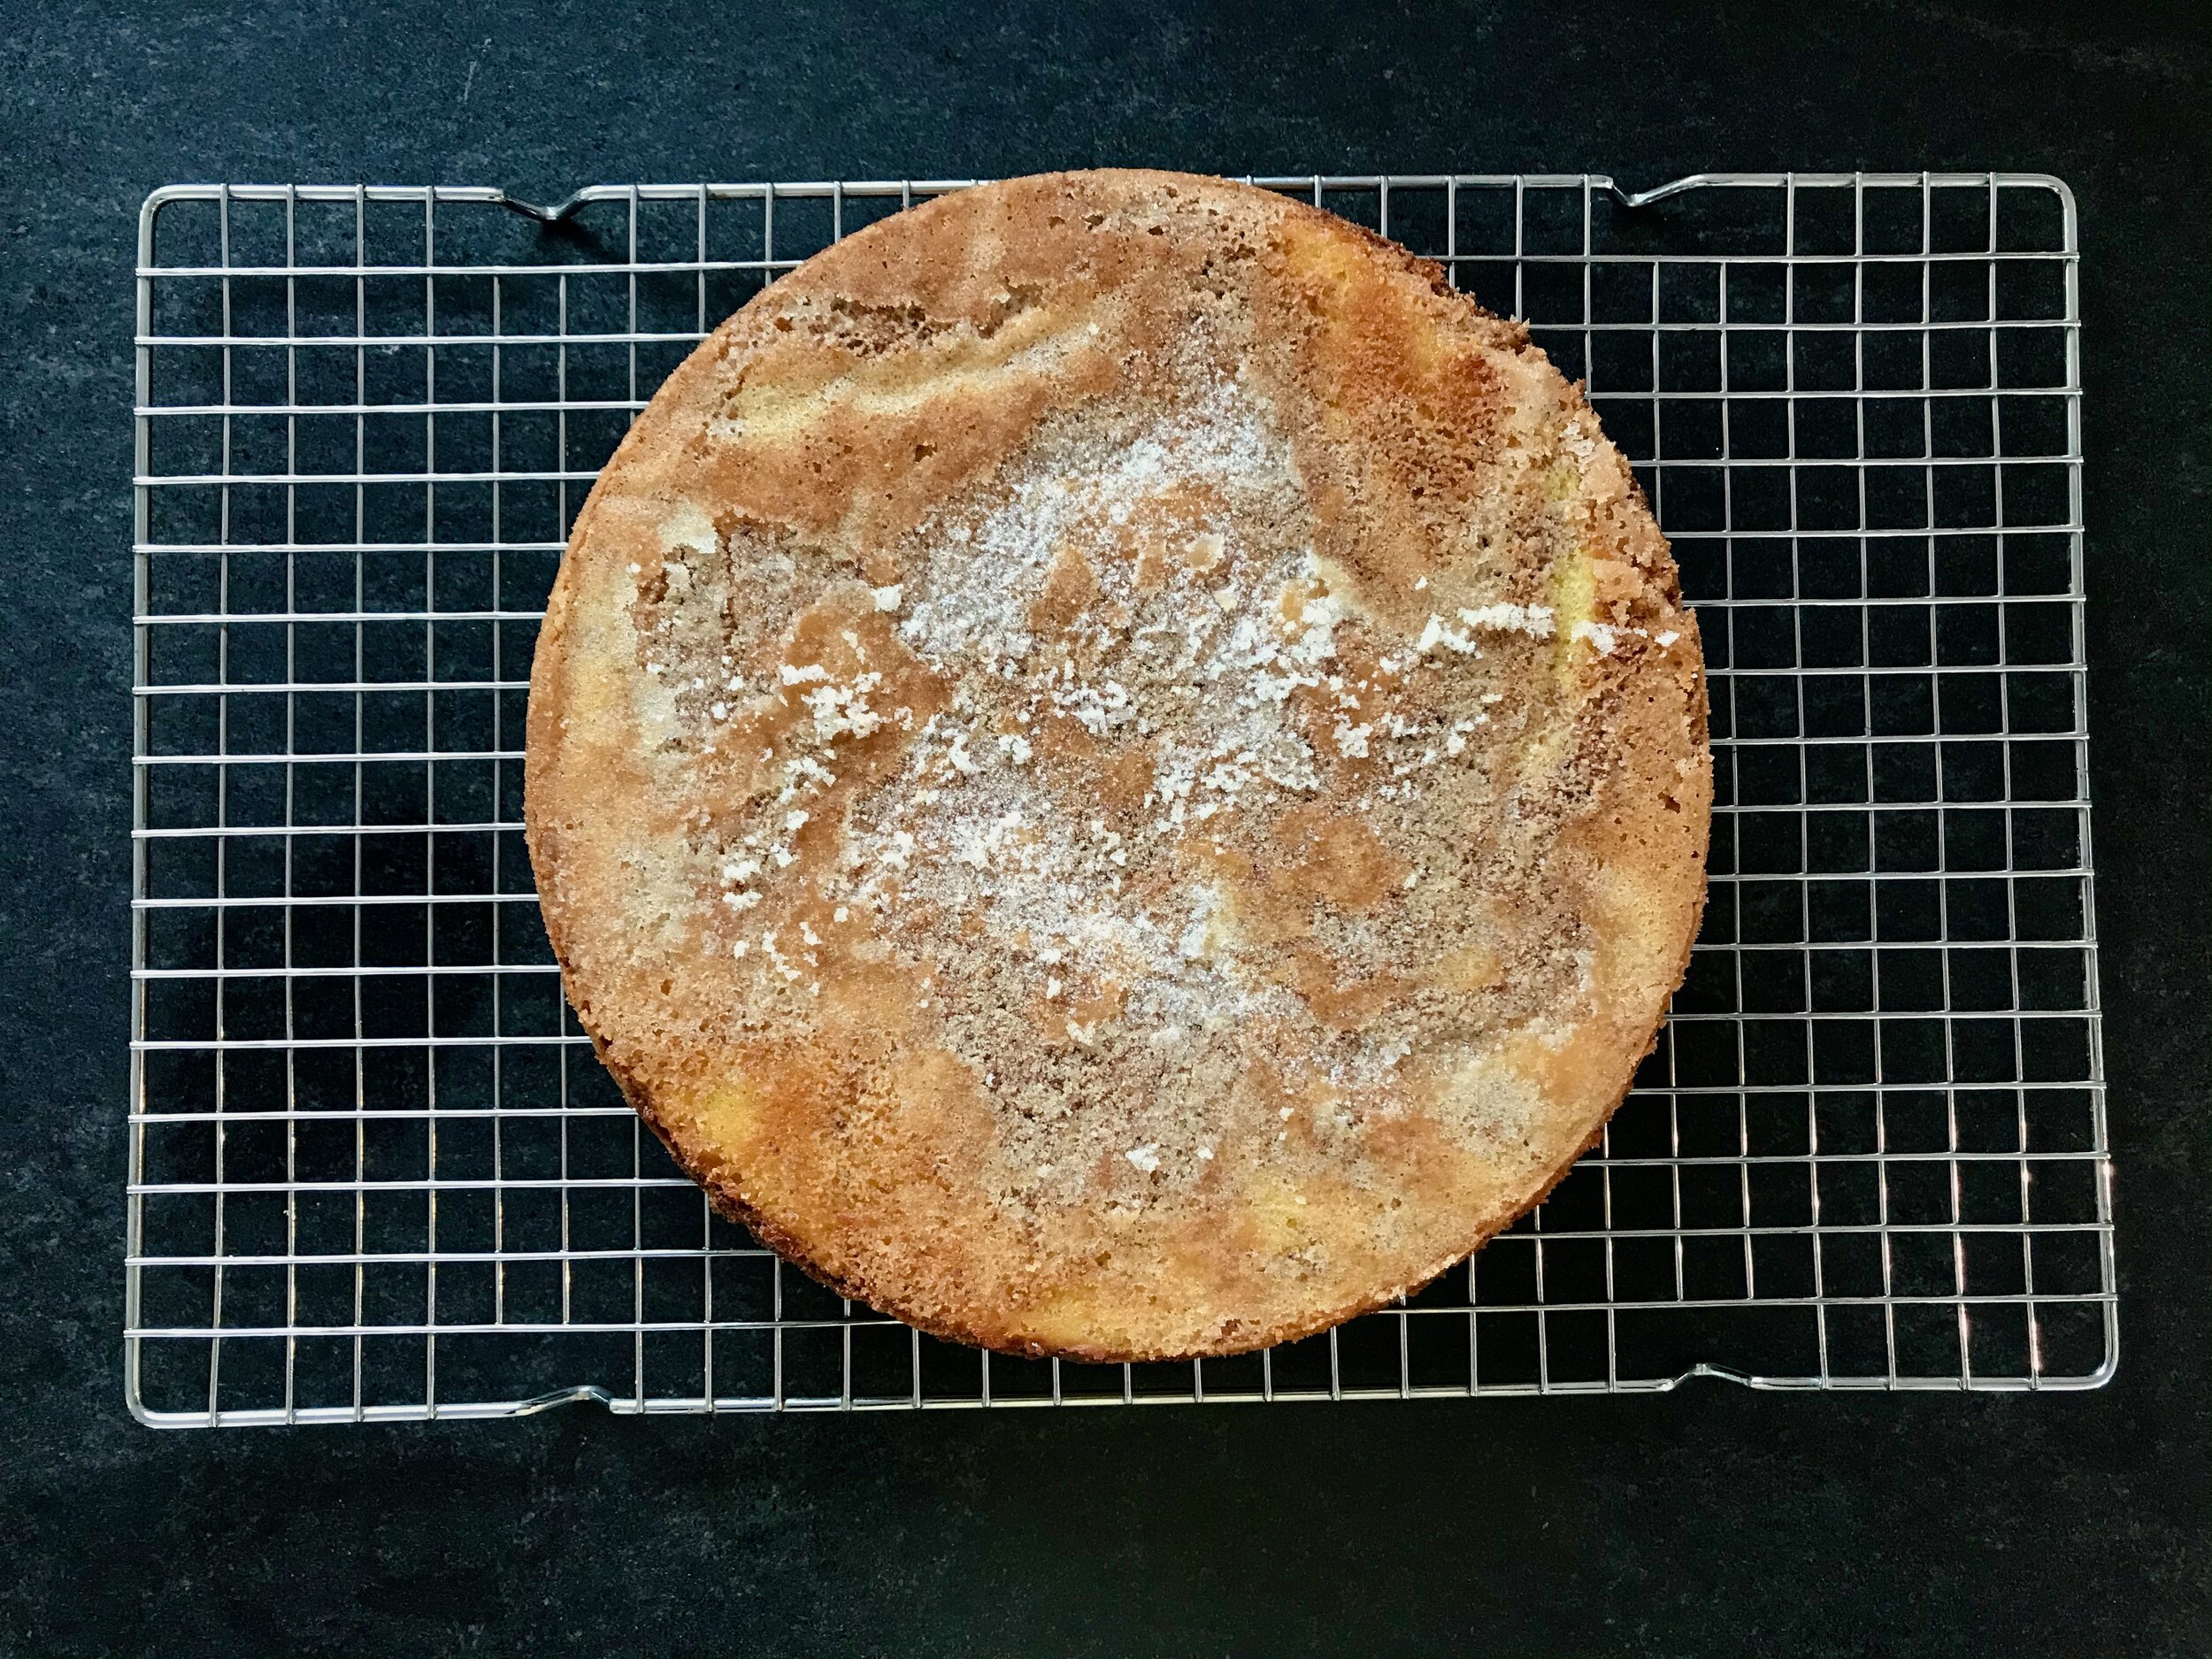
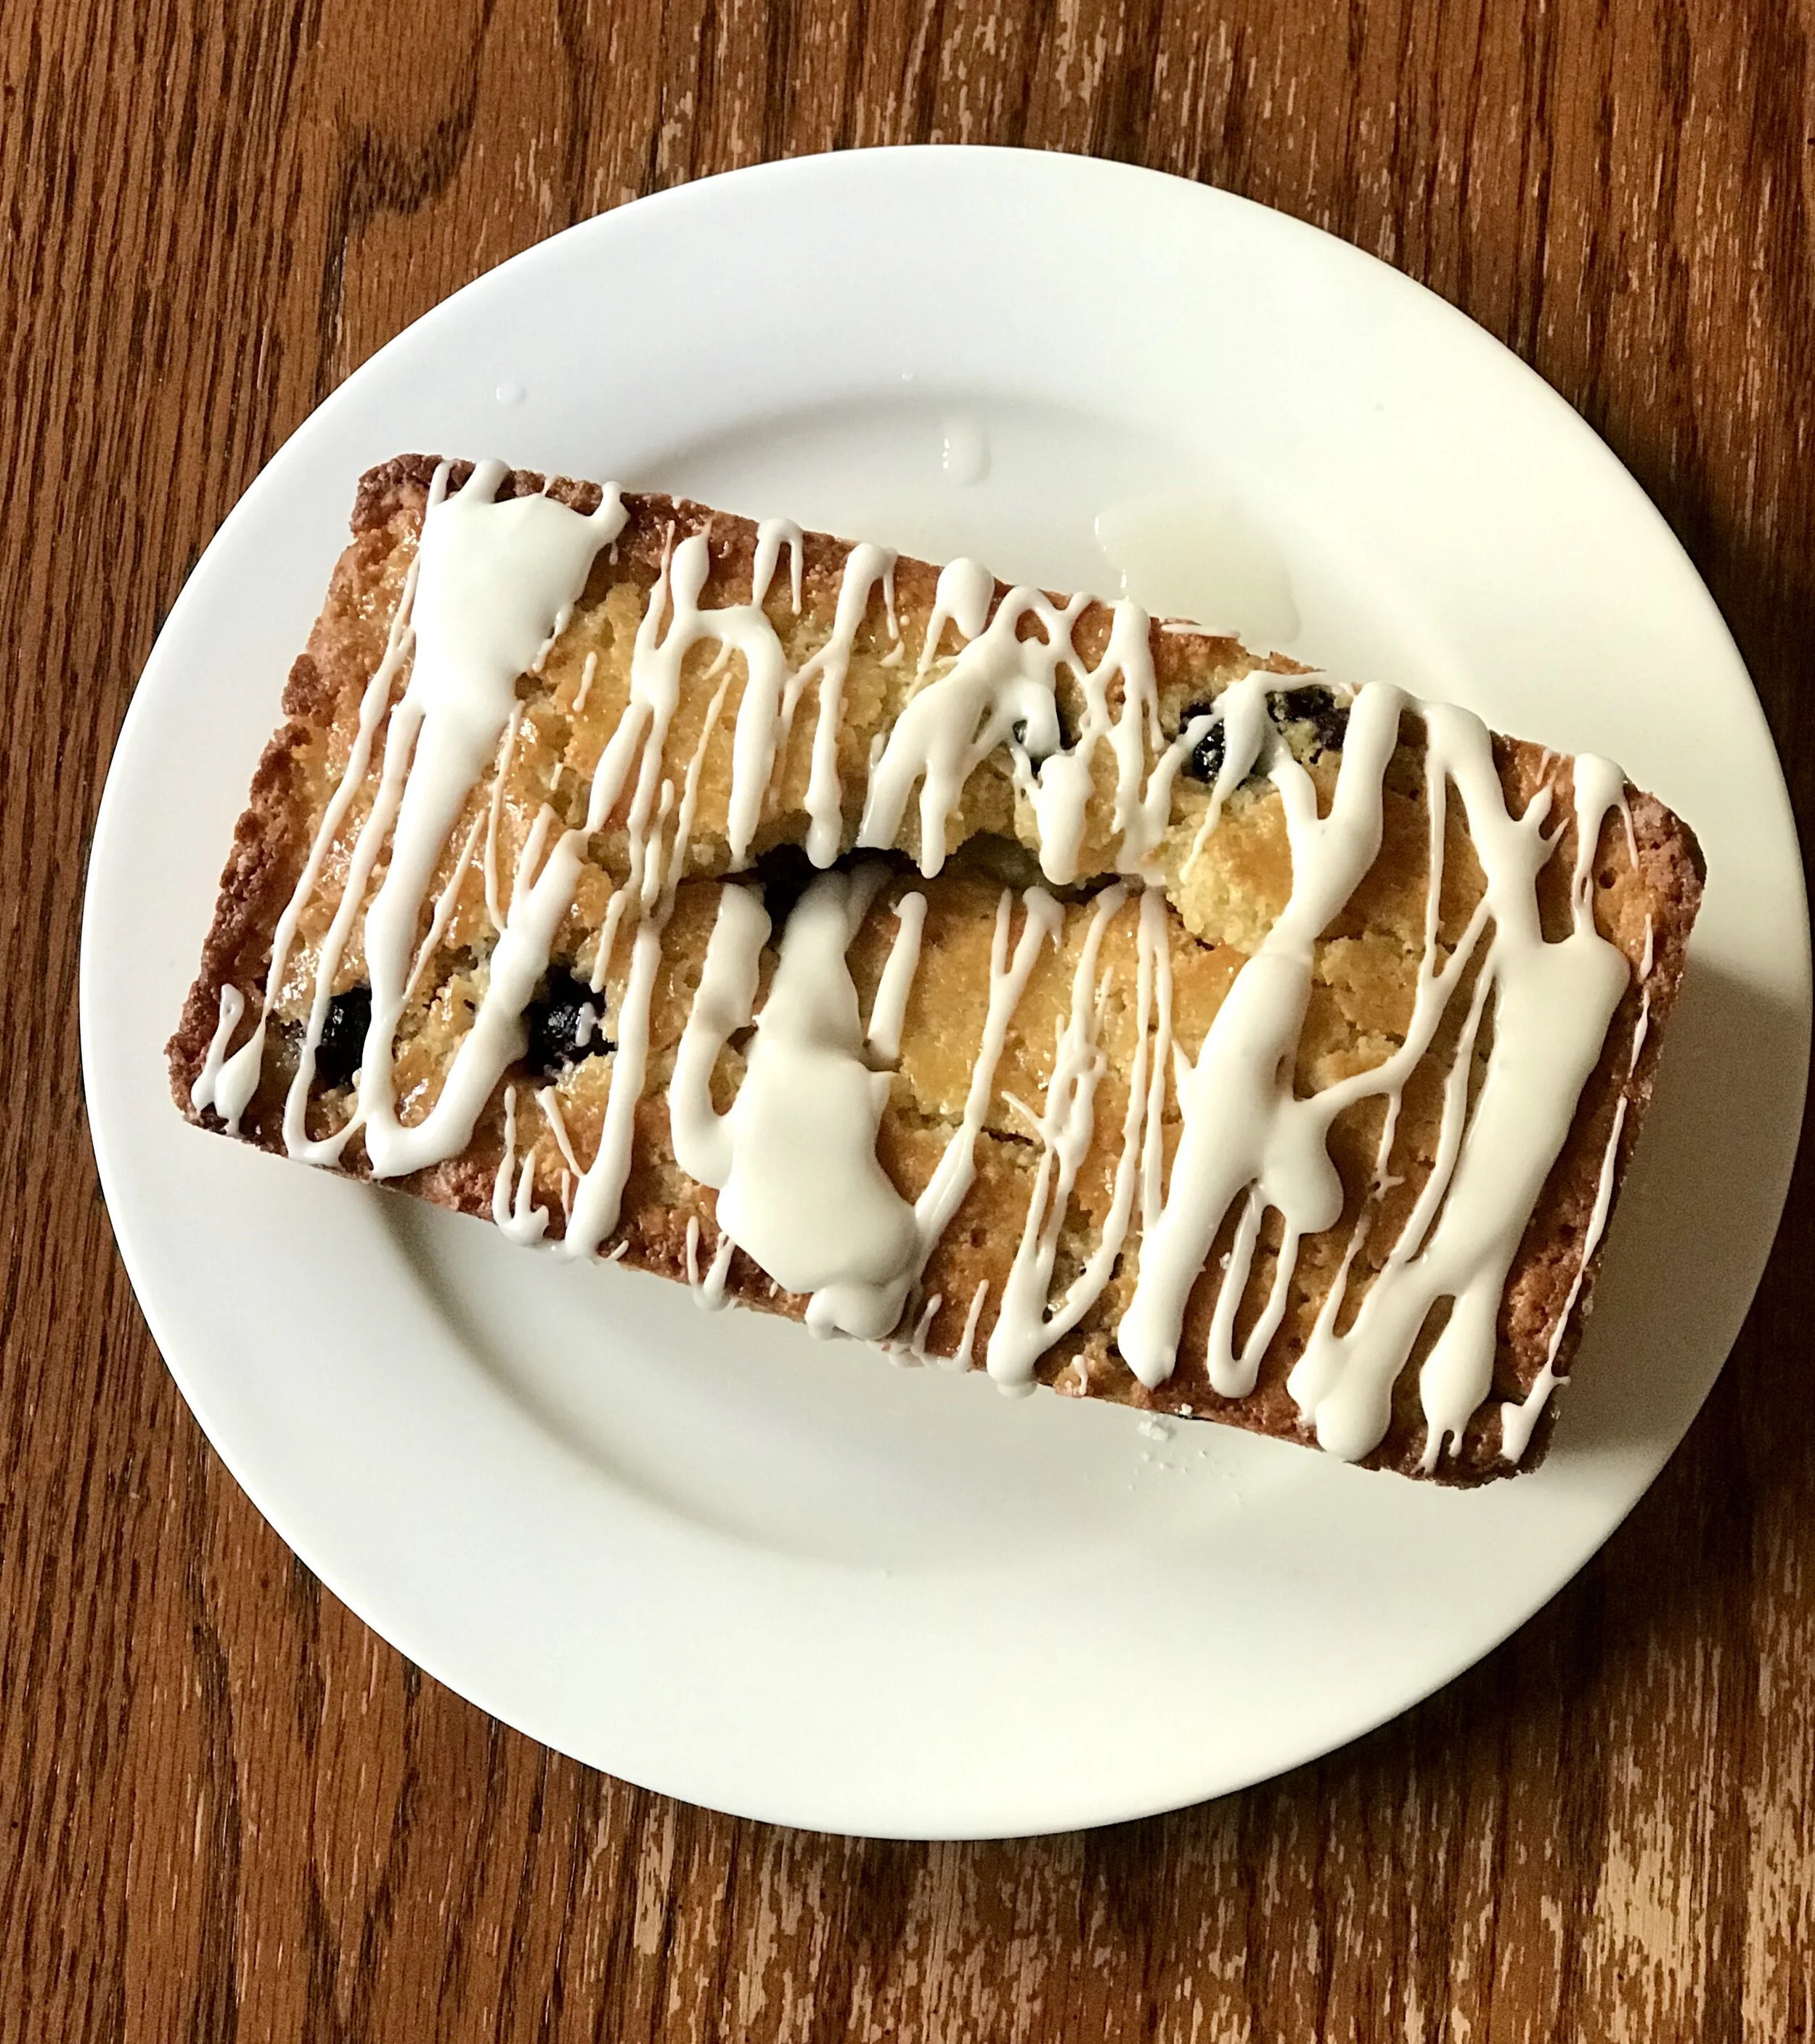
After Thanksgiving I ended up with about 1/4 cup of leftover pumpkin puree which meant I had to find something to bake with it! Lara and I browsed a few options and ended up picking this oat flour cake. The original was baked in a loaf pan, but we wanted a round cake so we baked it in an 8-inch round cake pan instead without any issues. It just didn’t need to bake quite as long.
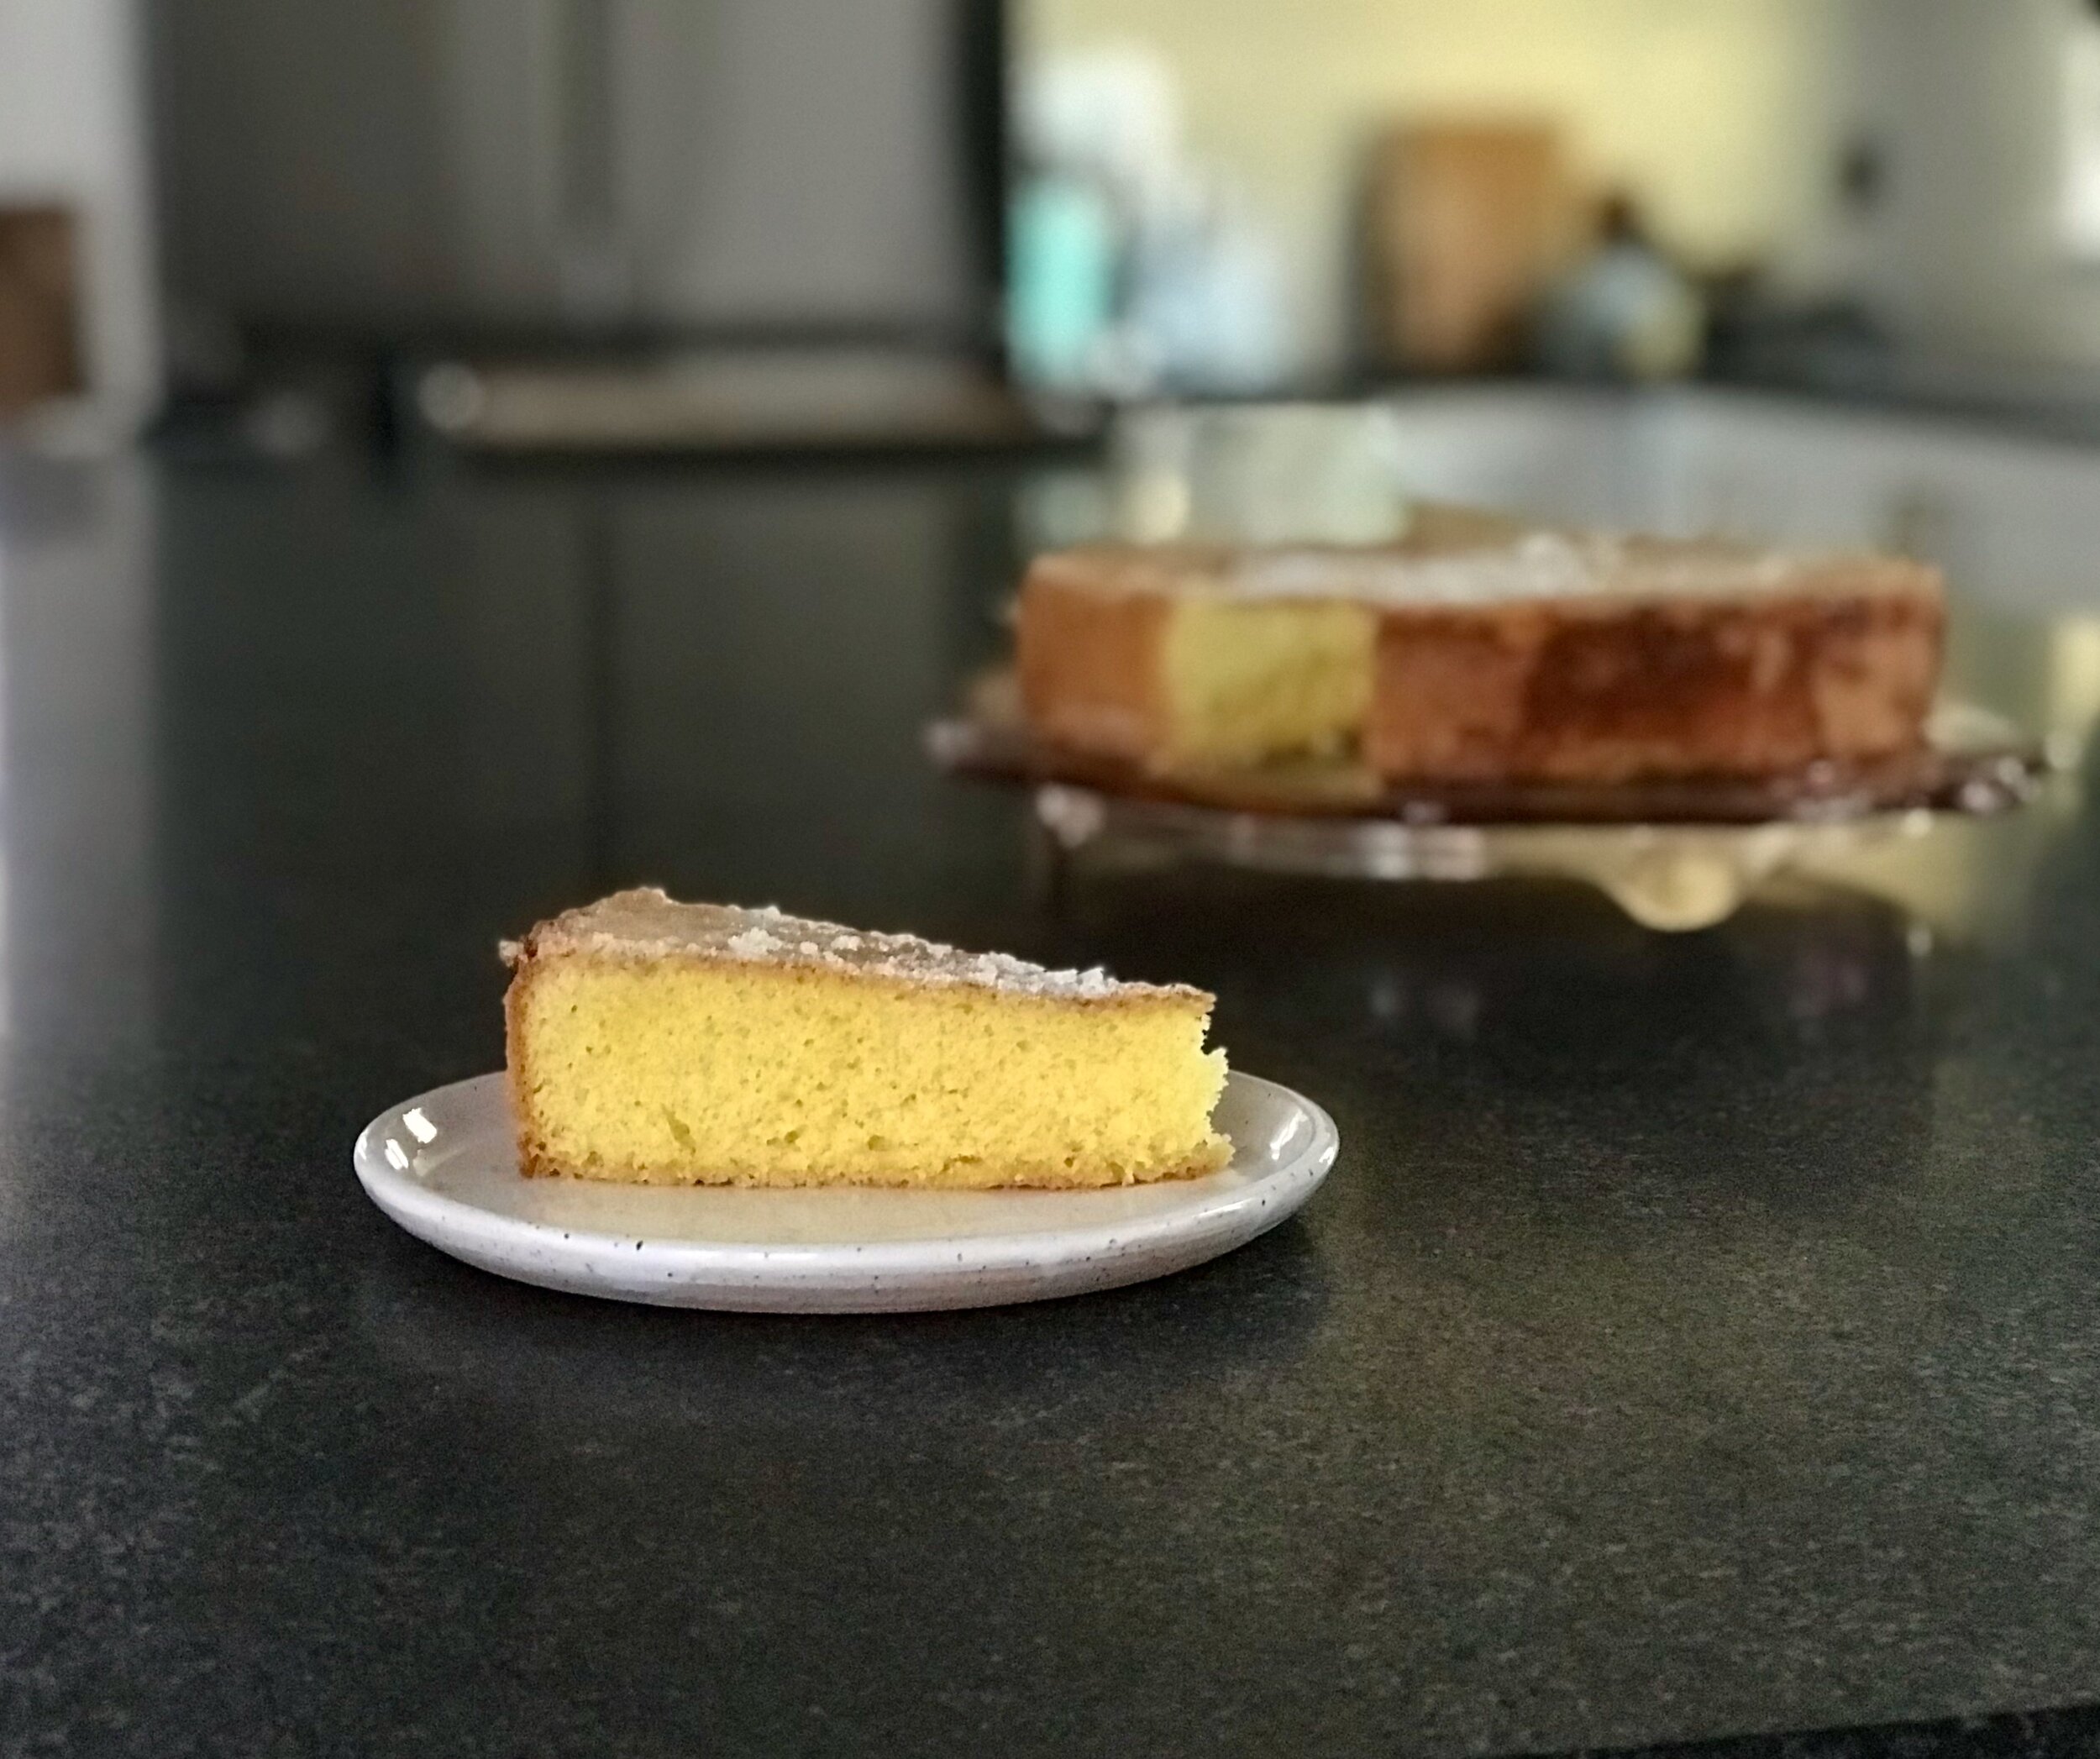
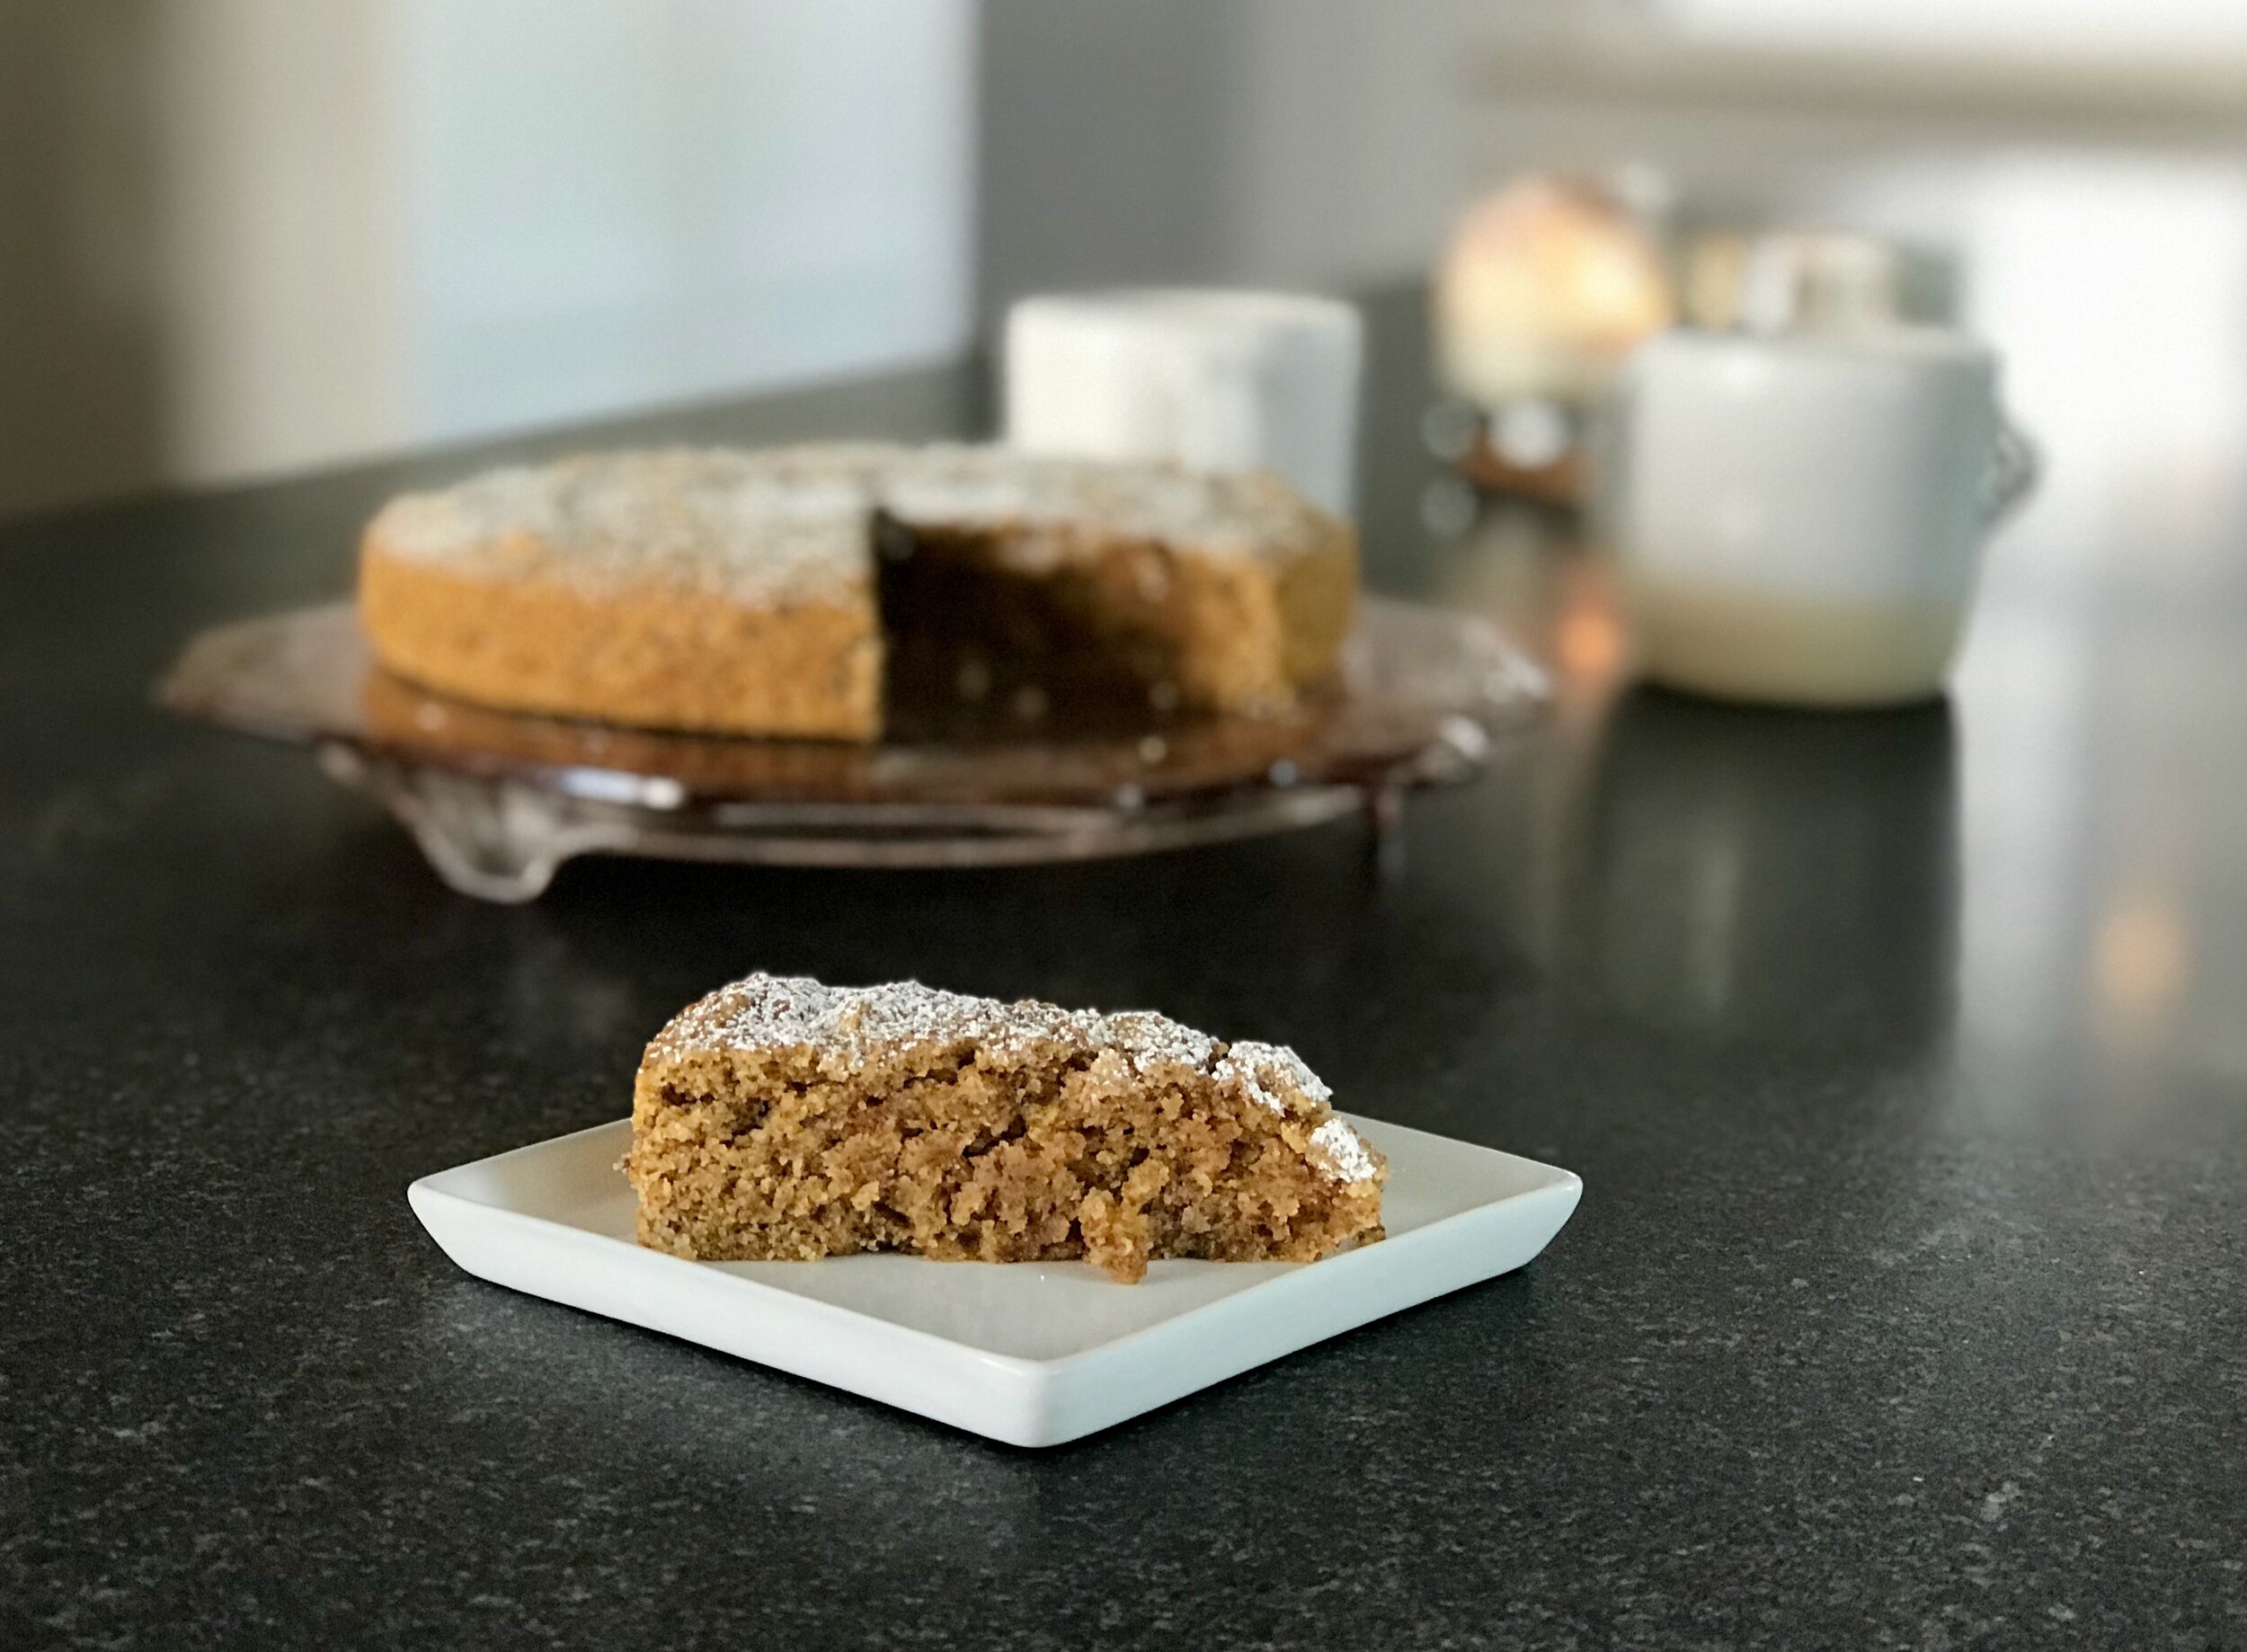
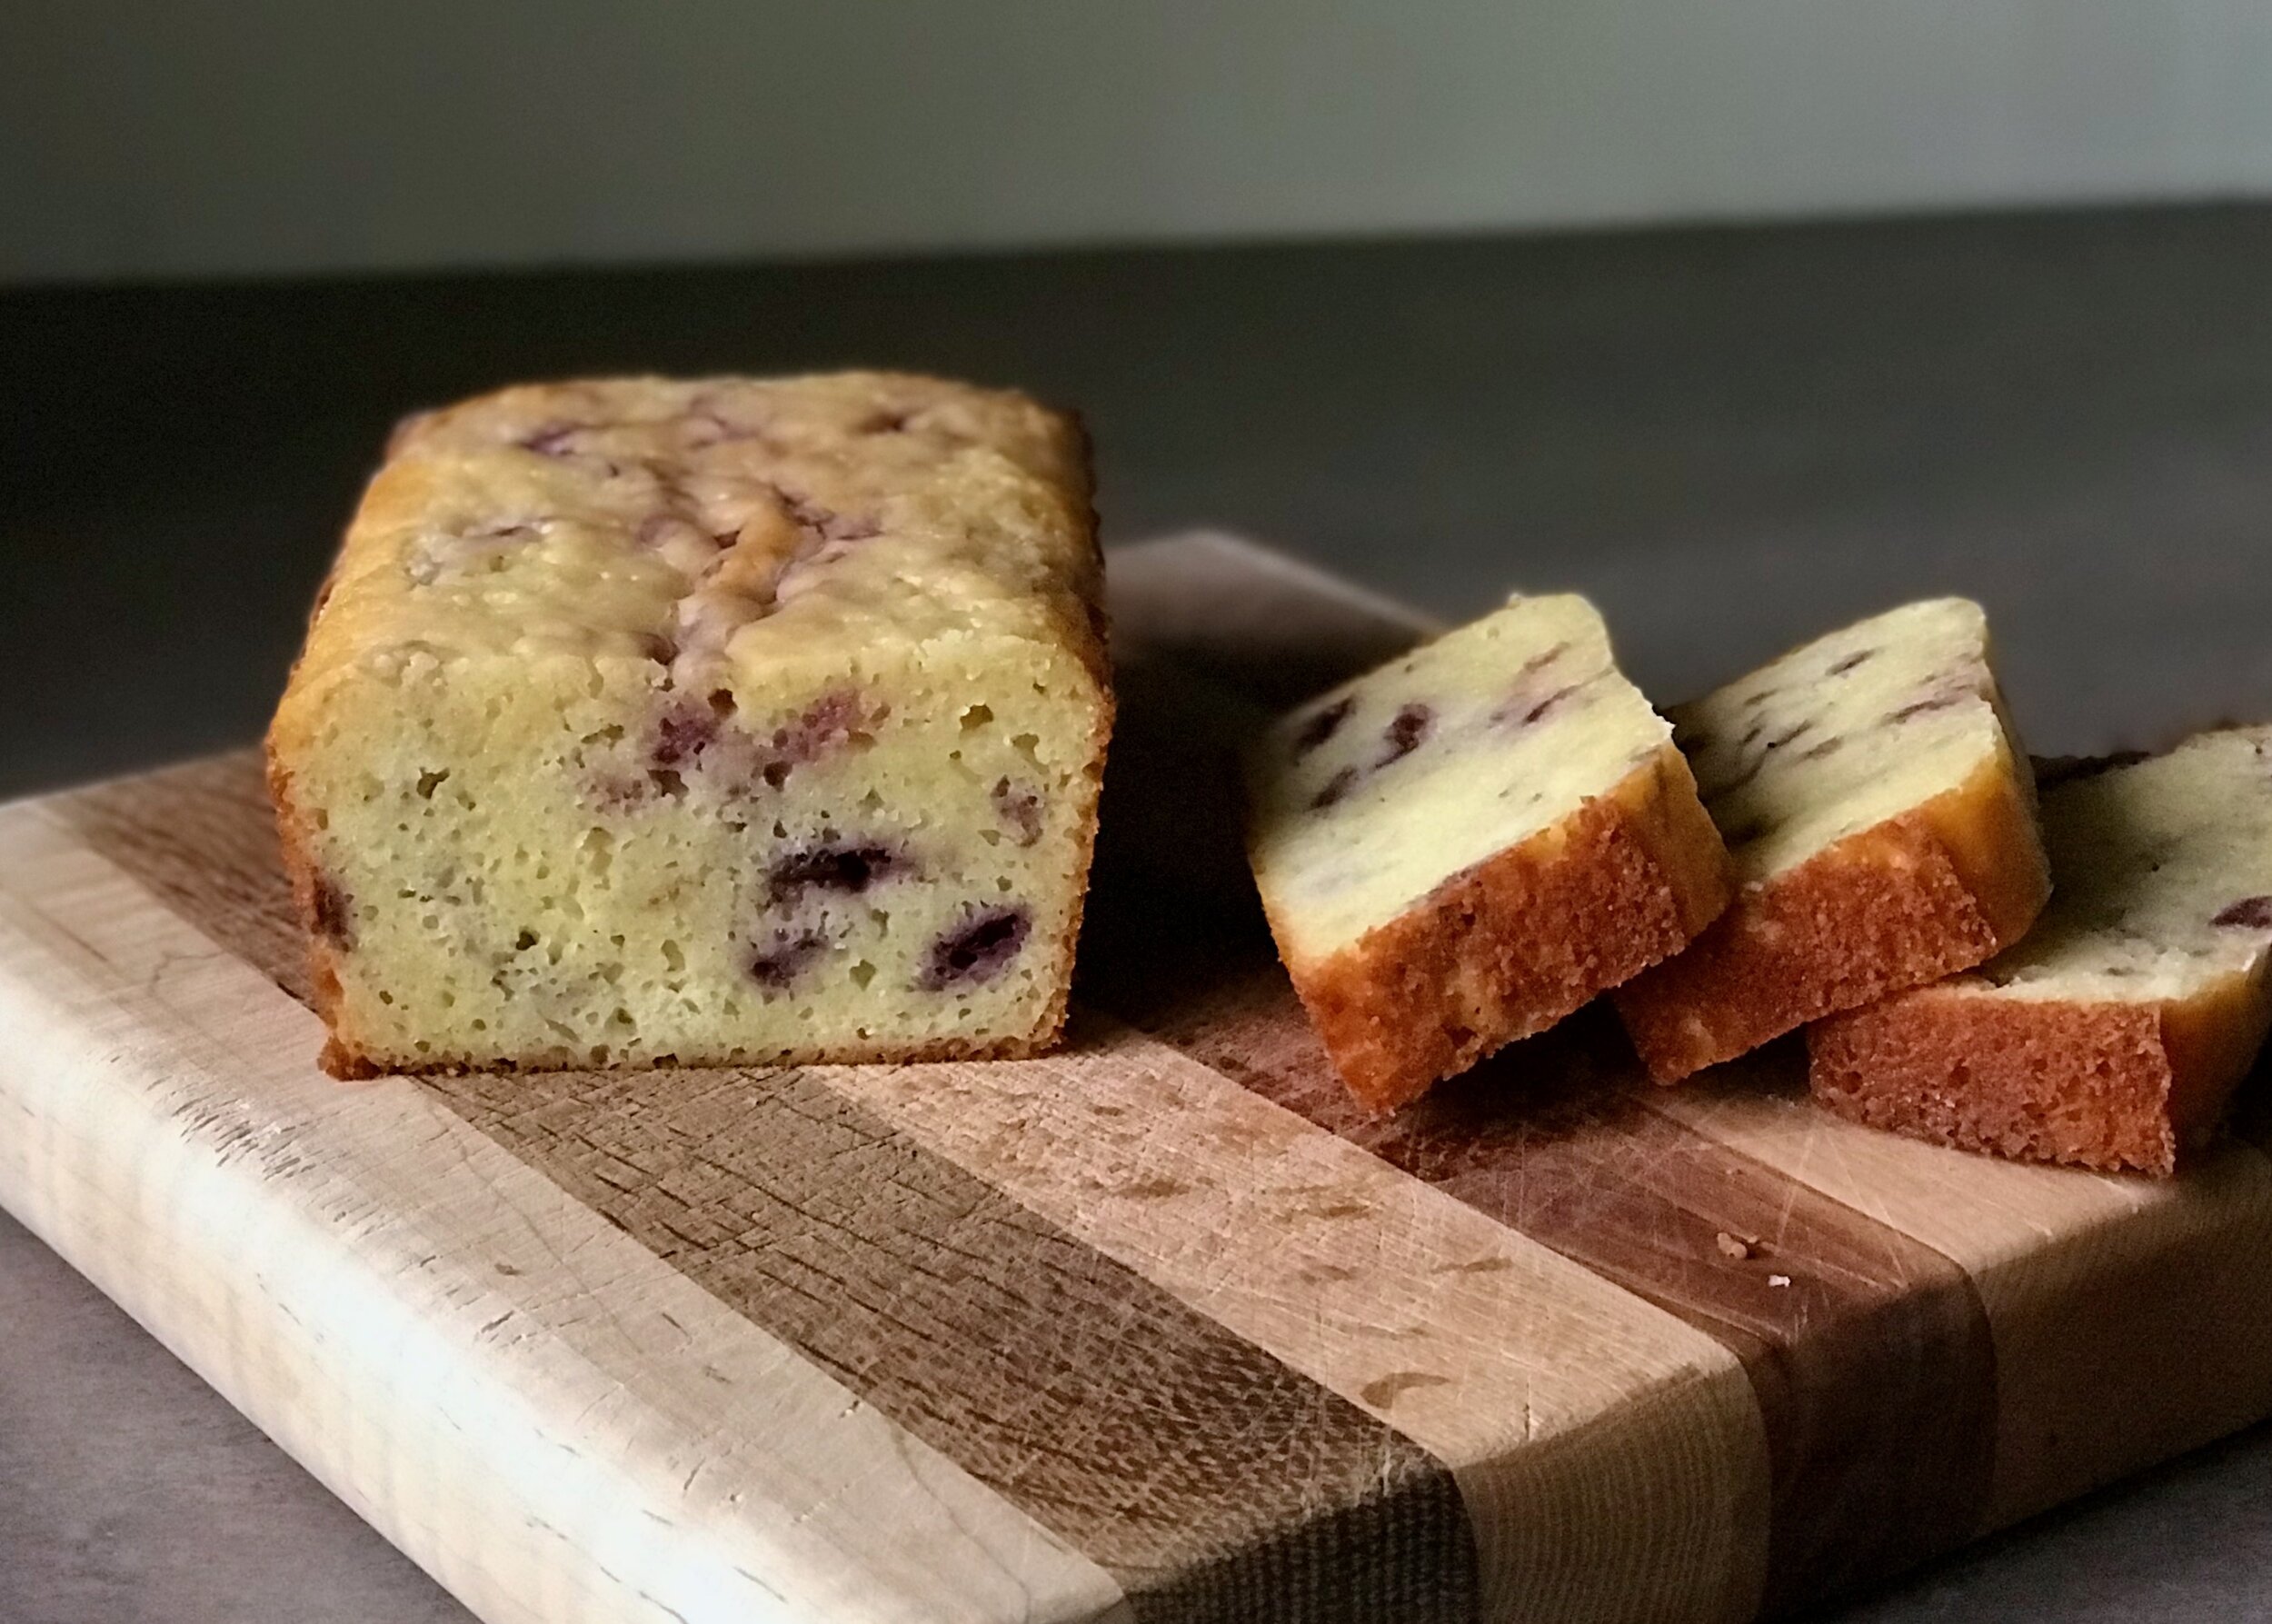
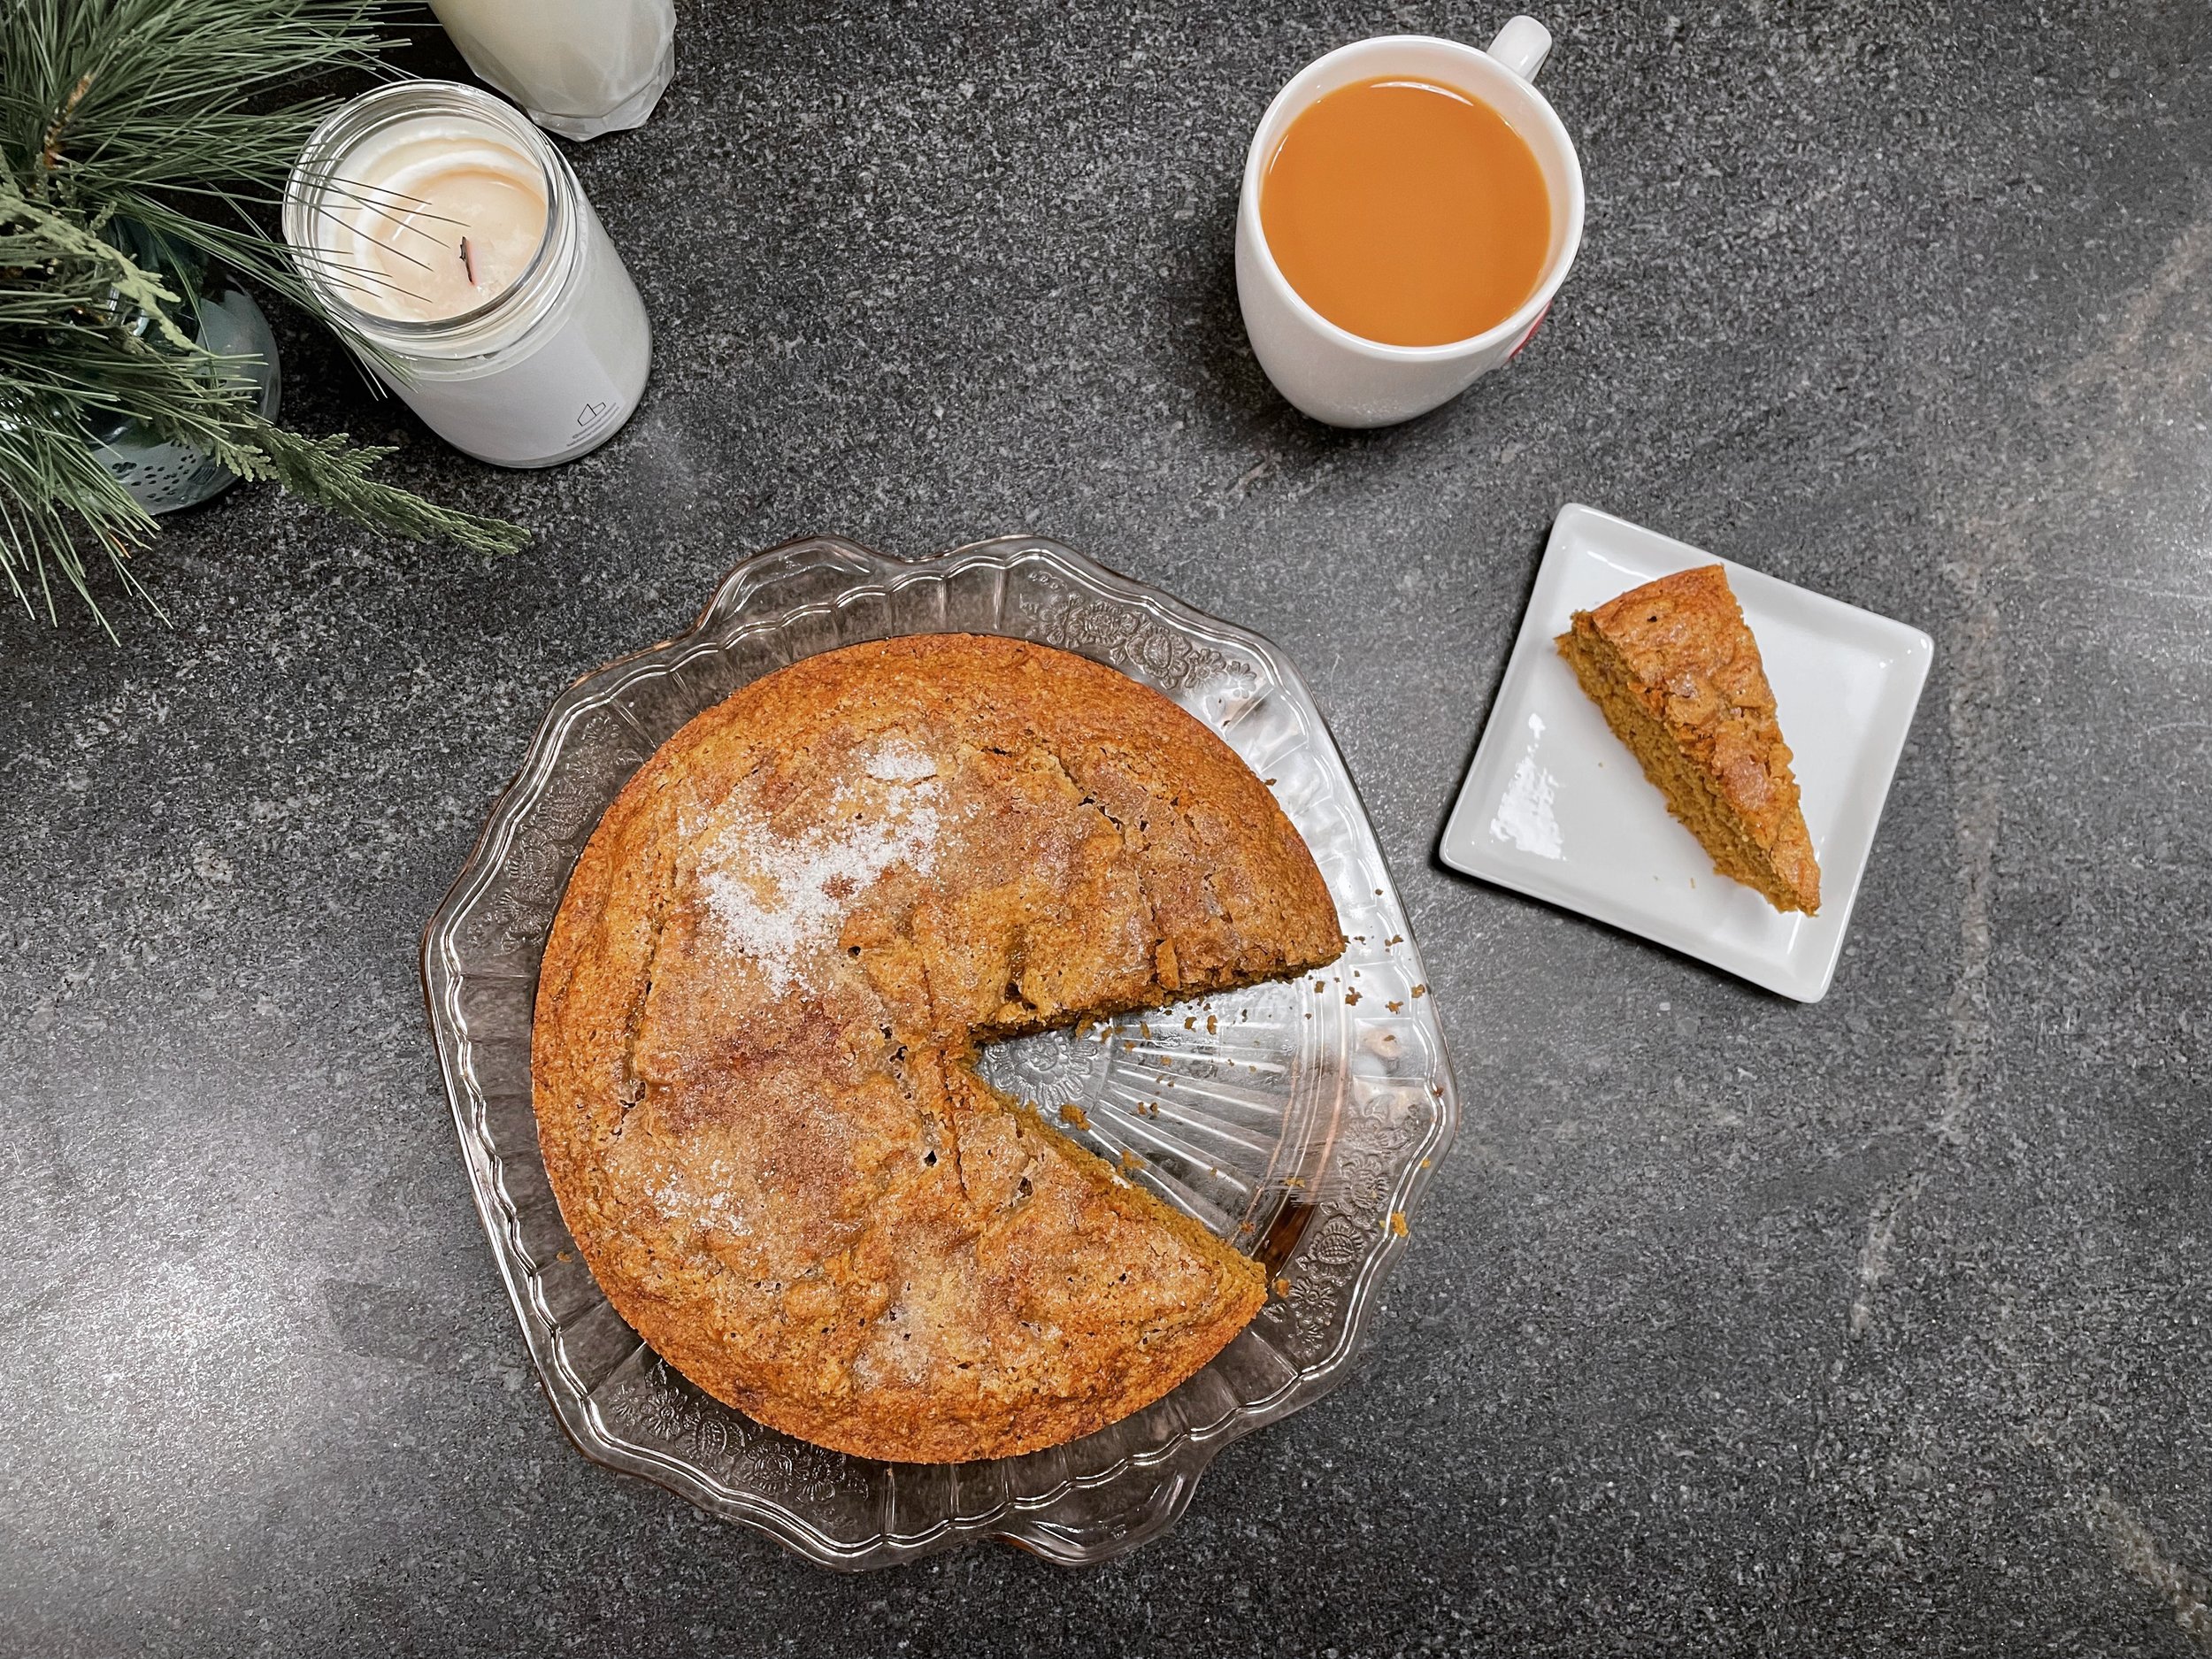
The cake itself is incredible tender. It is light and fragrant. Not overly sweet but just enough sweetness and richness (from the almond flour and coconut oil) to turn this simple cake into a satisfying, yet somewhat wholesome dessert. Perfect for a late fall night with a cup of coffee and a candle!

Oat Flour Pumpkin Cake
From Beaming Baker
Ingredients
1 cup pumpkin puree [I only had about 1/2 cup, 4 oz, pumpkin, so used 4 oz pumpkin + 4 oz Greek yogurt]
1/4 cup coconut oil, melted
6 tablespoons (120 grams) maple syrup
6 tablespoons coconut sugar [I used 4 Tbs brown sugar and it was just fine!]
1 flax egg [I used a real egg]
1 tsp vanilla
2 cup (180 grams) oat flour [I made my own in a blender, but you can also use store bought]
1/2 cup almond flour
1 tsp baking soda
1/2 tsp baking powder
1/4 tsp salt
cinnamon, cloves, nutmeg
Directions
Preheat the oven to 350°F. Line an 8-inch loaf pan with parchment paper or greased foil. Set aside. [I decided to turn this into a snacking cake so I used an 8x2 inch round cake pan instead]
Add the wet ingredients to a large bowl: pumpkin, coconut oil, maple syrup, sugar, flax egg, and vanilla. Whisk until well incorporated.
Add the dry ingredients to the same bowl: oat flour, almond meal, baking soda, baking powder, cinnamon, cloves, nutmeg and salt.
Whisk as long as you can—the batter will be thick. Switch to folding with a rubber spatula until no flour patches remain. Do not add additional liquids—the batter is meant to be very thick.
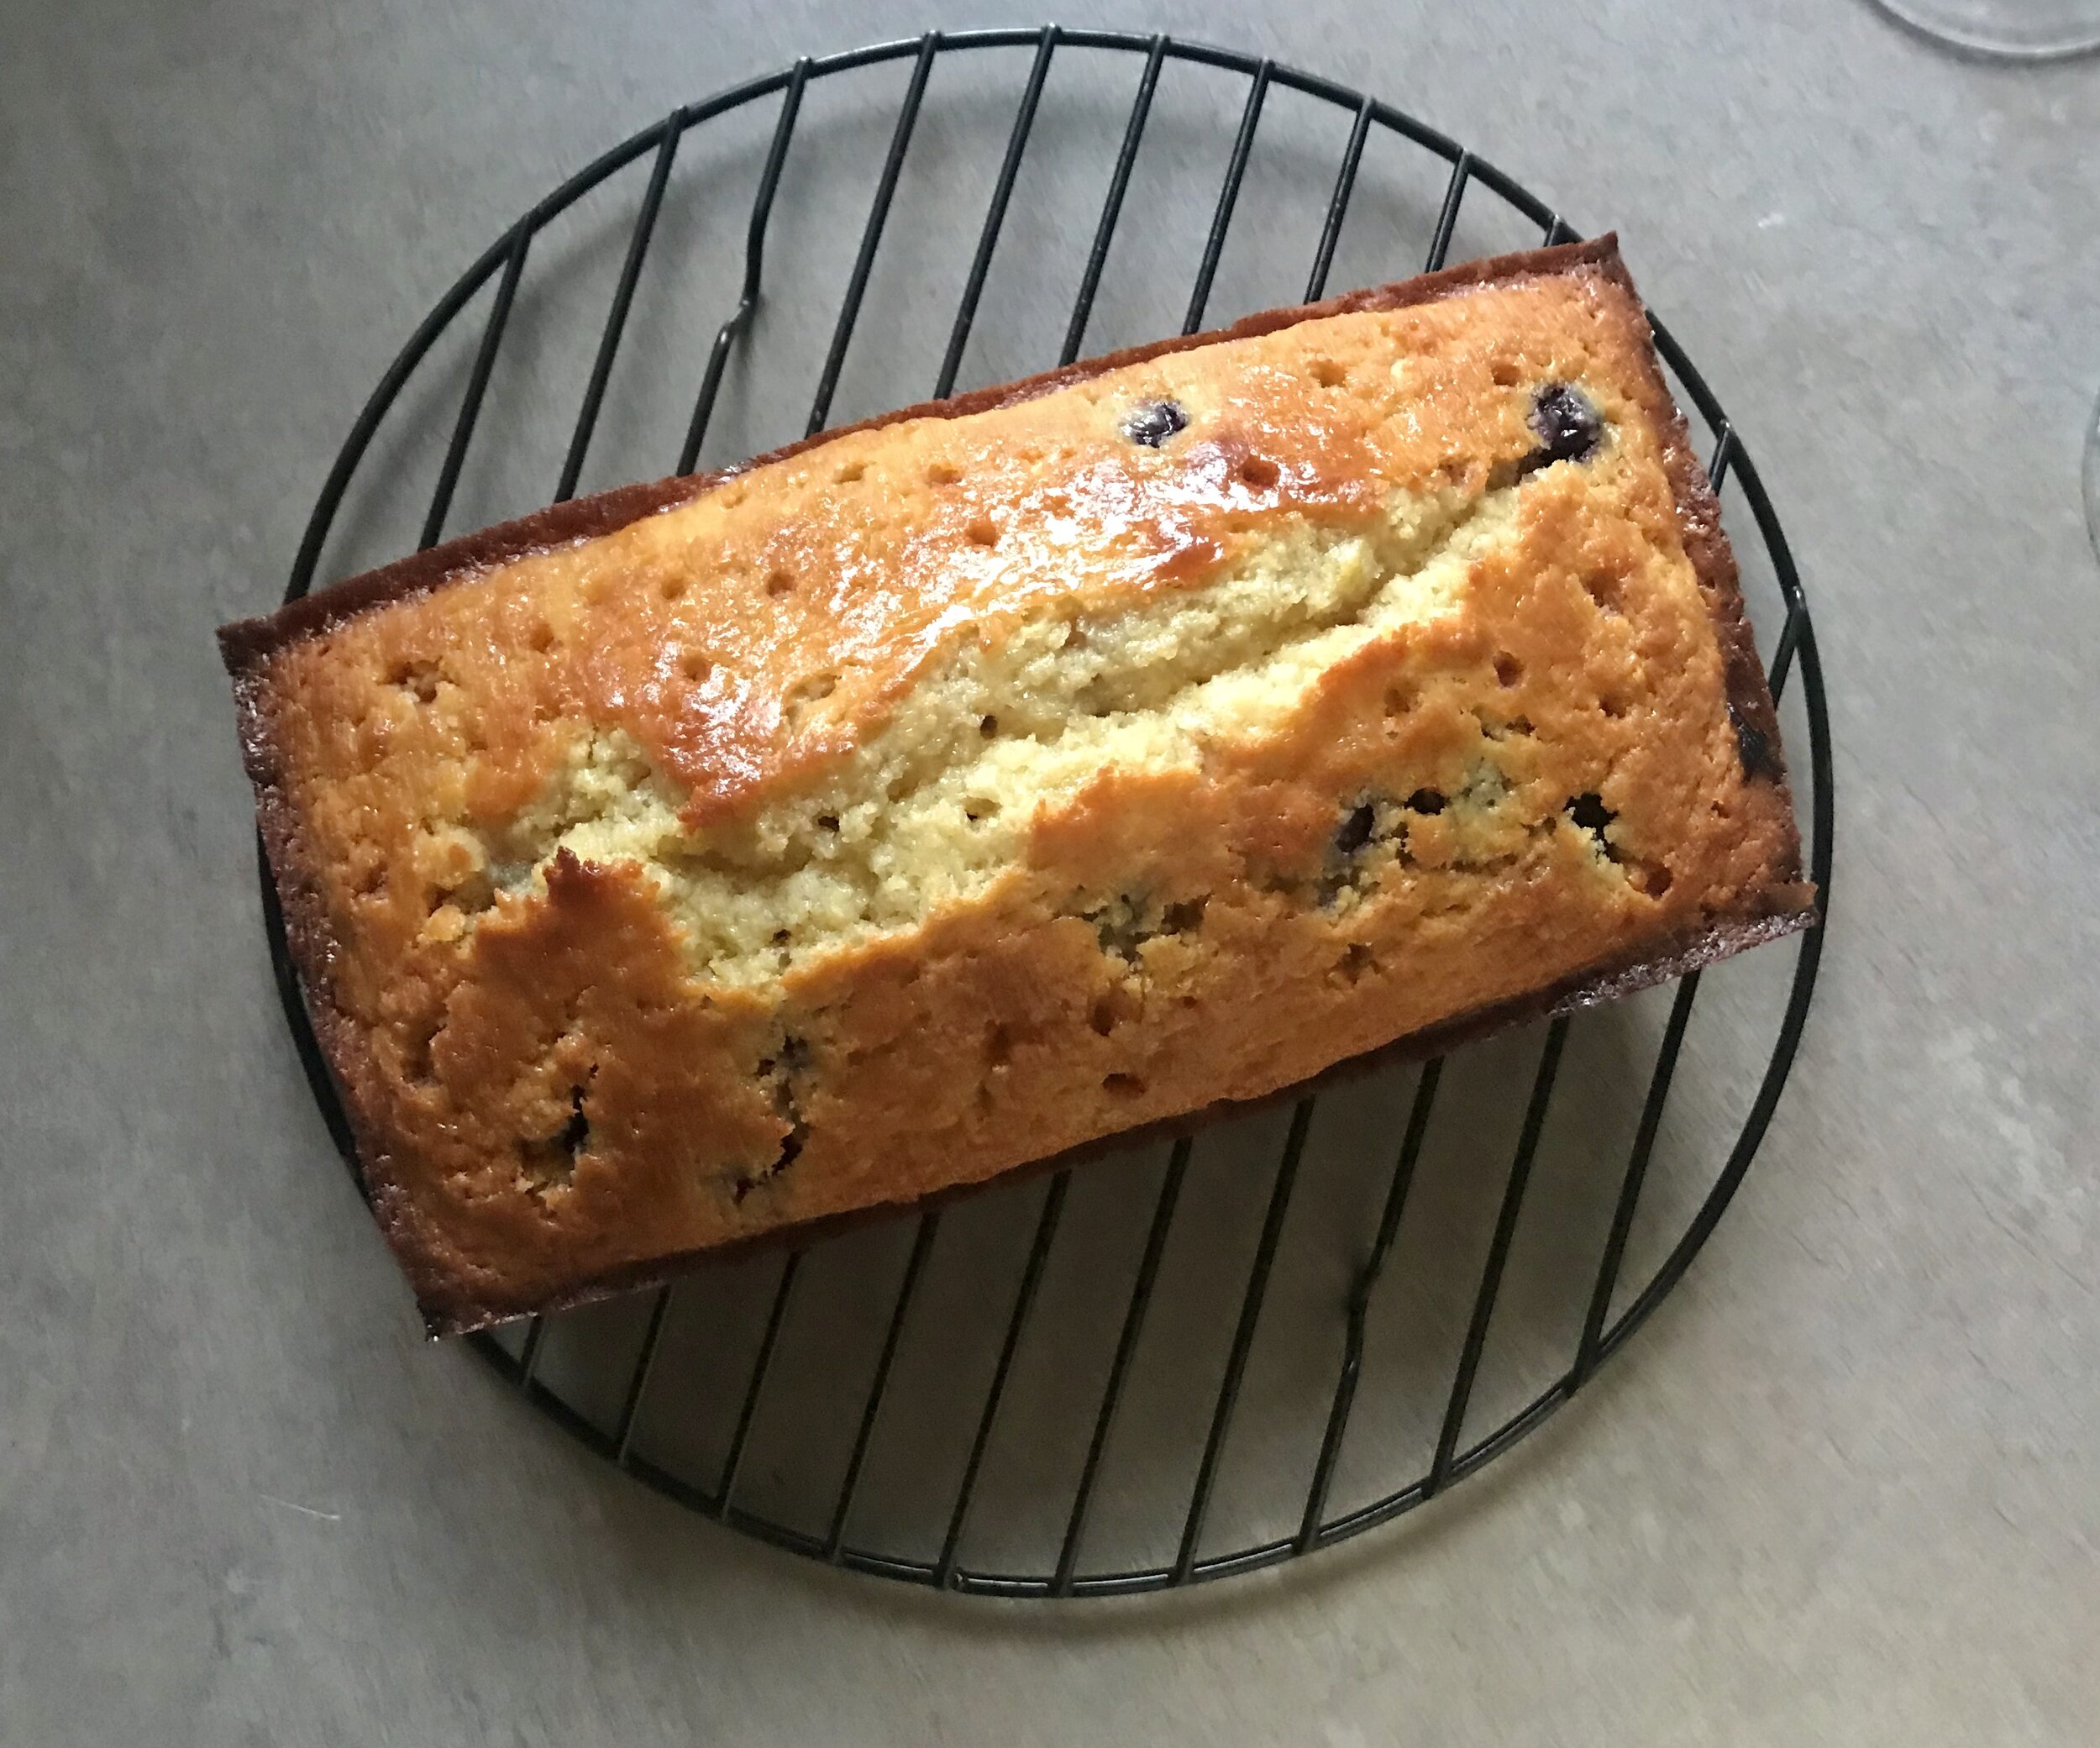
Transfer batter into the prepared loaf pan. Using a clean rubber spatula, smooth batter into an even layer, with a gentle rise down the center—mimicking the shape of a perfect loaf. It is important to follow this step for the perfect loaf shape, as the batter will bake up very close to how it looks raw.
Bake for 55-65 minutes or until a toothpick into the center of the loaf comes out with a few moist crumbs. [Mine took about 35 minutes in an 8-inch round cake pan]