Classic Hummus
I've been wanting to do a post on hummus for a long time now, but whenever I would make it I never ended up taking any pictures. Well, recently I decided that enough was enough, it was time for hummus pics. So here you are, my favorite, go-to hummus recipe from my favorite cookbook author and chef, Yotam Ottolenghi. To be honest, this is the only hummus recipe I've ever made, but I love it so much that I've never felt the need to search for another. It turns out super creamy, lemony hummus, full of garlic and tahini.
Homemade hummus is so incredibly good, and really quite easy. You will never want to go back to the watery, flavorless store-bought hummus again once you've tried making it yourself (even though, if in a pinch, the store-bought version makes an appearance, don't worry, I understand, sometimes convenience trumps all!). But seriously, this stuff is so good. If you've never tried making hummus before you really should give it a shot. Pull out that food processor and grab a bag of dried chickpeas and get going!
This recipe comes from Jerusalem by Yotam Ottolenghi which I've talked about before, so I won't wax poetic about this wonderful book again. The original recipe makes a massive batch of hummus, way more than I ever need for myself, so I usually halve it. You'll see the halved recipe below, so go ahead and double it if you need a big batch, just be sure you're food processor is big enough. As written below, the recipe makes approximately 2 1/4 - 2 1/2 cups of hummus in the end, so still a nice amount of hummus.
Making hummus is really a simple process. You do have to think ahead in order to have time to soak and cook the chickpeas, but once that is done, the food processor takes care of all the hard work. And while I know you can make hummus with canned chickpeas, I highly recommend dried. They taste so much better, are not really any more work, and are cheaper, win-win!
Classic Hummus
Adapted from Jerusalem by Yotam Ottolenghi and Sami Tamimi
Ingredients
- 1/2 cup plus 2 tablespoons (125 grams) dried chickpeas
- 1/2 teaspoon baking soda
- 3 1/4 cups water
- 1/2 cup plus 1 tablespoon (135 grams) tahini
- 2 tablespoons freshly squeezed lemon juice (do not use bottled lemon juice)
- 2 cloves garlic, crushed
- 3 1/2 tablespoons ice-cold water
- salt
Directions
The night before making the hummus, put the chickpeas in a medium-to-large saucepan and cover them with cold water at least twice their volume. Leave to soak overnight.
The next day, drain the chickpeas and return to the saucepan. Place the saucepan over high heat and add the baking soda. Cook for about 3 minutes, stirring constantly. Add the water and bring to a boil. Cook, scimming off any foam and any skins that float to the surface. The chickpeas will need to cook between 20 and 40 minutes, depending on how fresh they are, sometimes even longer. Once done, they should be very tender, breaking up easily when pressed between your thumb and finger, almost but not quite mushy.
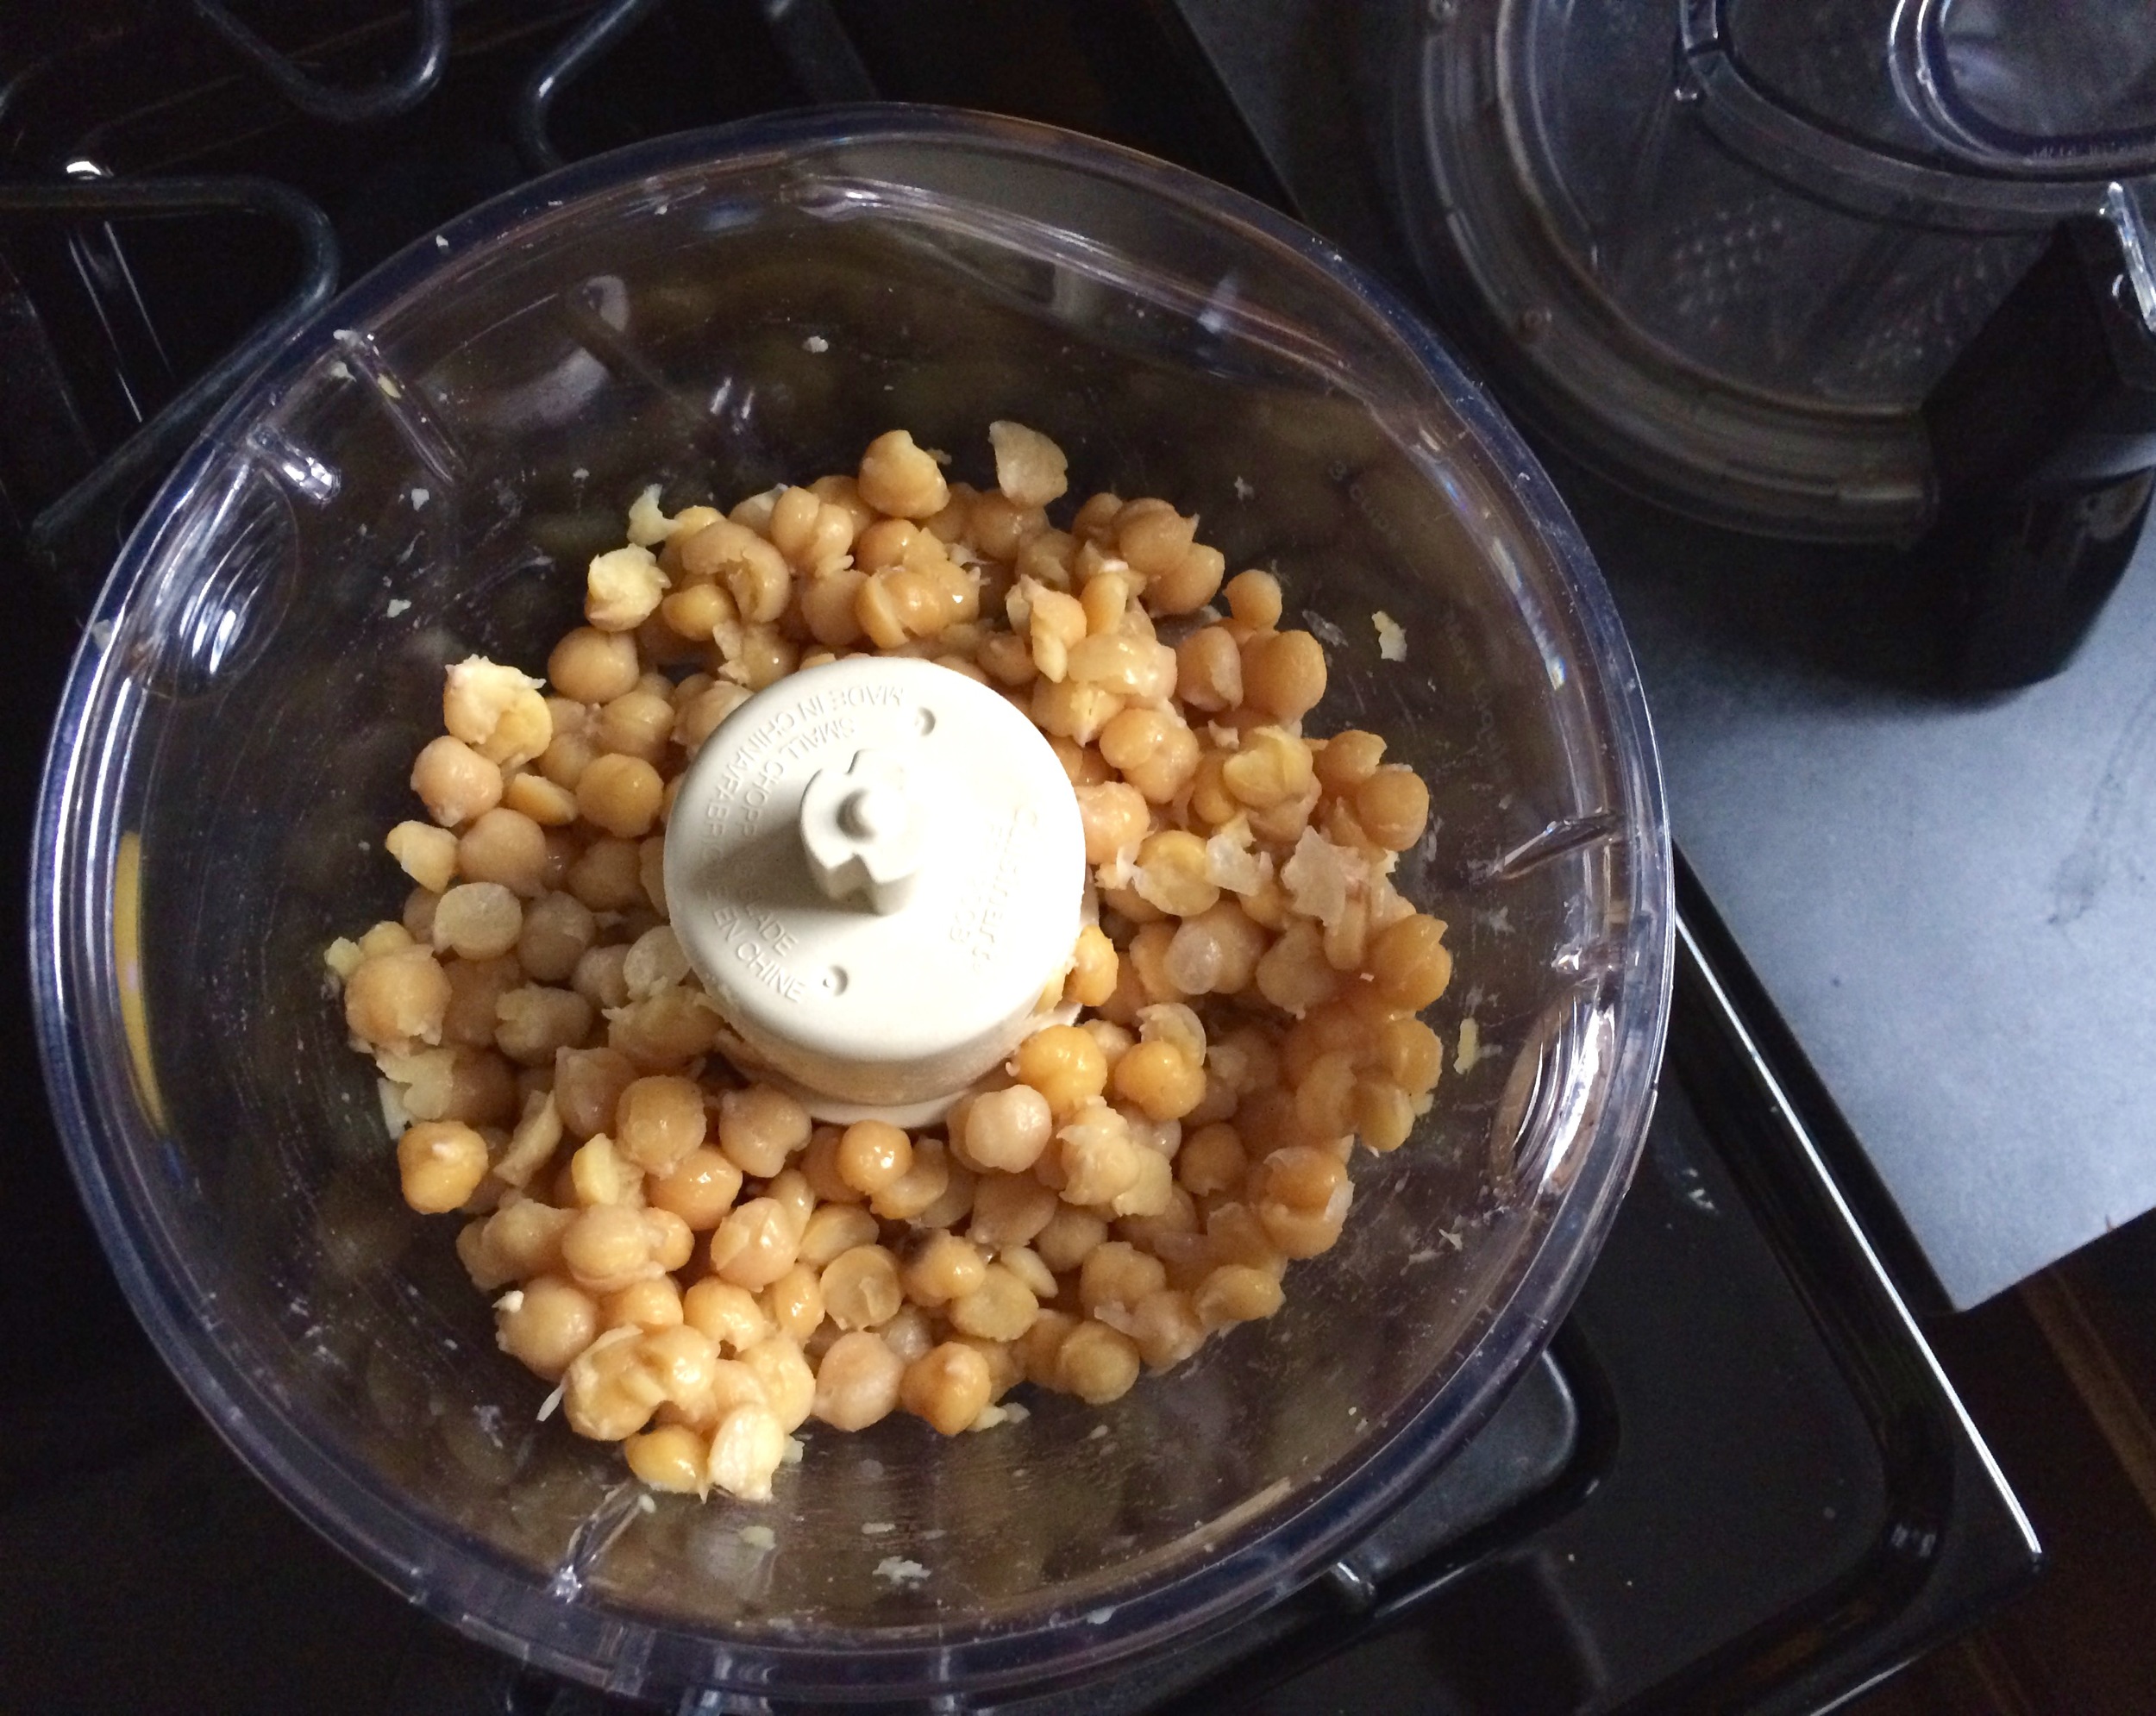
Drain the chickpeas. You should have roughly 1 3/4 cup (300 grams) now. Place the chickpeas in a food processor and process until you get a stiff paste. Then, with the machine still running, add the tahini, lemon juice, garlic and 3/4 teaspoon salt. Finally, slowly drizzle in the iced water and allow it to mix for about 5 minutes, until you get a very smooth and creamy paste.
Transfer hummus (which will be quite warm at this point) to a bowl, cover the surface with plastic wrap, and let it rest for at least 30 minutes. If not using right away, refrigerate until needed. Make sure to take it out of the fridge at least 30 minutes before serving.


