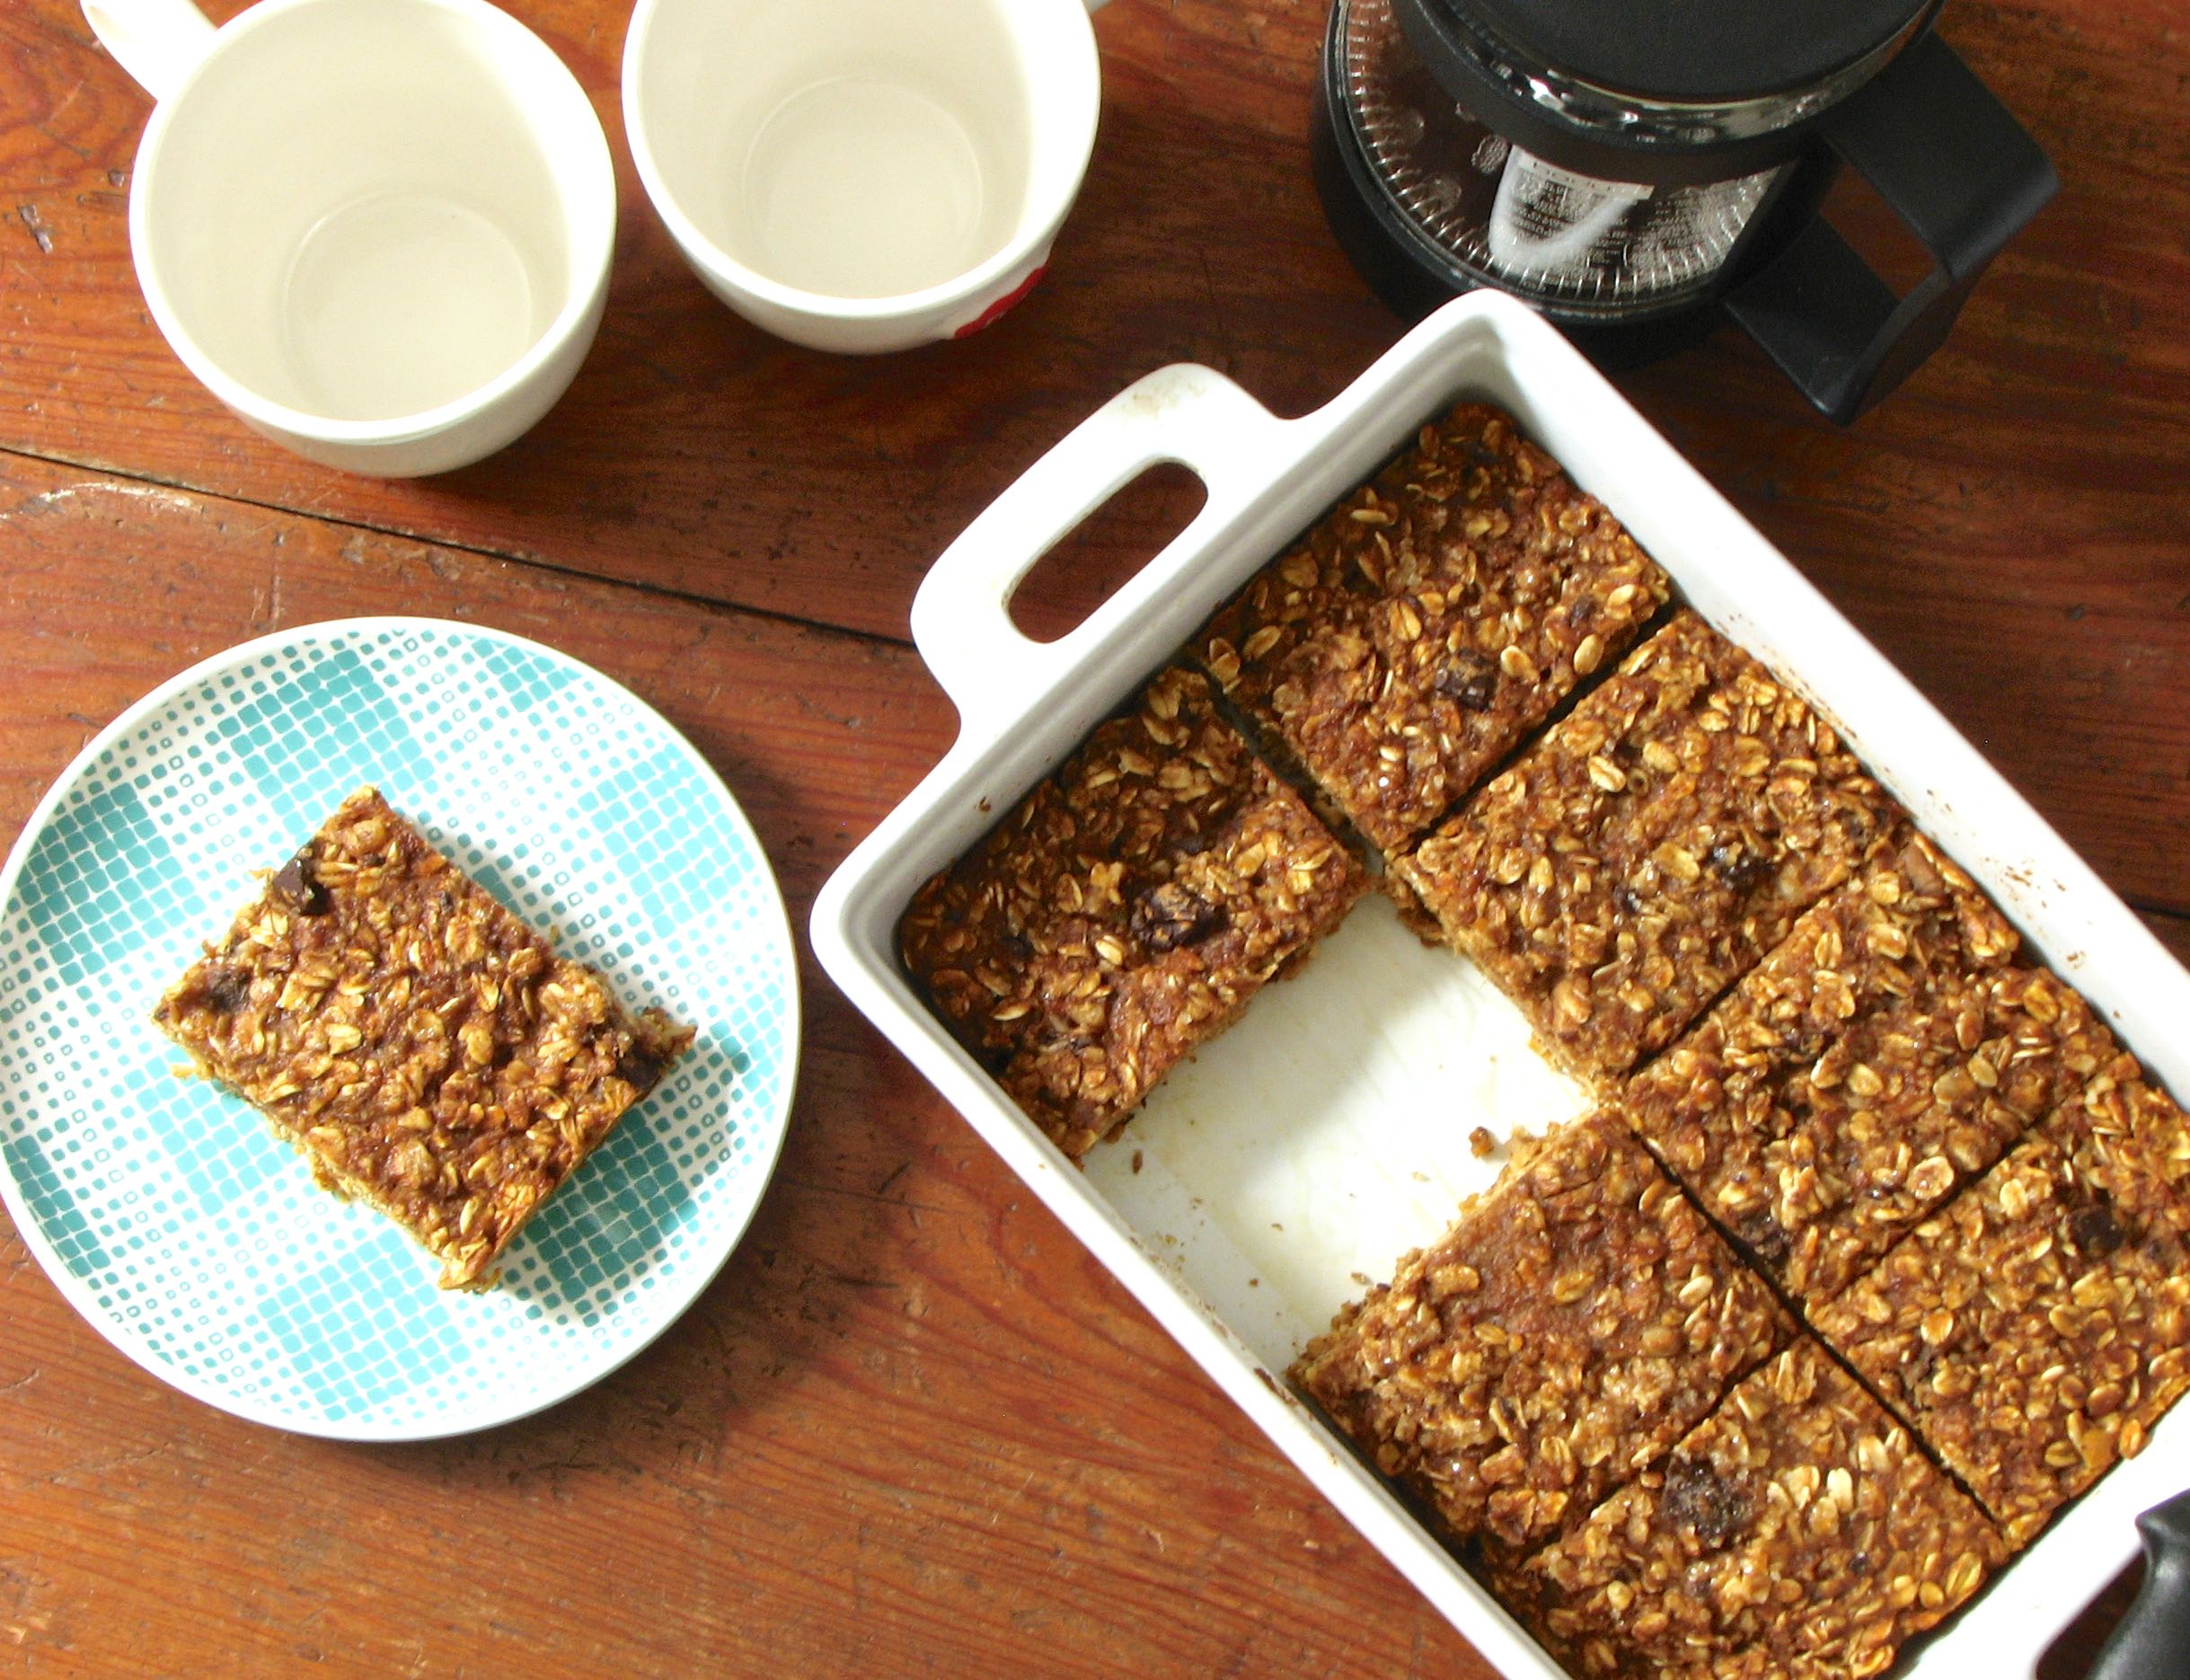
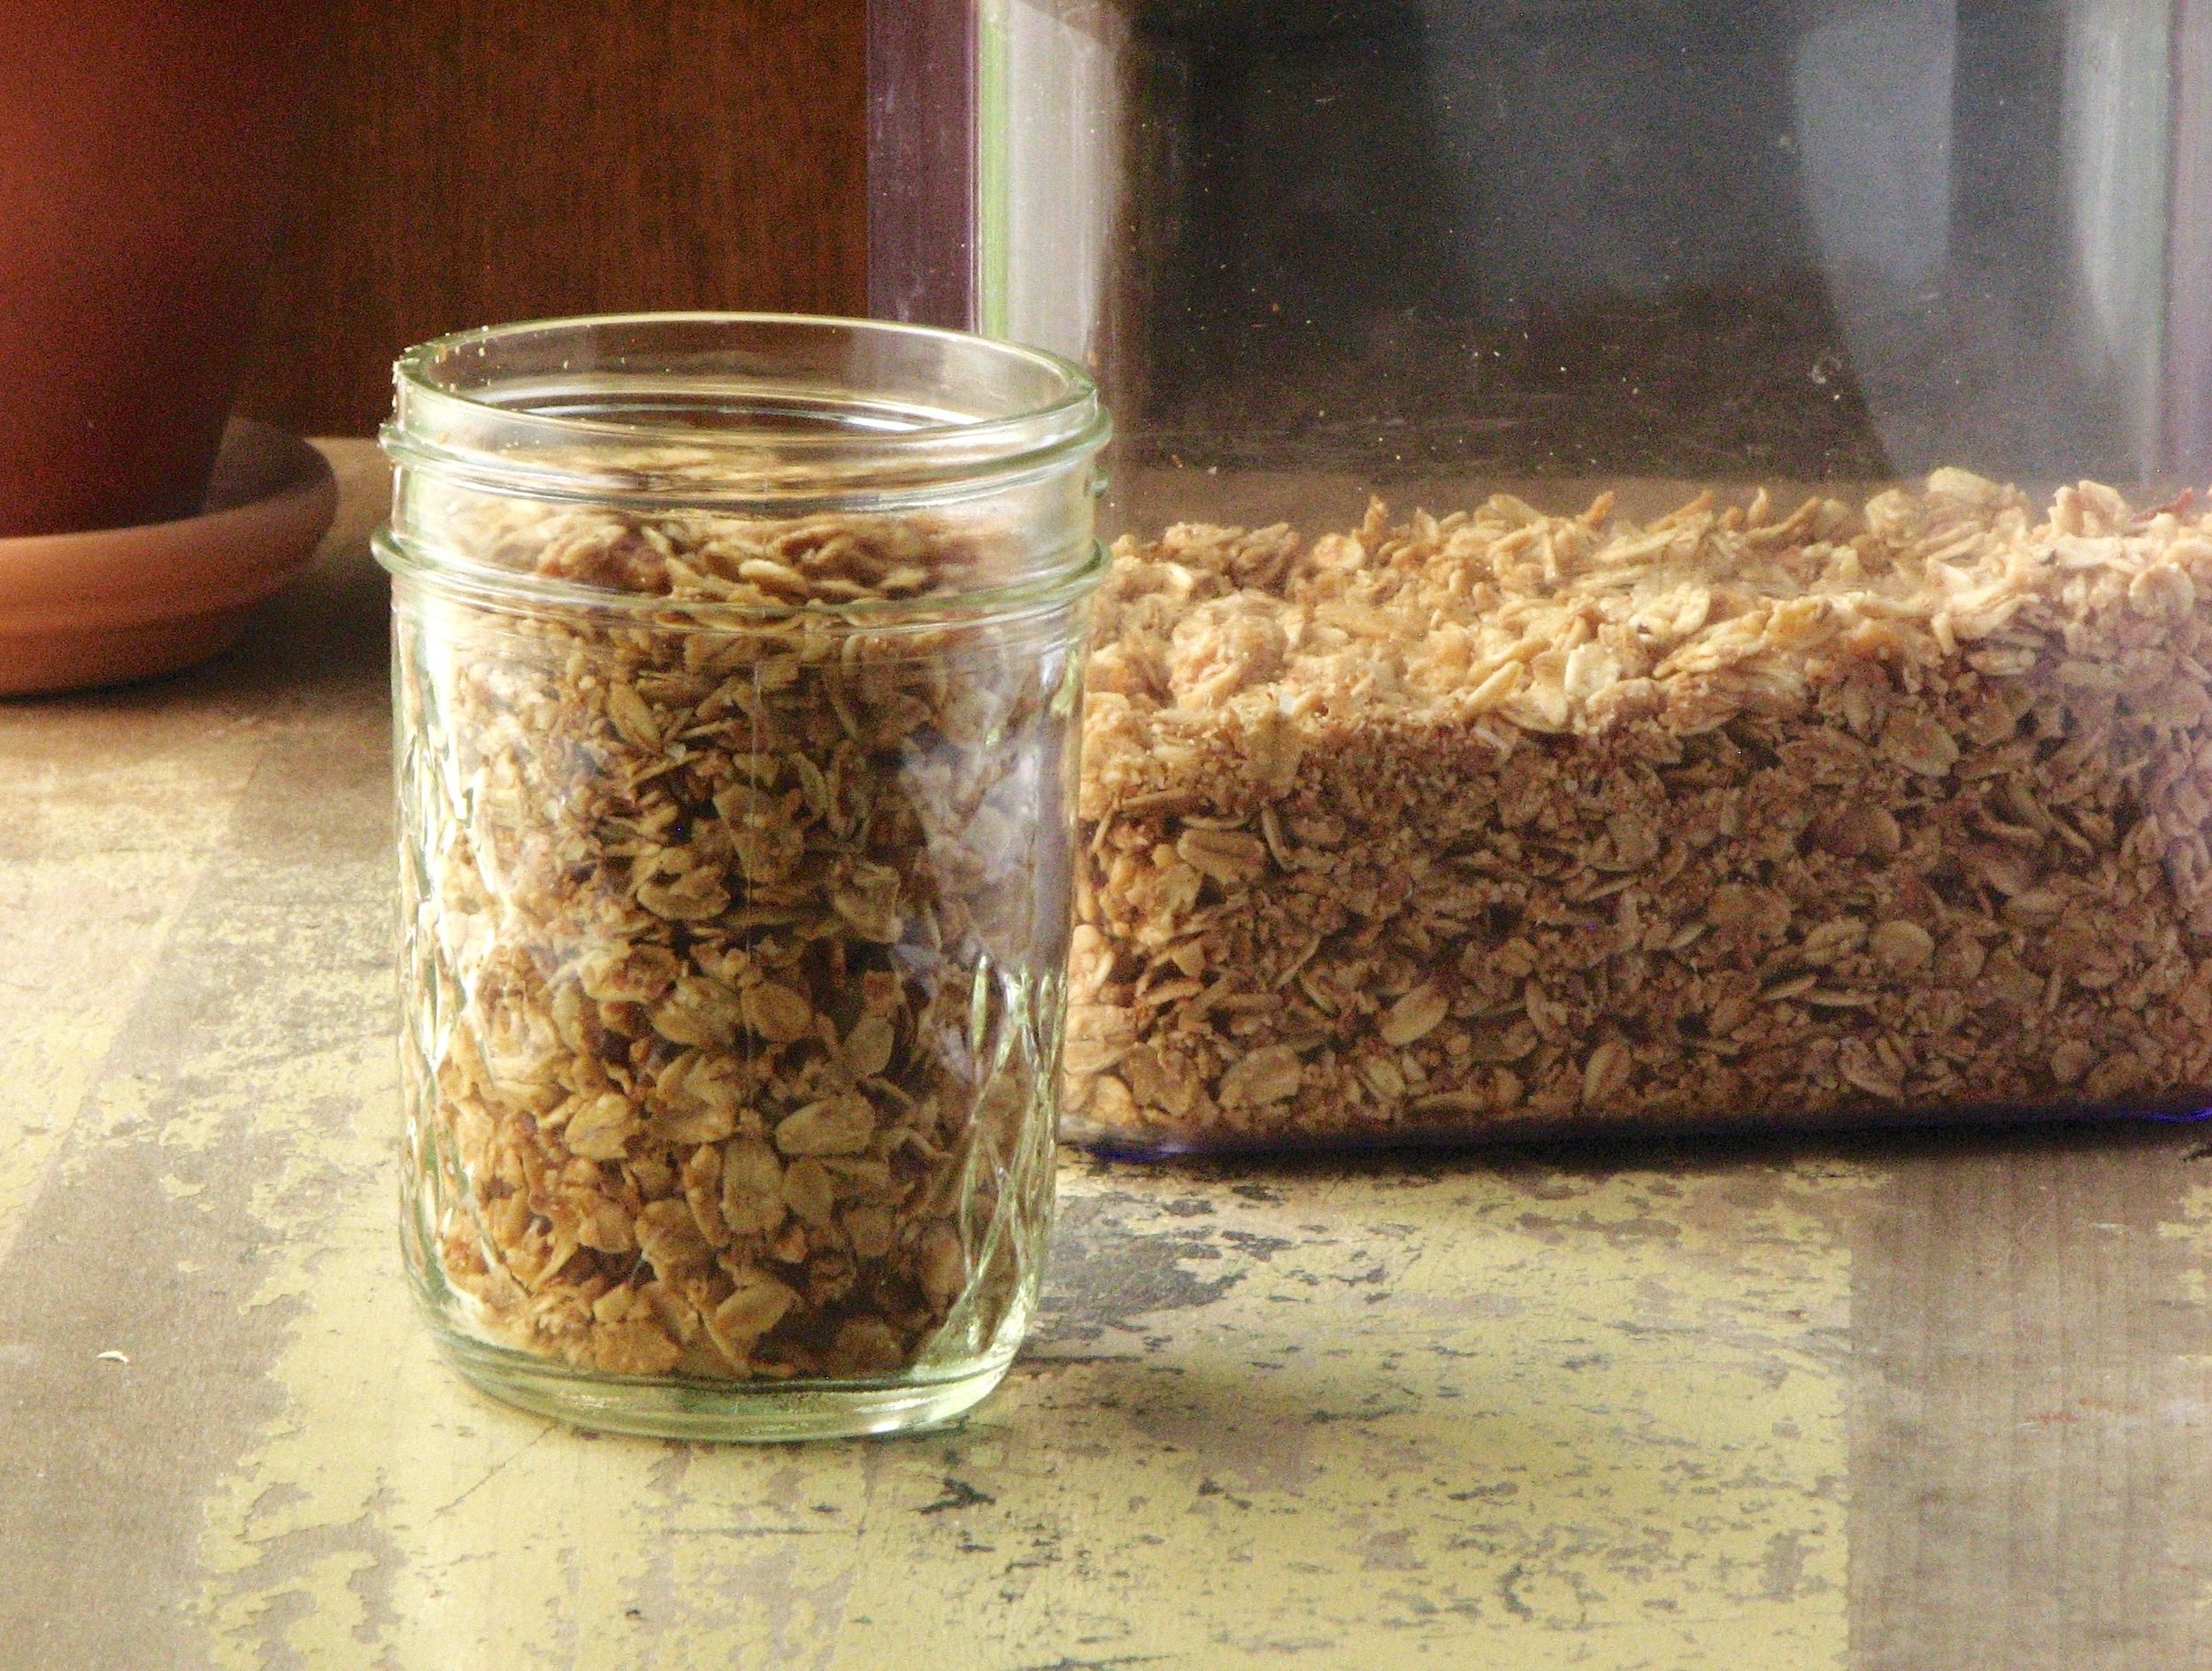
Crunchy Olive Oil and Maple Granola
I have quite a few granola recipes on this site. This makes sense when I think about the fact that of everything I bake and cook I make granola the most frequently of all. I have been making some kind of granola every 2-3 weeks for probably at least 4-5 years now. I ALWYAS have granola in the pantry. To be honest, I can barely eat a meal without finished it with a bite (or two...or three...) of granola. It's my little sweet treat. Needless to say, I love granola!
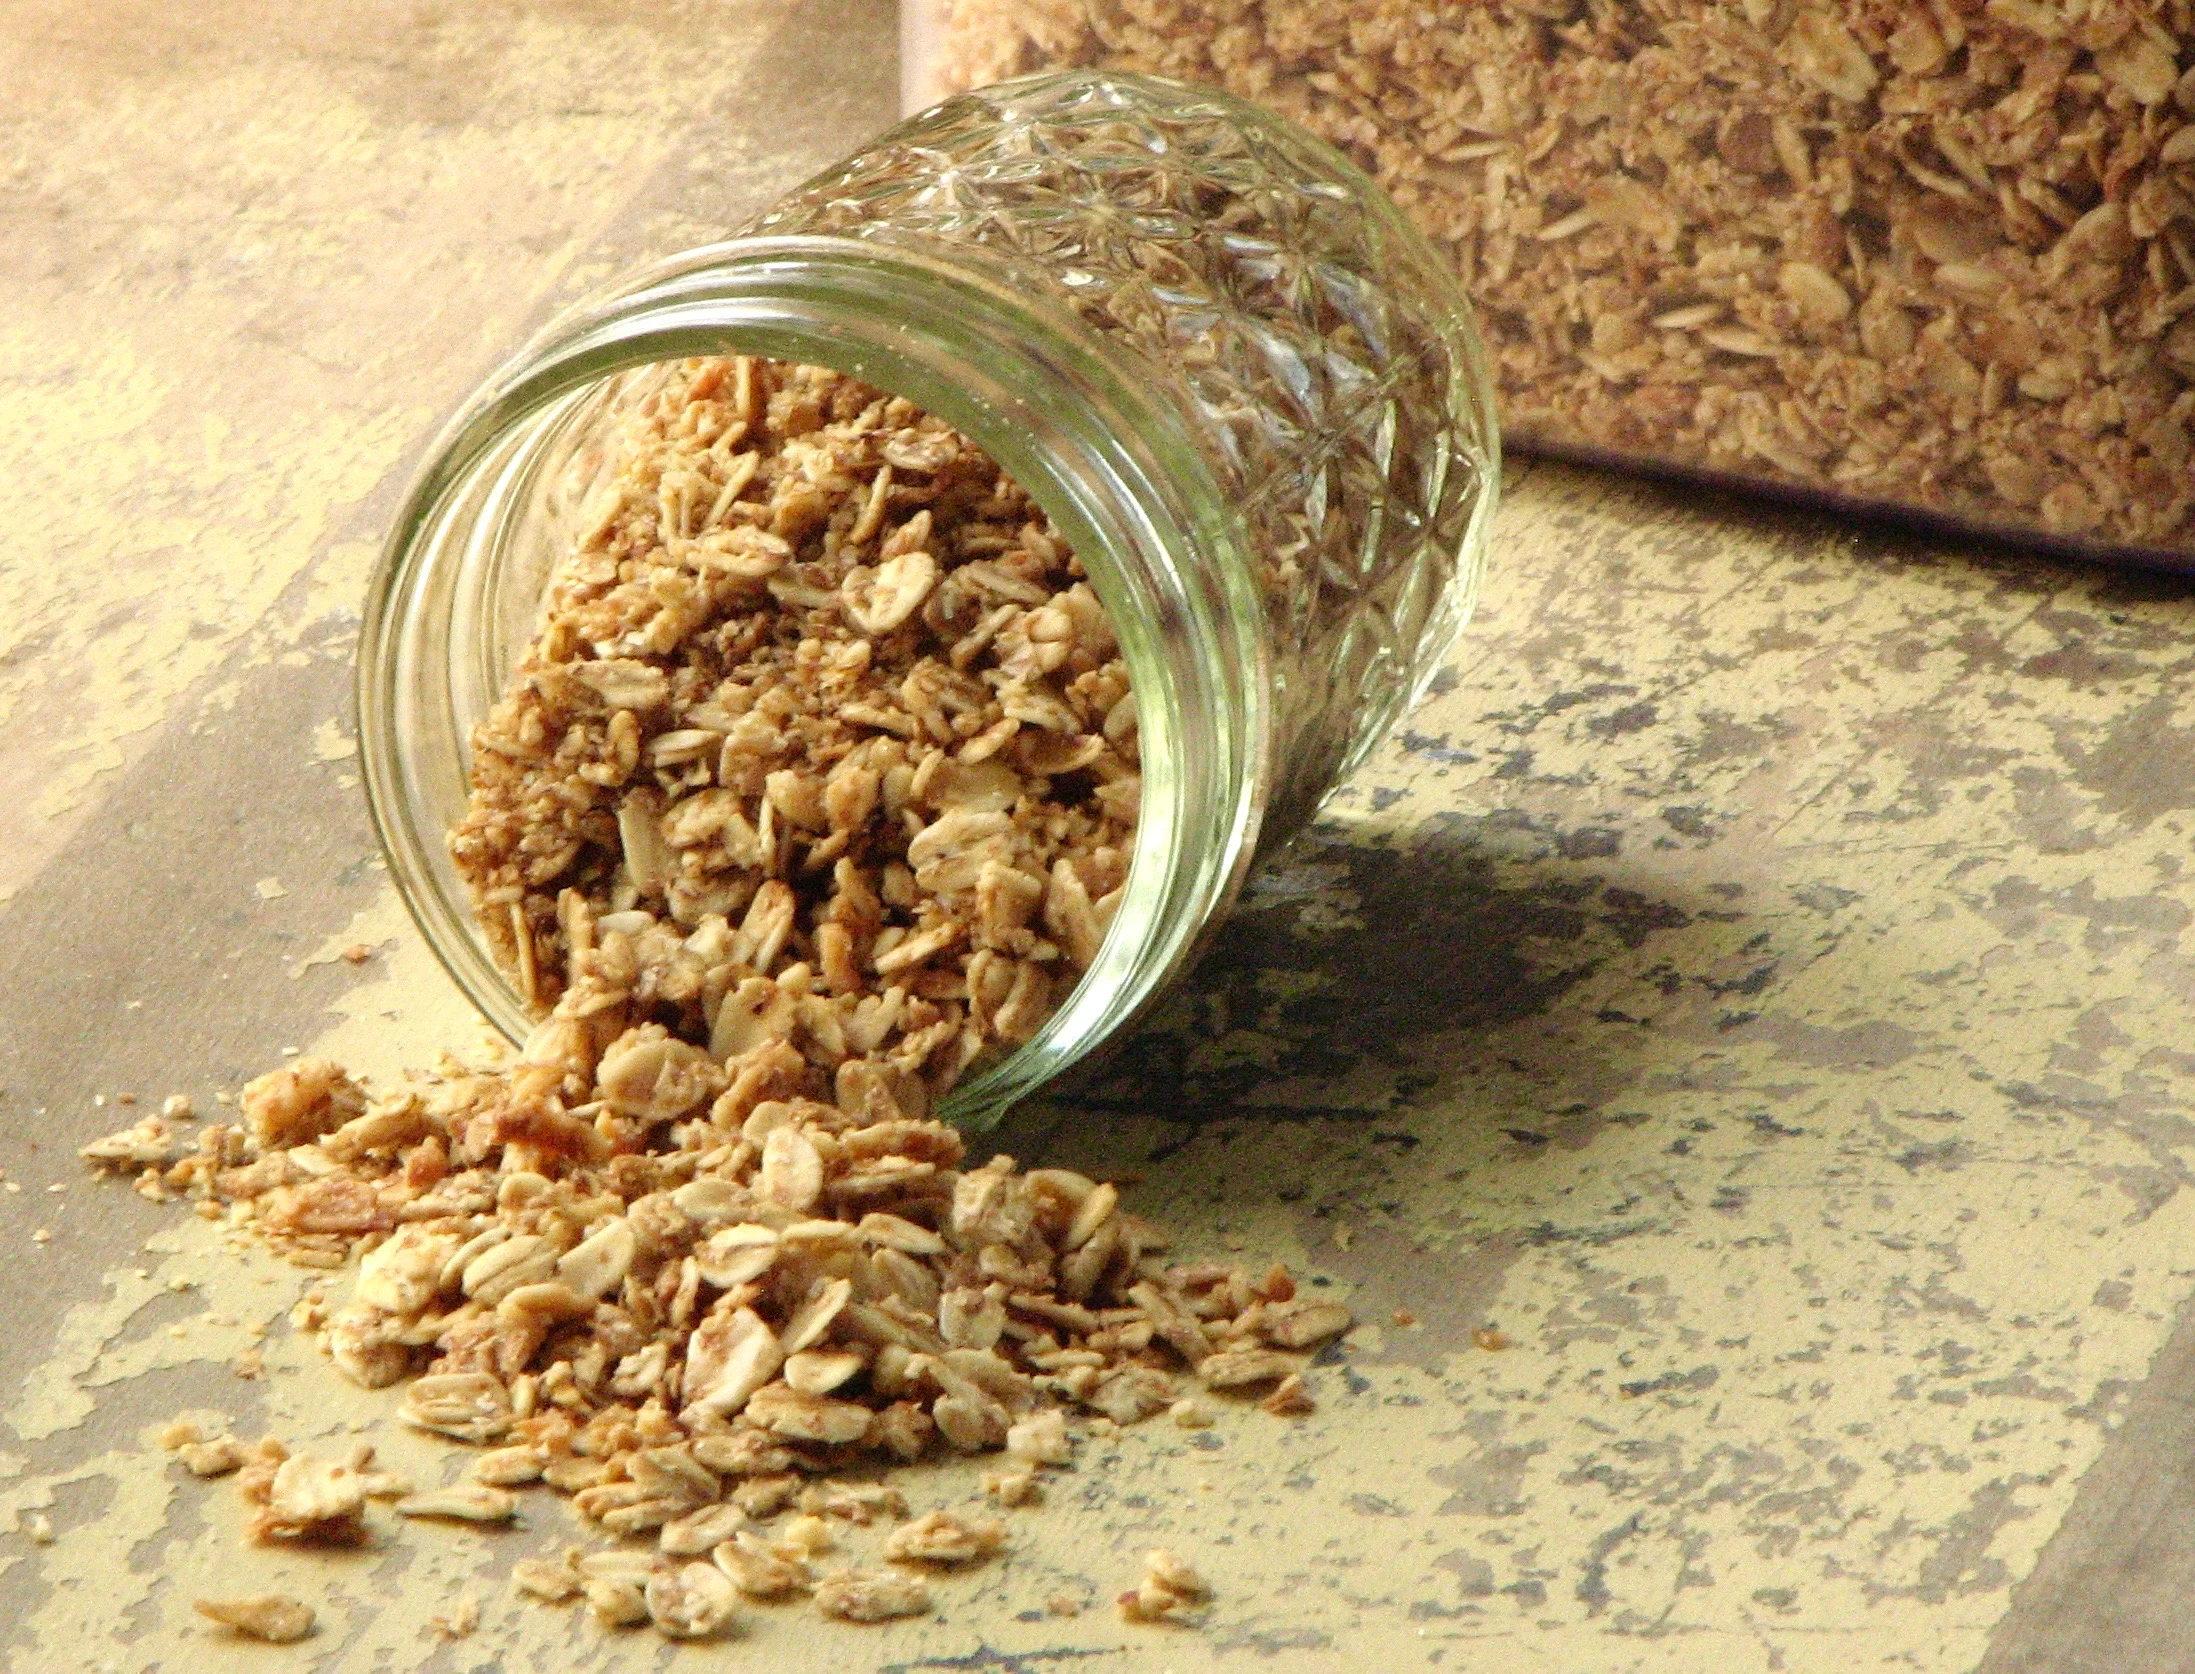
I usually go in spurts; I'll find a good recipe and make it for months and months without trying something new. I get on a roll where I love what I'm eating and have no desire to stray from it. Well, this granola is my current favorite. Earlier this year, I can' even remember when, I was looking for a change. I found a recipe on Food52 for olive oil and maple granola. I took this recipe for inspiration and then completely changed it to suit me! It was a good base recipe to build off of to create my very own recipe, a recipe I've been absolutely loving! The finished product is super crunchy and deliciously sweet, but not so sweet as to make you feel like your eating dessert. It's just the right balance of sweet and savory, and an absolute joy to eat. Every. Single. Day.
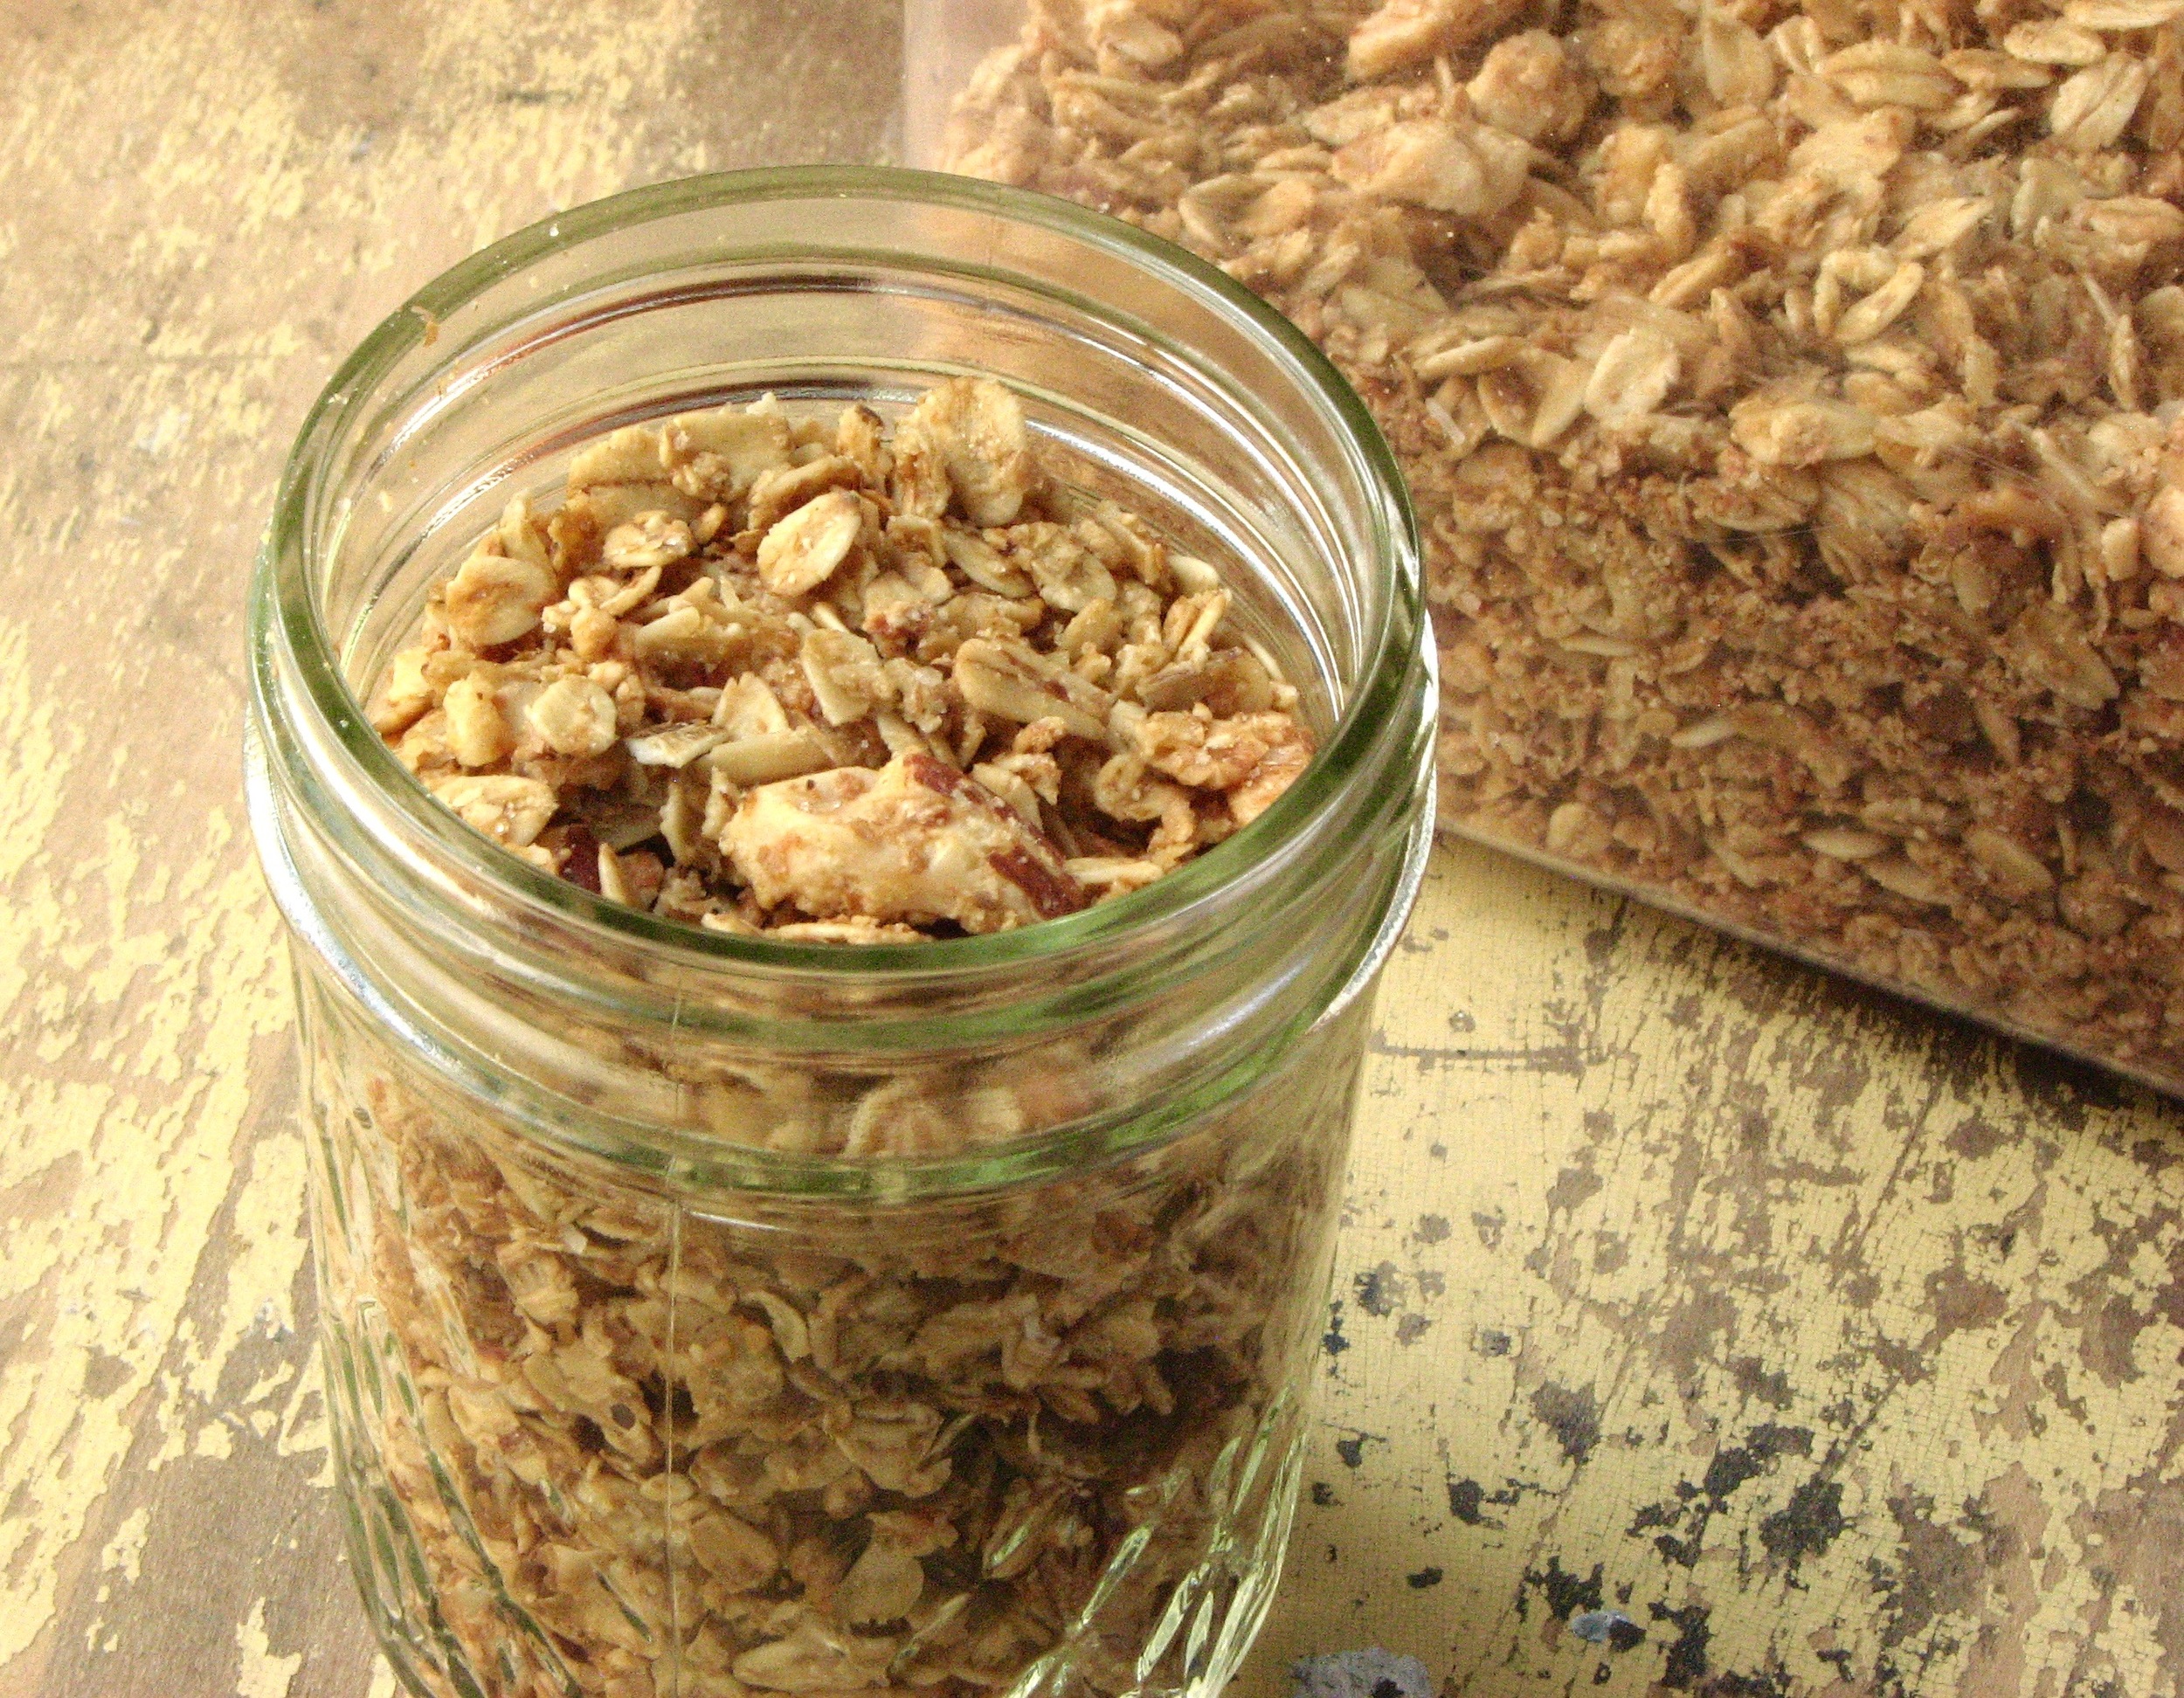
I cut back quite a bit on both the sugar and the fat from the original recipe because I like to keep things just a bit lighter. Not that the original recipe was super sugar-y or oily, but I just wanted to a bit less. I also cut back on the nuts (first, because they're expensive, second because they are super high in calories) and replaced them with more oats. I then added in some wheat bran (or you could use oat bran) for more nutrition, and coconut flakes instead of chips. The final product is my very own favorite, personalized granola. I highly recommend checking it out. And make some of your own adjustments. To fit your very own wants and and needs.
I recently took this recipe and made a few different variations of this recipe. One was mocha (with cocoa and espresso powder) and another was pumpkin spice (add in a bit of pumpkin and some of your favorite fall spices like nutmeg, ginger and allspice). I also sometimes switch things up and add a bit of melted butter or coconut oil in place of some of the olive oil. All of these spin-offs have turned out great as well. Granola is so forgiving that it's a blast to experiment with!

Crunchy Olive Oil and Maple Granola
Inspired by Food 52
Ingredients
- 4 cups (320 grams) old fashioned oats
- 1/2 cup (30grams) unsweetened shredded coconut
- 3/4 teaspoon kosher salt
- 1/4 cup (35 grams) raw almonds, coarsely chopped
- 1/4 cup (20 grams) raw walnuts, coarsely chopped
- 1/4 cup (15 grams) wheat bran
- 1/4 cup (50 grams) brown sugar
- 1/4 cup (75 grams) maple syrup
- 1/4 cup (50 grams) olive oil
Directions
Preheat oven to 300 degrees. Line a large baking sheet with aluminum foil and set aside.
In a large bowl place the oats, coconut, salt, almonds, walnuts, bran and brown sugar. Stir to combine. In a small bowl, whisk together the maple syrup and olive oil. Pour over the oat mixture, stirring well, until everything is evenly coated and no dry pockets remain.
Pour the granola onto the prepared baking dish and spread into an even layer. Bake the granola for 45-55 minutes, rotating halfway through, until golden brown and toasty. Towards the end of baking time check the granola more frequently to ensure that it is not over-browning.
Remove from oven and let cool on the pan. When completely cool, transfer granola to an airtight container for storage.