Digestive Cookies (with sourdough option)

Coronovirus and COVID19 are upon us. State order starting yesterday is to shelter in place and only essential business are to be open. Phew. What a crazy time we’re living in. What better way to get through this then with some baking.
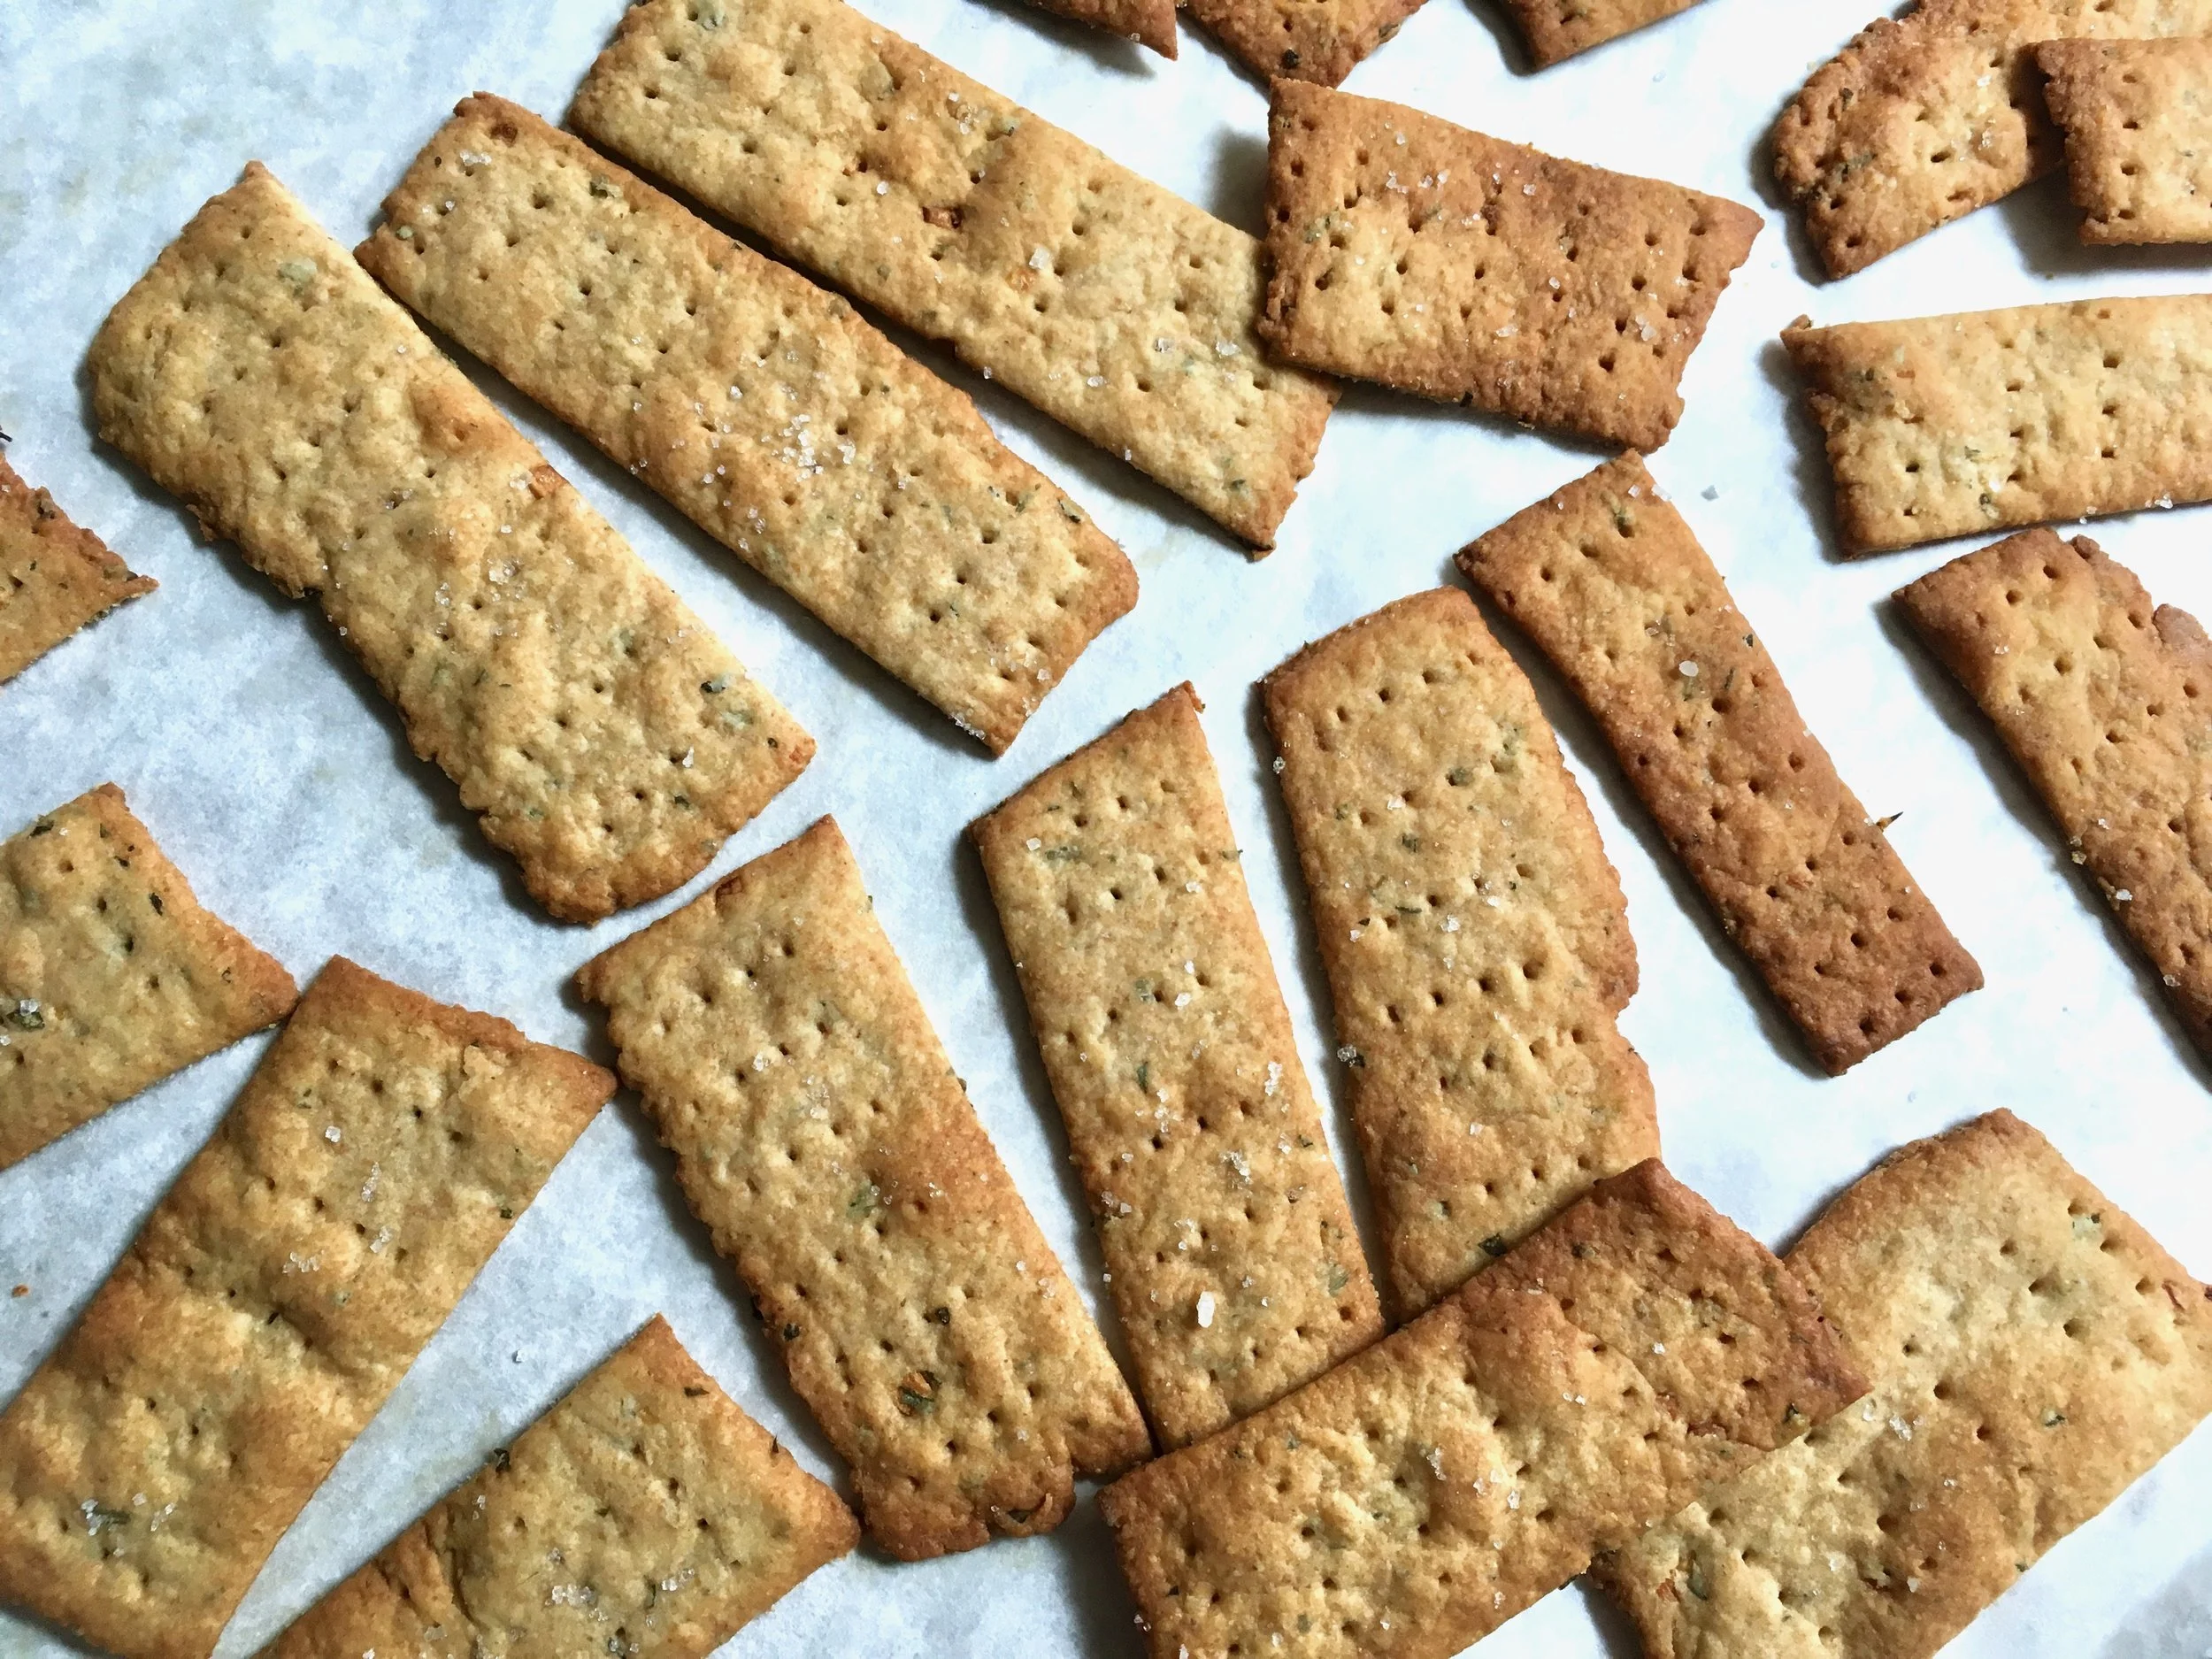
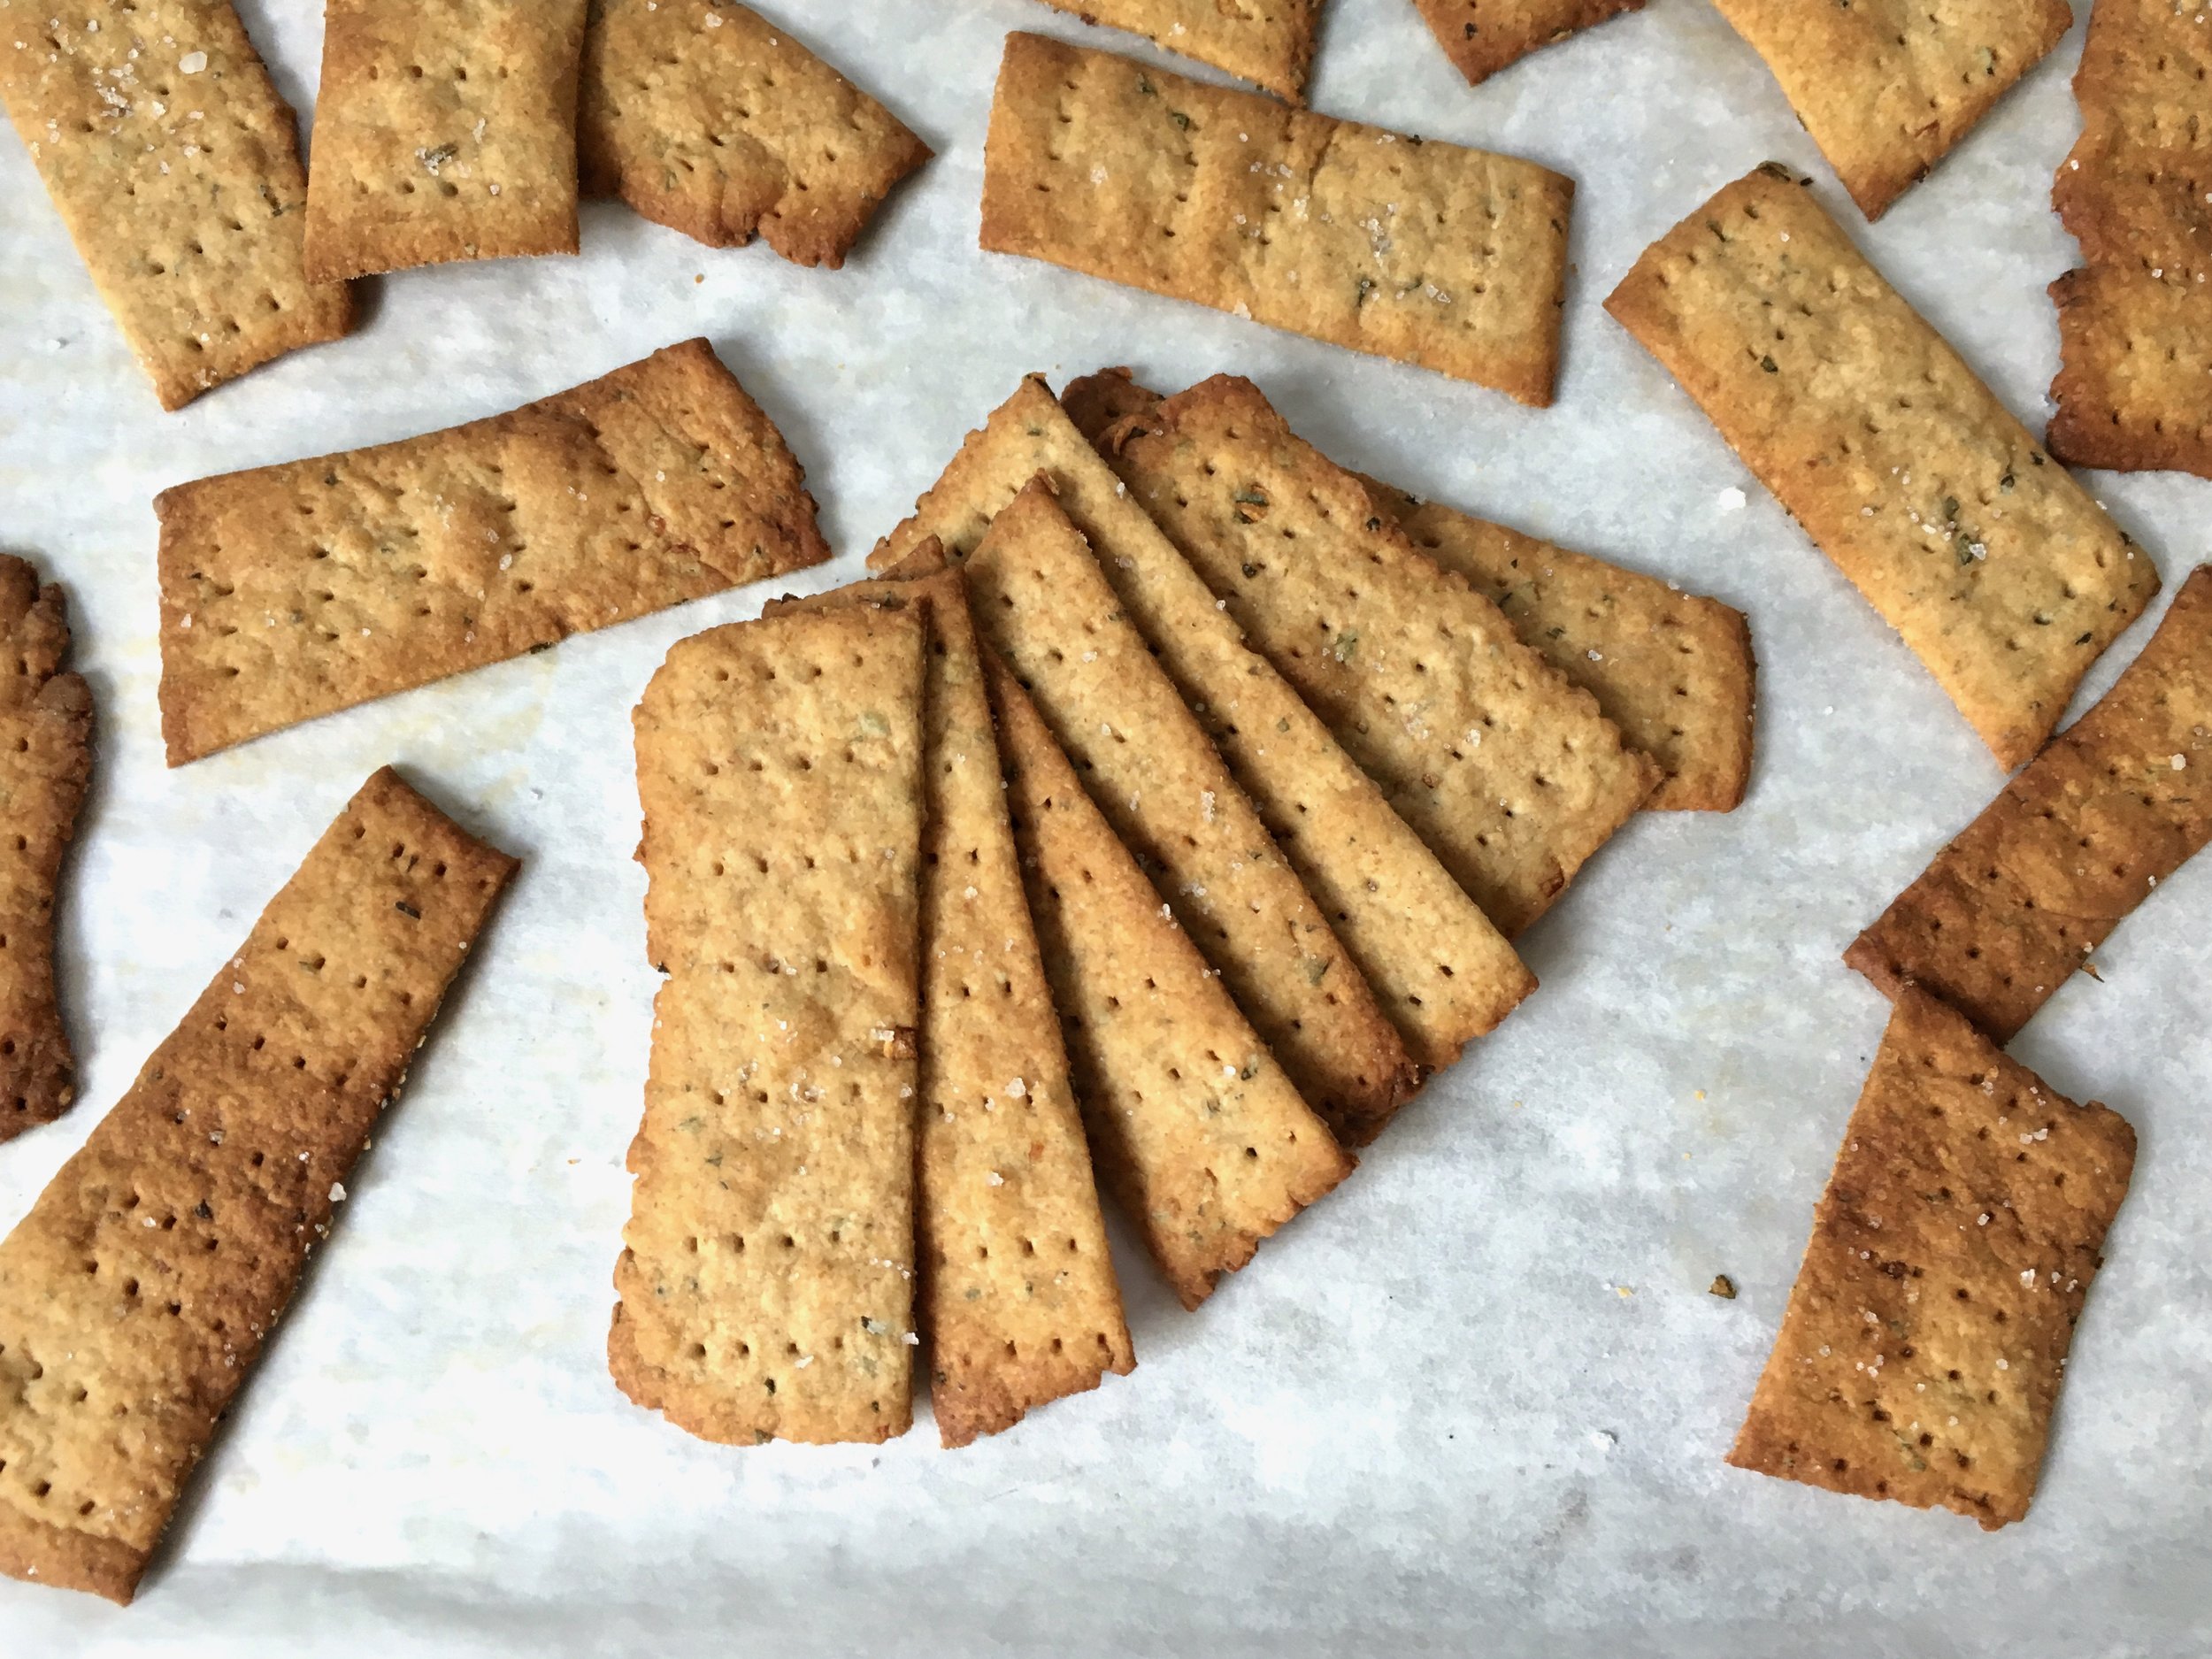
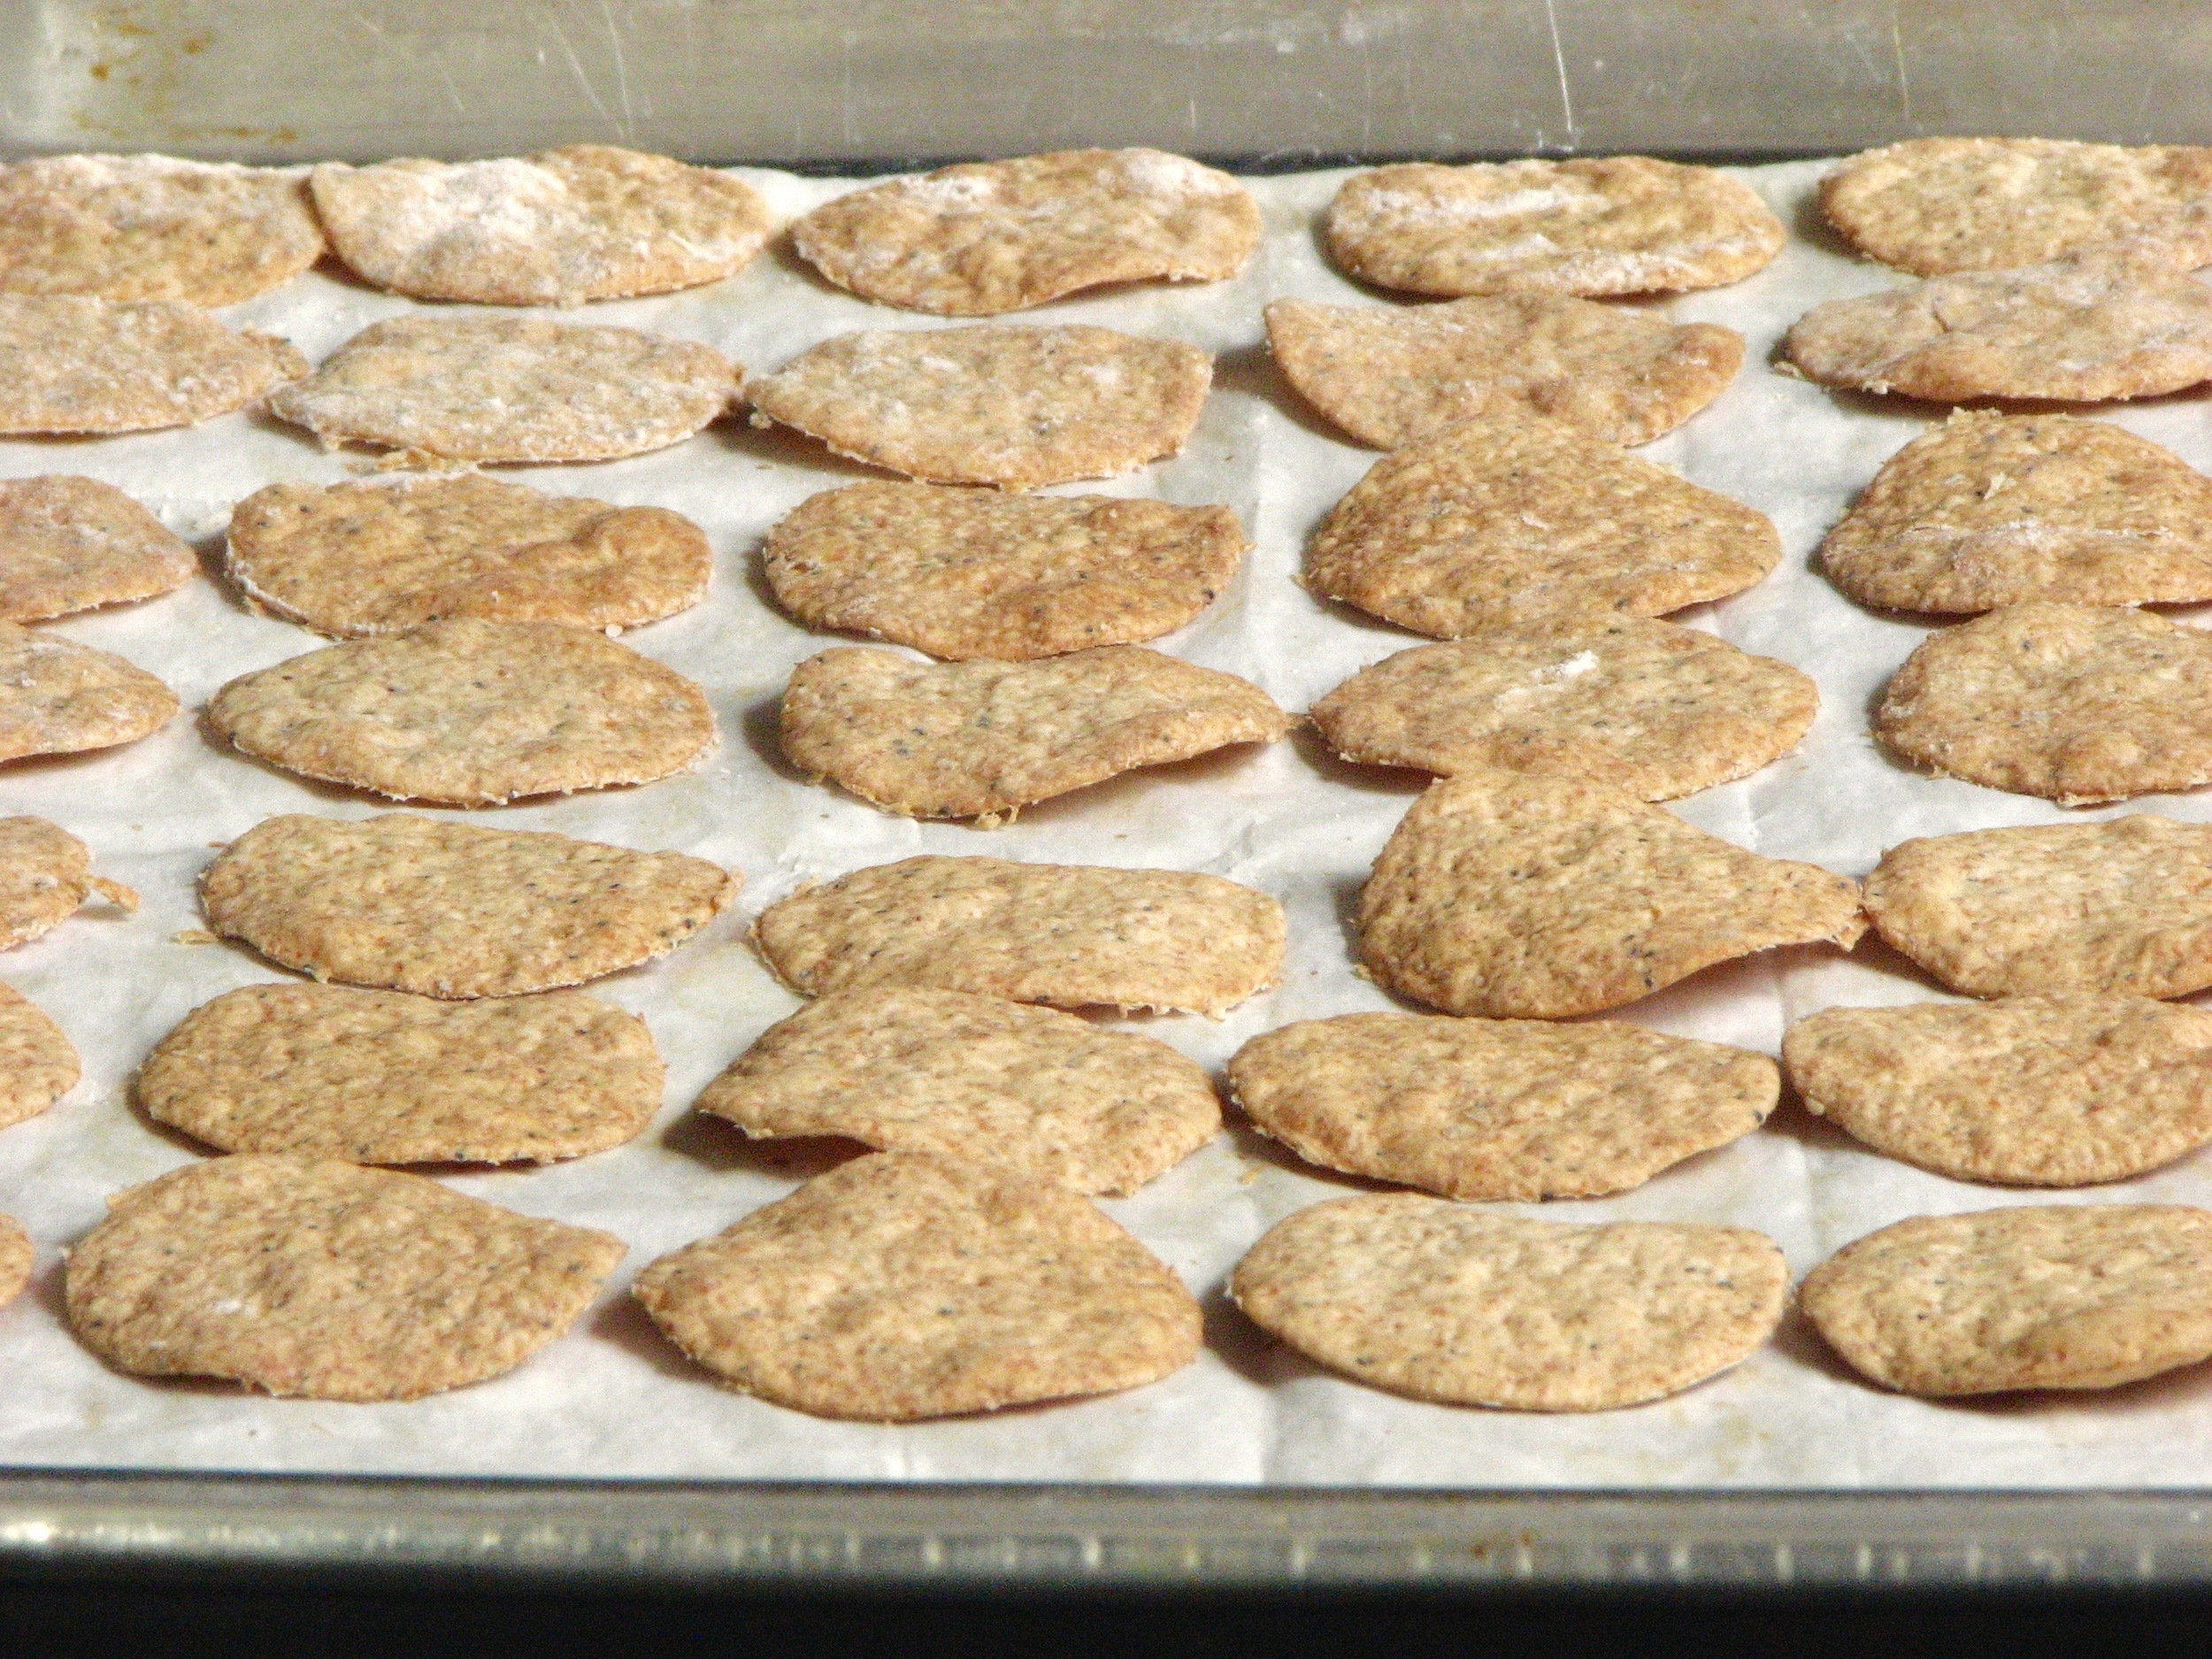
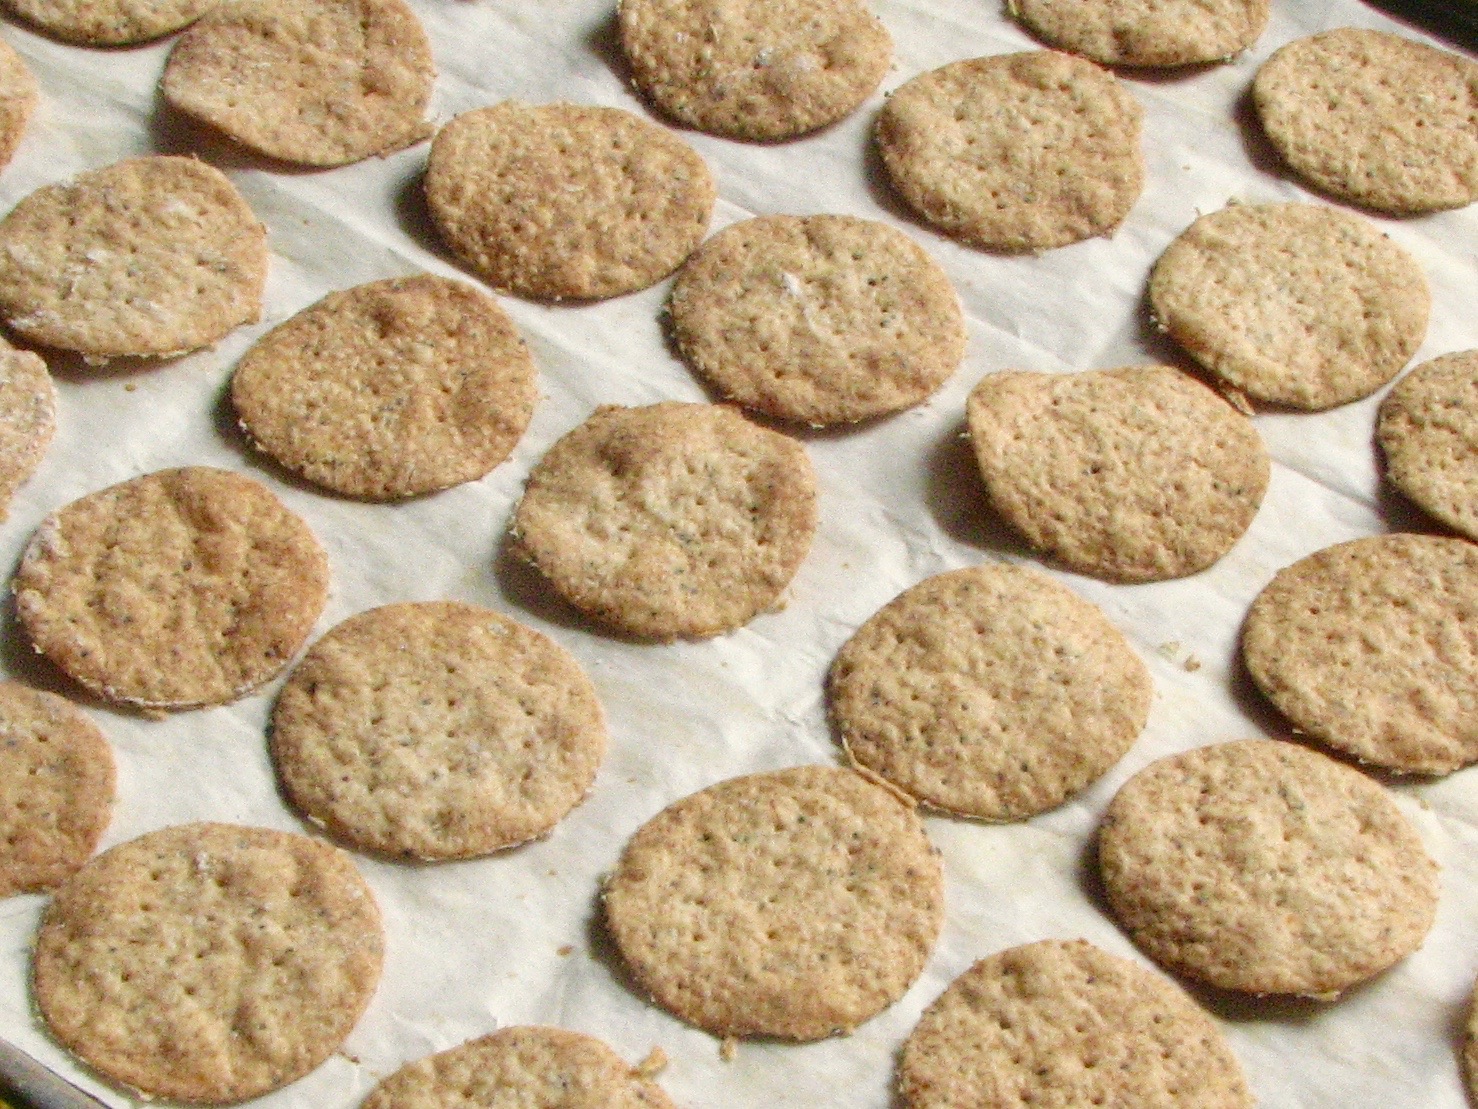
Lara baked up these cookies/biscuits yesterday. We’ve both really love any digestive biscuit, who doesn’t? They really are just cookies, which this Bon Appetit recipe endorses and calls them what they are.
These baked up very nicely, crispy and light with a lot of good whole wheat flavor. While they are not necessarily sugary sweet in the way a classic cookie is sweet, they definitely are sweet and overall delicious!
I also have made these with some alterations as a way to use up my leftover sourdough starter. I’ve posted this option below as well. Both are delicious! There’s a lot of room for variation with this recipe!
——————————————————————————————
Digestive Cookies
From Bon Appetit
Ingredients
½ cup (1 stick) chilled unsalted butter, cut into pieces
½ cup (33 g) wheat germ
6 Tbsp. (75 g) sugar
1 tsp. baking powder
1 tsp. kosher salt
1⅓ cups (167 g) whole wheat flour, plus more for surface
¼ cup (65g) milk
2 oz. chocolate (any percentage), chopped (optional)
1 tsp. refined coconut oil (optional)
Directions
Place racks in upper and lower thirds of oven; preheat to 350°. Process 1⅓ cups whole wheat flour, wheat germ, sugar, baking powder, salt, and butter in a food processor until butter virtually disappears and you have a fine, floury meal. Add milk and pulse until a damp and crumbly dough forms. Turn dough out onto an unfloured surface and gently knead just to bring it into a ball; flatten into a disk.
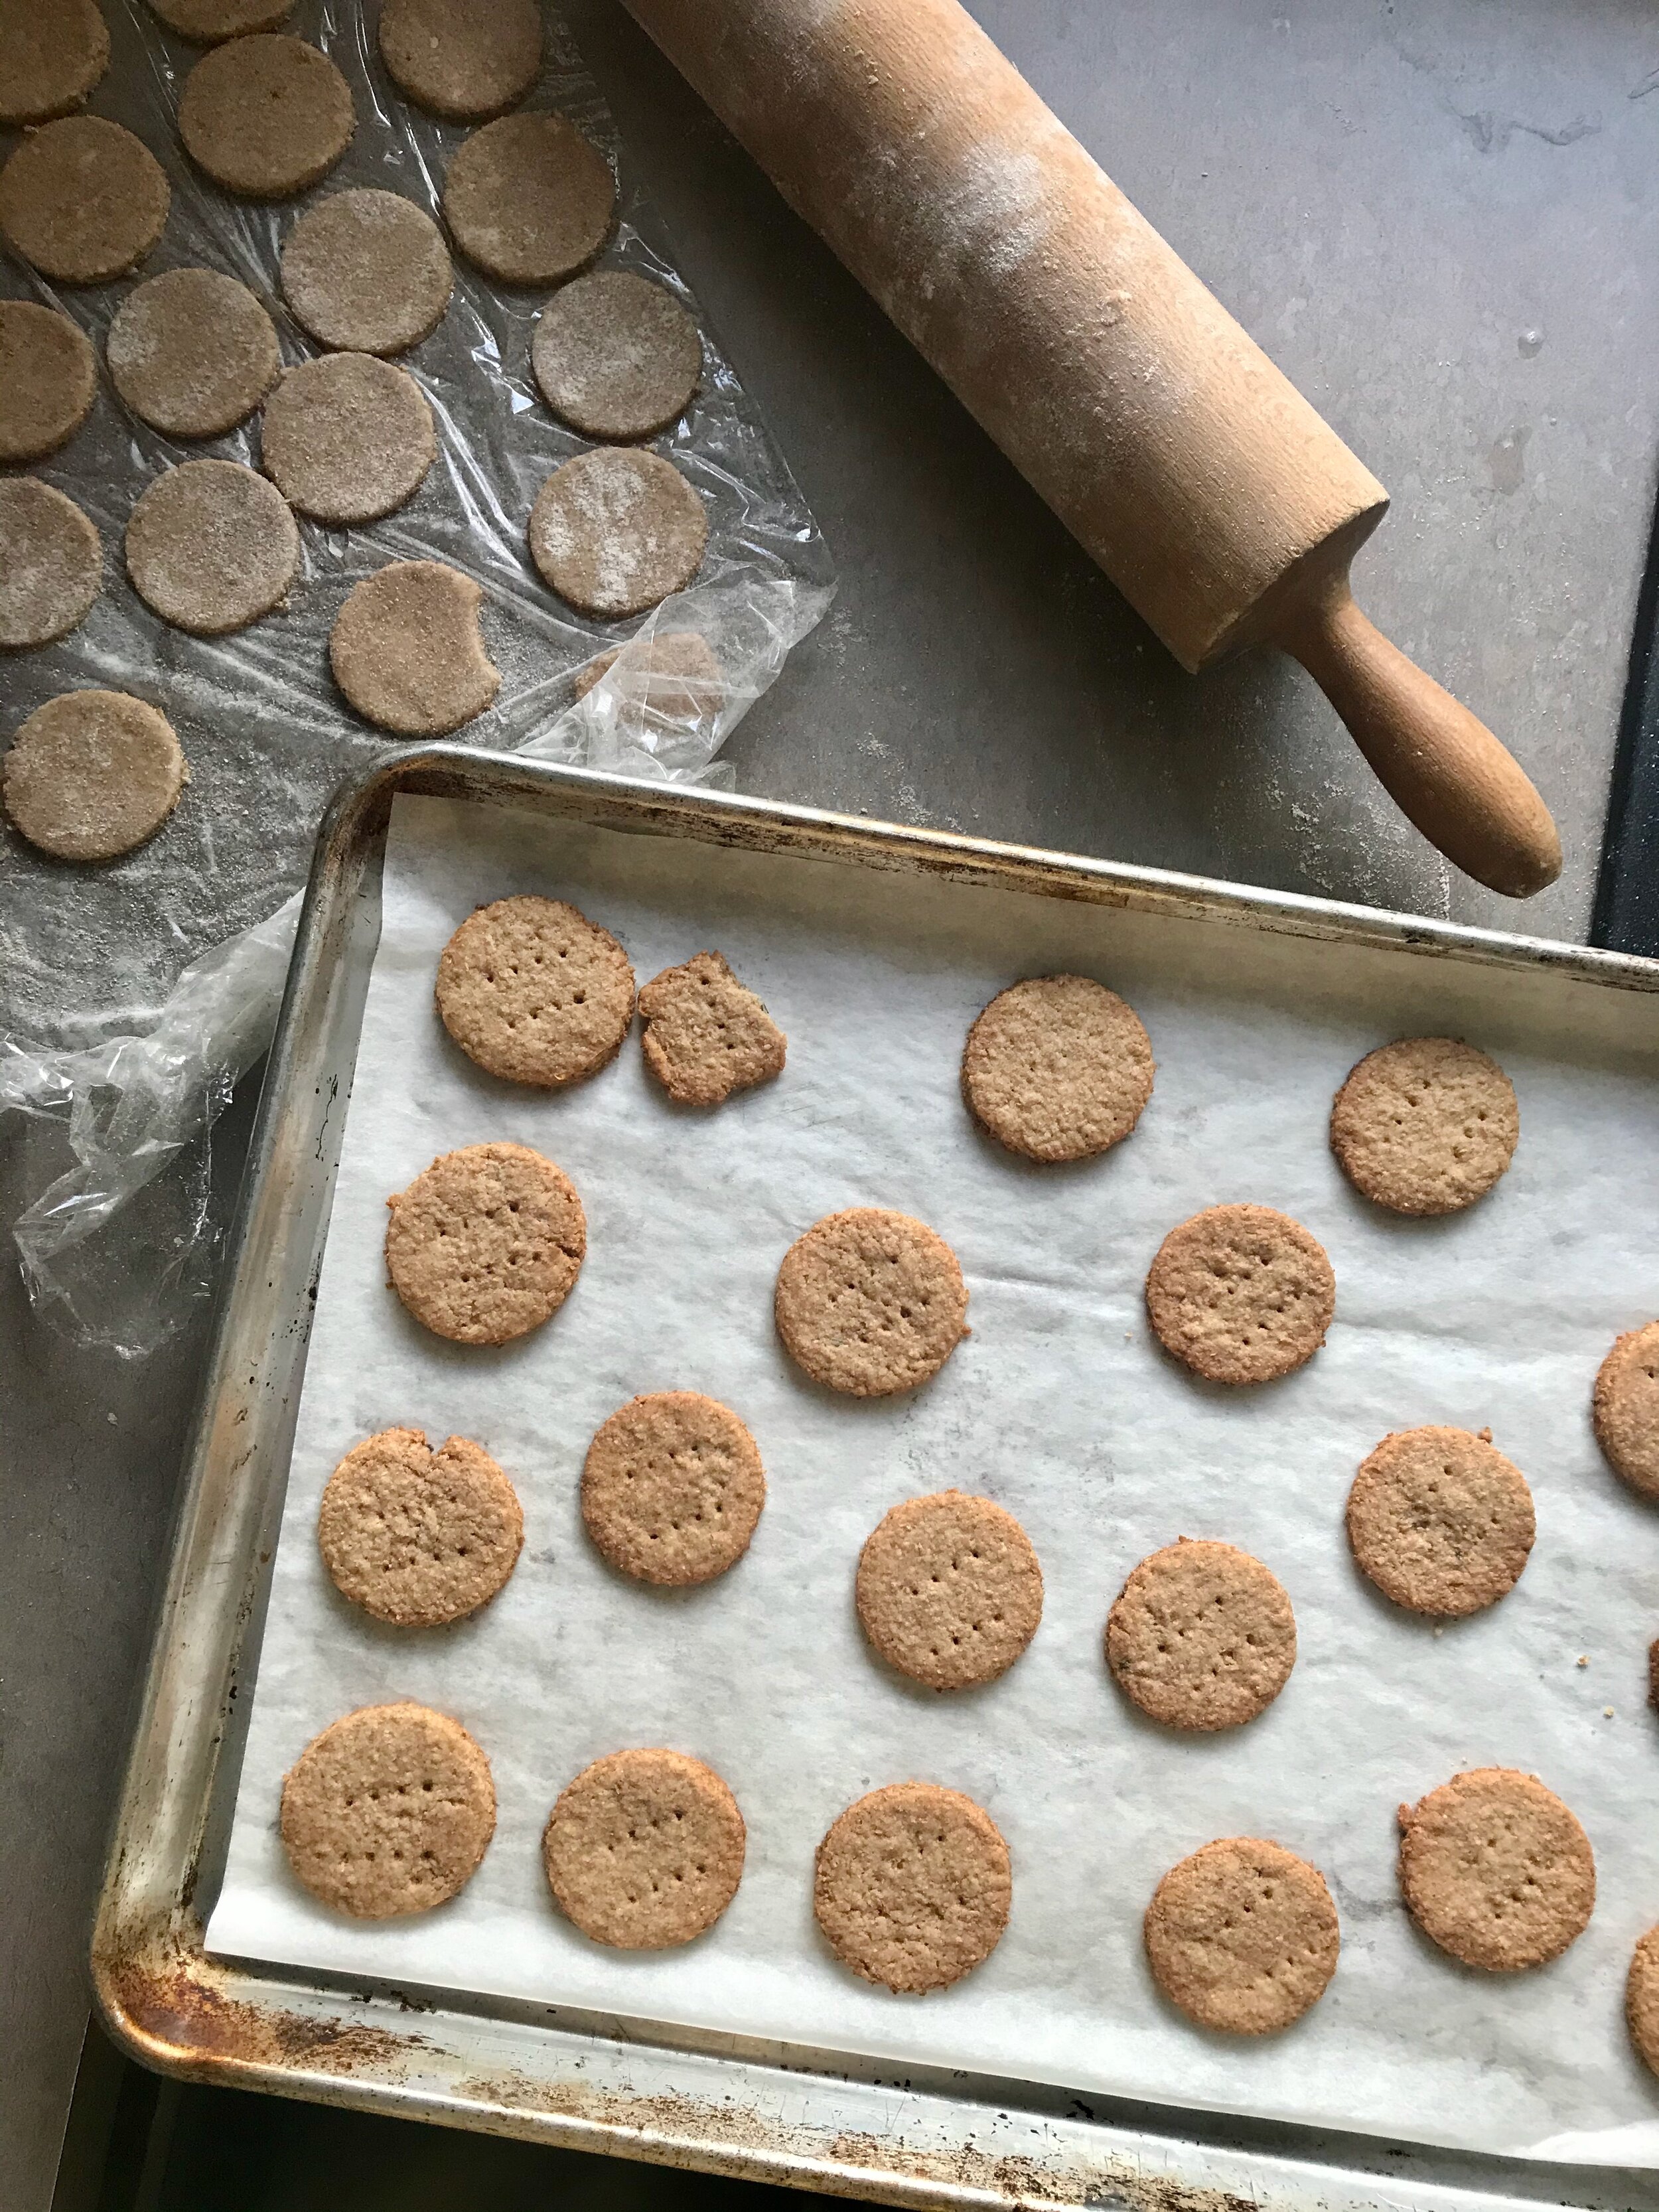
Lightly flour surface and roll out dough until just shy of ¼” thick. Lightly flour a 2-inch round cookie cutter and punch out cookies, dusting with more flour as needed to avoid sticking. Dust any excess flour off of cookies with a dry pastry brush. Using a spatula, transfer cookies to 2 parchment-lined baking sheets. Gently knead scraps together, reroll, and punch out more cookies.
Prick each cookie 3 times with a fork and bake, rotating baking sheets top to bottom and front to back halfway through, until bottoms and edges are browned, 15–18 minutes. Let cool on baking sheets (cookies will crisp up as they cool).
If using, melt chocolate and oil in a microwave-safe bowl in the microwave in 20-second increments, stirring after each burst, until mostly melted and smooth, about 1 minute total. (Alternatively, melt in a heatproof bowl set over a saucepan of simmering water, stirring occasionally, until melted; do not let bowl touch water.) Stir chocolate mixture until fully melted, then continue to stir until slightly cooled and thickened, about 3 minutes. (This makes it easier to get a thick layer of chocolate on the cookies.)
Using a small offset spatula or butter knife and working one at a time, spread a scant 1 tsp. chocolate over the flat underside of each cookie. Using the edge of the spatula and starting from one side and working your way to the other, gently and quickly press a few lines into chocolate as desired. Chill cookies on baking sheets until chocolate is set, about 10 minutes.
Sourdough Digestive Cookies
Ingredients
½ cup (1 stick) chilled unsalted butter, cut into pieces
½ cup (33 g) wheat germ
4-6 Tbsp. (50-75 g) sugar
1 tsp. baking powder
1 tsp. kosher salt
102 grams whole wheat flour
130 grams discarded sourdough starter
Directions
Place racks in upper and lower thirds of oven; preheat to 350°. Process whole wheat flour, wheat germ, sugar, baking powder, salt, and butter in a food processor until butter virtually disappears and you have a fine, floury meal. Add sourdough starter and pulse until a damp and crumbly dough forms. Turn dough out onto an unfloured surface and gently knead just to bring it into a ball; flatten into a disk.
Lightly flour surface and roll out dough until just shy of ¼” thick. Lightly flour a 2-inch round cookie cutter and punch out cookies, dusting with more flour as needed to avoid sticking. Dust any excess flour off of cookies with a dry pastry brush. Using a spatula, transfer cookies to 2 parchment-lined baking sheets. Gently knead scraps together, reroll, and punch out more cookies.
Prick each cookie 3 times with a fork and bake, rotating baking sheets top to bottom and front to back halfway through, until bottoms and edges are browned, 25-30 minutes. Let cool on baking sheets (cookies will crisp up as they cool).
Cornmeal Honey Digestive Cookies
Ingredients
½ cup (1 stick) chilled unsalted butter, cut into pieces
½ cup (33 g) wheat germ
1 tsp. baking powder
1 tsp. kosher salt
100 grams whole wheat flour
3 tablespoons (27 grams) coarse cornmeal
54 grams honey (3 tablespoons) honey
130 grams discarded sourdough starter
Directions
Place racks in upper and lower thirds of oven; preheat to 350°. Process whole wheat flour, wheat germ, sugar, baking powder, salt, and butter in a food processor until butter virtually disappears and you have a fine, floury meal. Add sourdough starter and pulse until a damp and crumbly dough forms. Turn dough out onto an unfloured surface and gently knead just to bring it into a ball; flatten into a disk.
Lightly flour surface and roll out dough until just shy of ¼” thick. Lightly flour a 2-inch round cookie cutter and punch out cookies, dusting with more flour as needed to avoid sticking. Dust any excess flour off of cookies with a dry pastry brush. Using a spatula, transfer cookies to 2 parchment-lined baking sheets. Gently knead scraps together, reroll, and punch out more cookies.
Prick each cookie 3 times with a fork and bake, rotating baking sheets top to bottom and front to back halfway through, until bottoms and edges are browned, 25-30 minutes. Let cool on baking sheets (cookies will crisp up as they cool).